Simply Elegant Paper by Stampin’ Up!
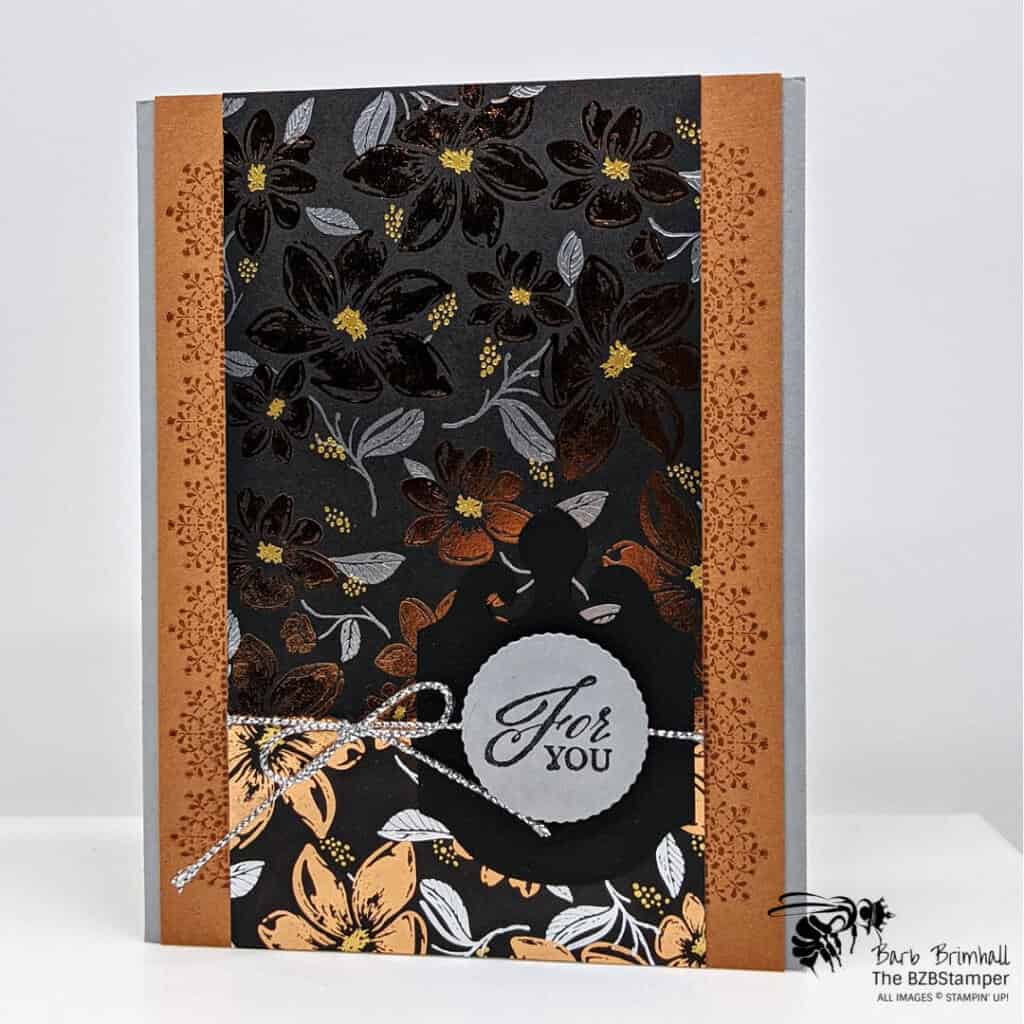
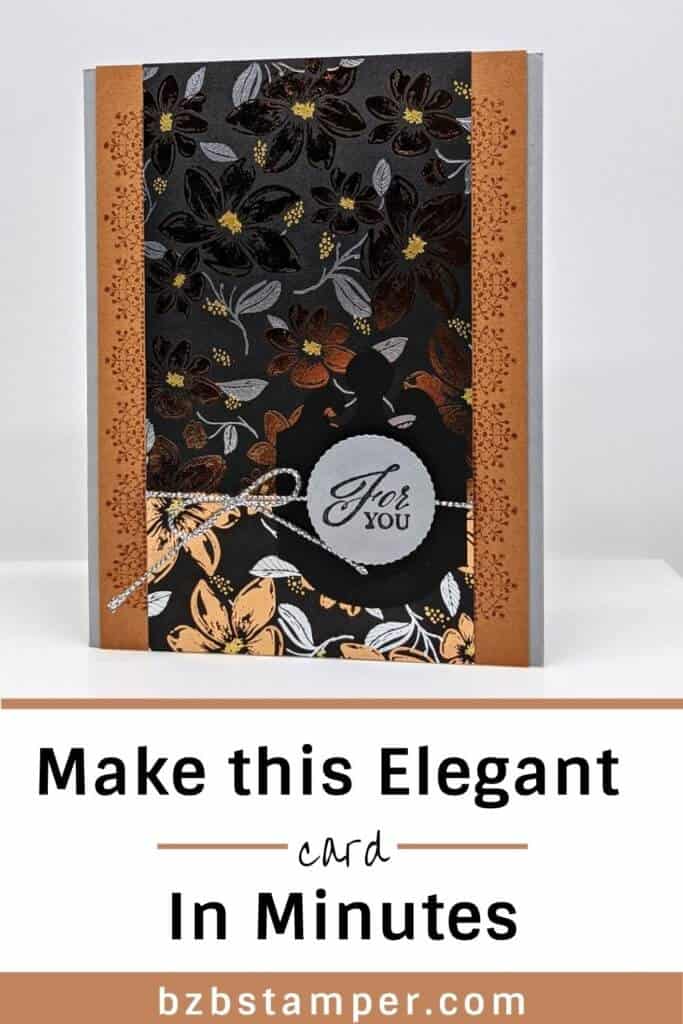
The Simply Elegant Paper by Stampin’ Up! is absolutely gorgeous! It makes a stunning focal point on any card plus it’s so easy to make this elegant card in minutes. Let me show you how!
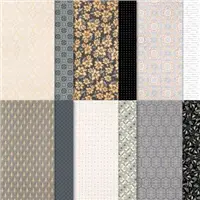
It’s so easy to create simply gorgeous projects with the intricately detailed patterns in the Simply Elegant Specialty Designer Series Paper.
This high-quality printed paper is excellent scrapbook paper, card making paper, and more. These beautiful designs are perfect for weddings, masculine projects, and is extremely versatile.
You’ll get 12 sheets of 12″ x 12″ patterned paper, 2 each of 6 double-sided designs. The paper is acid and lignin free so it’s perfect for scrapbooking.
The colors included in this paper are Basic Black, Basic Gray, and Very Vanilla, with copper, gold and silver foiling. Simply Elegant!
To take full advantage of this paper, I went with a simple card sketch and used cardstock colors that I felt went well with the foiling:
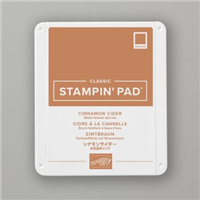
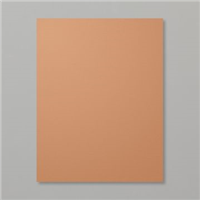
- Cinnamon Cider for Copper
- Smoky Slate for Silver
- Soft Suede for Gold
Here’s how I made this card:
Supplies Used On This Project
Cardstock Measurements
- Smoky Slate Cardstock: 5-½” x 8-½” and 2” scrap for die-cutting
- Very Vanilla Cardstock: 4” x 5-¼”
- Cinnamon Cider Cardstock: 4” x 5-½”
- Simply Elegant Specialty Designer Paper: 3” x 5-½”
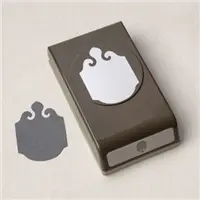
- Basic Black Cardstock” 3” scrap for punching
Project Instructions
- Cut a piece of Smoky Slate cardstock to 5-1/2” x 8-1/2”, score at 4-1/4” and fold at score line to create your base card.
- Cut a 4” x 5-1/4” piece of Very Vanilla cardstock and adhere to inside of your card base.
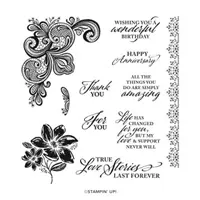
- Cut a 4” x 5-1/2” piece of Cinnamon Cider cardstock. Using the border stamp and Cinnamon Cider ink, stamp the border on each side of the cardstock. Adhere to the base card.
- Cut a 3” x 5-1/2” piece of Simply Elegant Specialty Designer Paper and set aside.
- Using a 3” scrap of Basic Black Cardstock, punch out the Elegant Tag punch. Using the Cut & Emboss Machine and the 1-1/8”circle scallop die from the Layering Circles Dies, cut a circle from a 2” scrap of Smoky Slate cardstock. Stamp the sentiment using Black Memento ink.
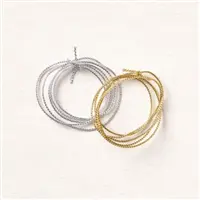
- Layer the Black Elegant Tag onto the Designer Paper from Step #4. Wrap the Silver Twine from the Simply Elegant Trim pack over the middle of the Paper/Tag and tie into a bow to the left of the Tag. Adhere the Smoky Slate circle onto Tag using Stampin’ Dimensionals to finish.

Like It? Pin It!
Be sure to pin this project to your card making boards on Pinterest if you like this project
- Get a Free Tutorial Every Week!
- Shop 24/7 in your PJ’s
- Queen Bee Rewards – Earn FREE Stamps!
- View the 2024-2025 Annual Catalog
- View NEW Online Products
- Monthly Crafting Kit
Thanks so much for stopping by today! Be sure to give this card sketch idea a try and mail it to a friend that is celebrating something! It’s so fun to make a card but it’s even more fun to send! #makeacardsendacard


