Sentimental Swirls Stamp Set by Stampin Up
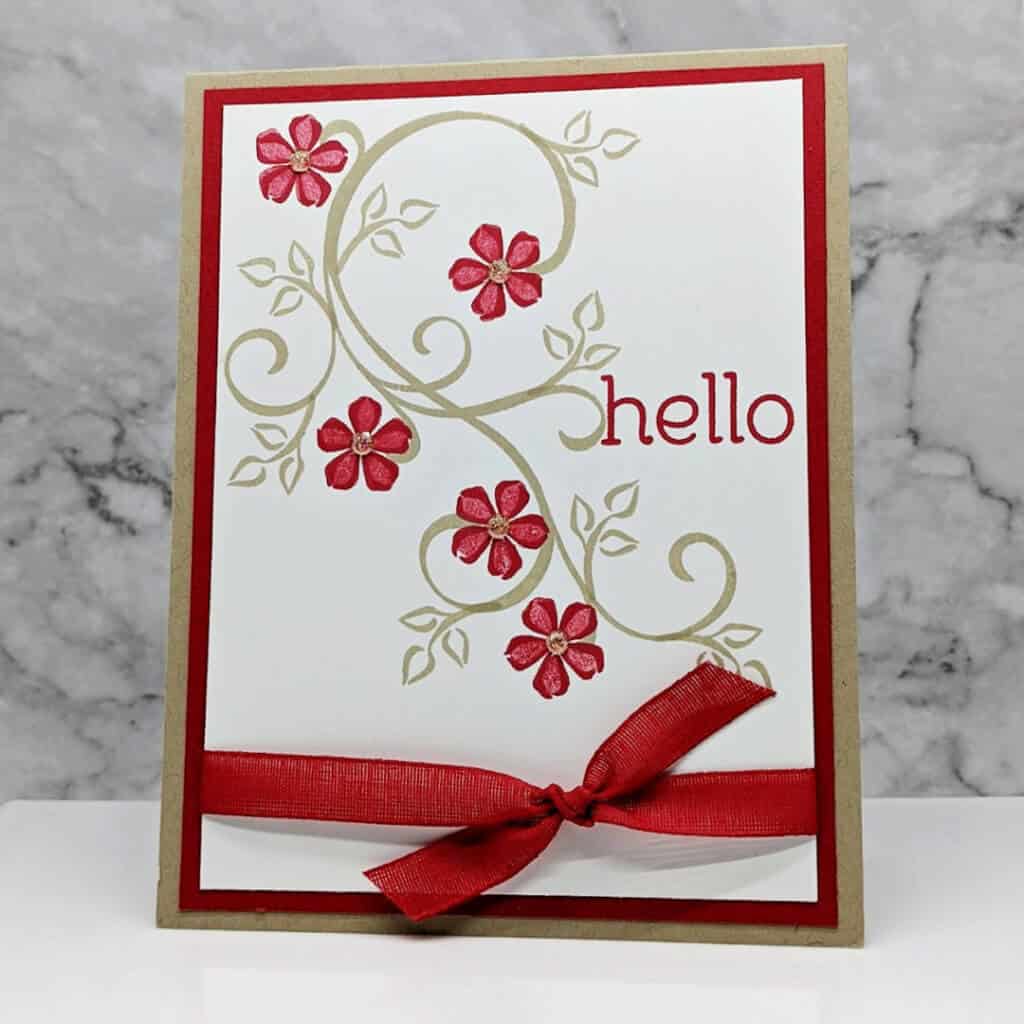
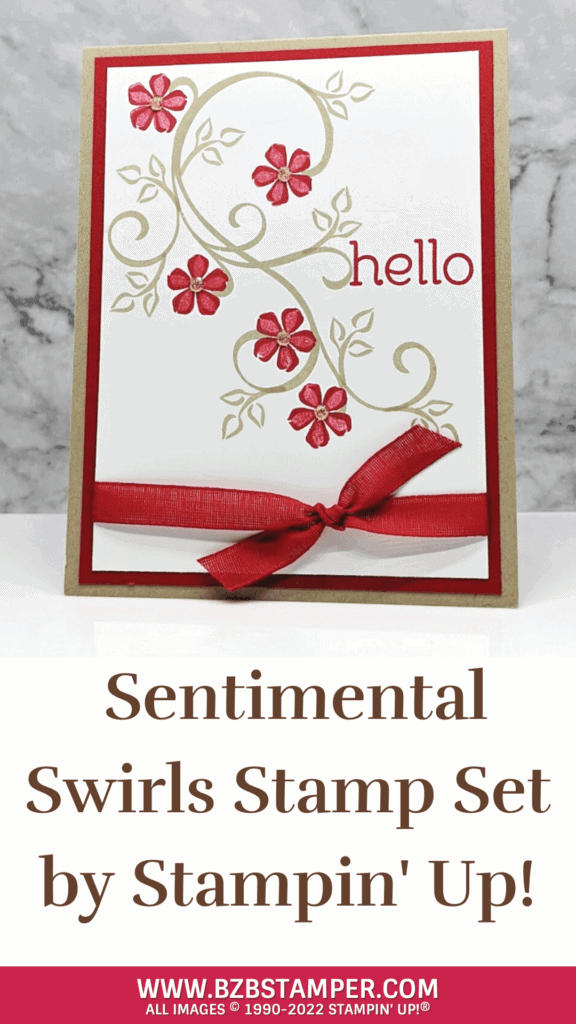
It’s easy to make your own handmade greeting card when you use the Sentimental Swirls Stamp Set by Stampin Up! Use the colors of your choice and a super simple card sketch and you’ve got a quick & easy card that will make the recipient smile!
View more stamped samples & inspiration here
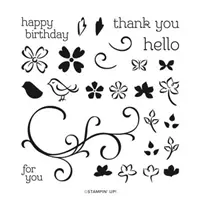
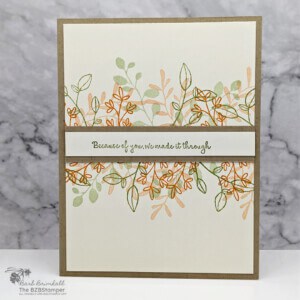
One of the things I love about the Sentimental Swirls photopolymer stamp set by Stampin’ Up! is that it’s a Two-Step set. Basically, this means that there is one stamp for one part of an image (in this case, the leaves) and another stamp for another image (in this case, a flower.) Because the images are separate, it makes inking them in different colors so easy!
Despite this being a floral image stamp set and the use of ribbon, I actually think this would make a great masculine card. But if you want a softer look or a bolder look, check out one of my other color combinations, which you can find in my Color Combination Library. You’re sure to find one that will work for you!
This is also a super simple card sketch – each layer is 1/4″ small than the other, which makes your cardstock cutting so easy! You can find the complete paper sizes, product used, and more in the downloaded Tutorial below. Enjoy!
Project Measurements
- Crumb Cake: 5-1/2” x 8-1/2”, scored at 4-1/4”
- Real Red: 4” x 5-1/4”
- Basic White: 3-3/4” x 5” and 4” x 5-1/4”
Project Instructions
1. Fold the Crumb Cake cardstock in half.
2. Adhere the 4” x 5-1/4” piece of Basic White Cardstock inside the base card.
3. Adhere the Real Red cardstock to the front of the card base.
4. Using the 3-3/4” x 5” piece of Basic White cardstock, stamp the large swirl leaf image using Crumb Cake ink.
5. Stamp the sentiment to the right of the leaf image using Real Red ink.
6. Using Real Red ink, stamp the flower outline randomly around the leaf swirl.
7. Using Real Red ink, stamp the bold flower image inside each of the outline image stamped in the previous step. Tip: if the bold image is too bold, tap off the ink on your scratch paper before stamping inside the outline image.
8. Tie about 12” of Real Red ribbon around the bottom of the Basic White cardstock and tie into a knot or bow; trim edges with the Paper Snip Scissors as needed.

Supplies Used on this Project
Pin It
Go ahead and pin this image in your “favorites” board so you can find this when you need it!
- Get a Free Tutorial Every Week!
- Shop 24/7 in your PJ’s
- Queen Bee Rewards – Earn FREE Stamps!
- View the 2024-2025 Annual Catalog
- View NEW Online Products
- Monthly Crafting Kit
Thank you so much for stopping by and checking out this papercrafting tutorial. I hope you are inspired to create and send cards. I love sharing how to make cards here on the BZBStamper blog and I can’t thank you enough for all of your support!


