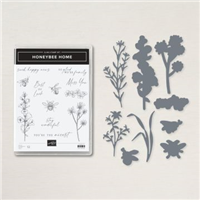
Honeybee Home Bundle by Stampin Up
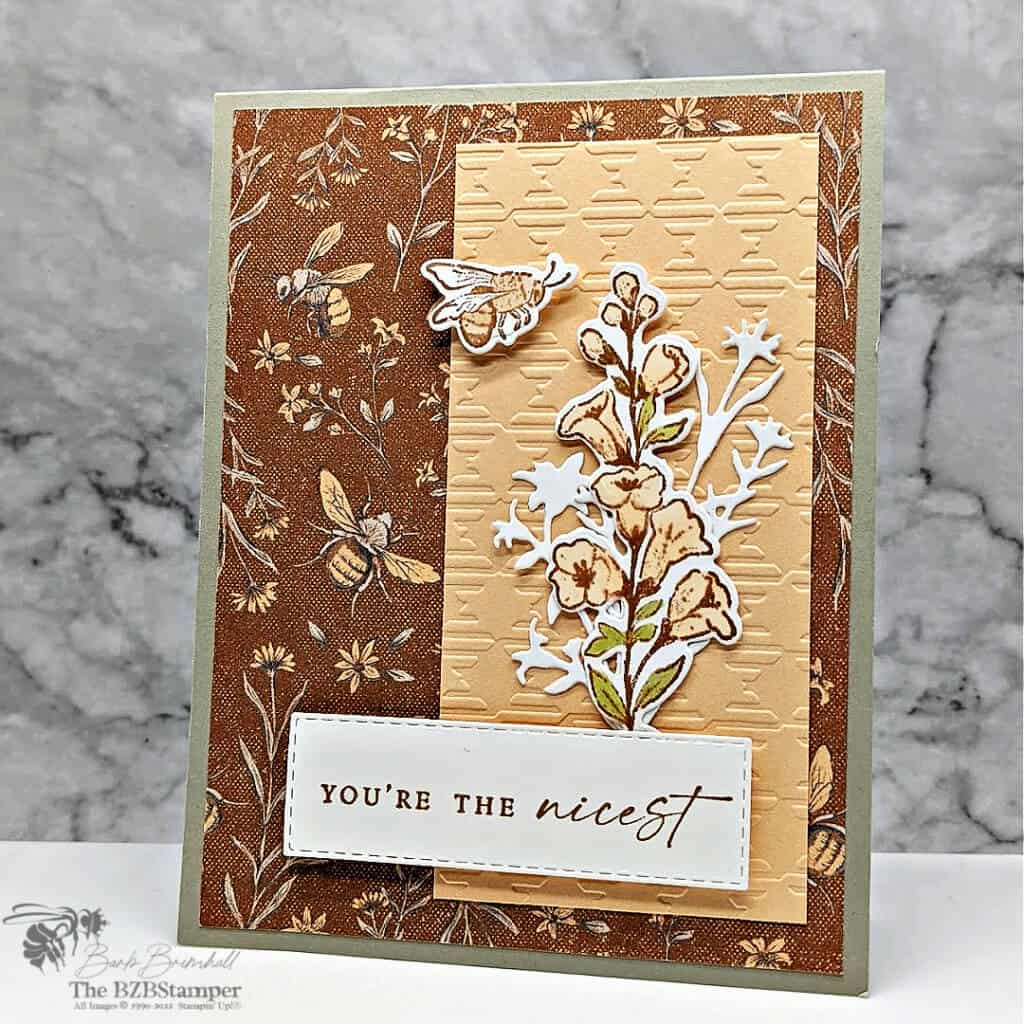
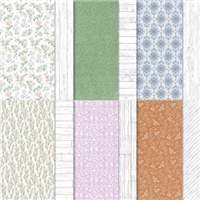
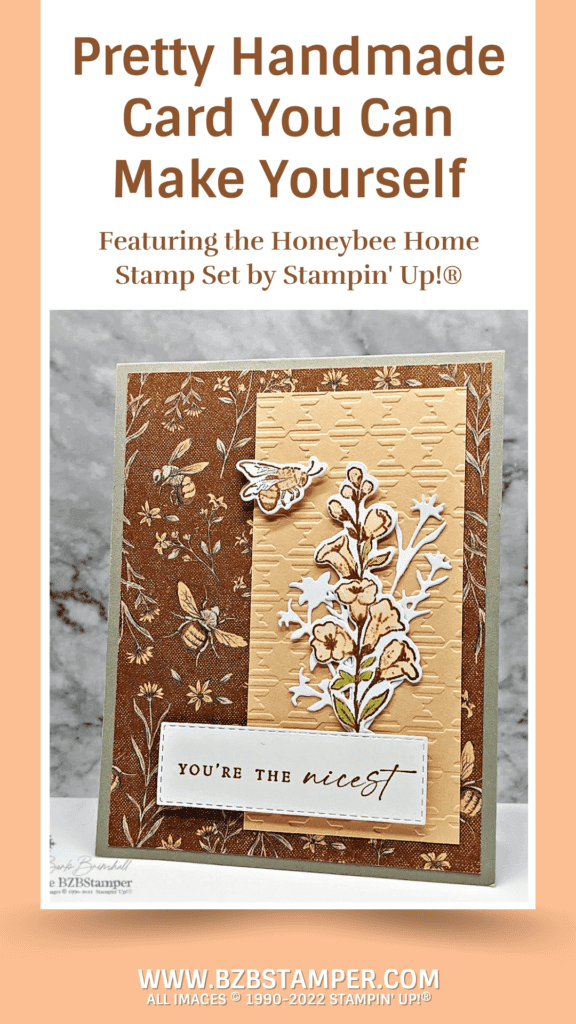
The Honeybee Home Bundle by Stampin Up is one of my favorite stamp set and die combinations, not only because I love bee images, but also because it’s coordinates beautifully with the gorgeous Heart & Home Designer Series Paper! Let me show you how easy it is to make a handmade greeting card that looks like it took hours to make, but actually only takes minutes!
View more stamped samples & inspiration here
I love, love, love this stamp set! Anything with bees makes me happy, but this stamp set and the pretty Home & Heart Designer Paper just make me swoon! I think the paper is so elegant, yet whimsical, all at the same time! (Not an easy task to accomplish!)
I also love the fonts included in this stamp set. There’s just something about a block font added to a script font that makes me smile. And this stamp set has all sorts of wonderful sentiments in exactly that type of font! You can see more cards I’ve made with this stamp set here.
This card did require the use of the Cut & Emboss Machine, but if you don’t have one, you can always fussy cut everything out by hand and just leave the Pale Papaya mat unembossed. I think it would still look great because the gorgeous designer paper really does the heavy lifting on this card!
This is also a Distinktive stamp set; it has a special texture that gives added depth and dimension in a single step, creating photo-realistic images. It’s another one of the reasons why I love this stamp set so much!
This card does have a lot of steps, so make sure you download the Tutorial below. The Tutorial will have all the products, measurements and some other tips on how to make this card. Enjoy!
Project Measurements
- Sahara Sand: 4-1/4” x 11”, scored at 5-1/2”
- Heart & Home Paper: 4” x 5-1/4”
- Pale Papaya: 2-1/4” x 4-3/4”
- Basic White: 4” x 5-1/4” (2)
Project Instructions
1. Fold the Sahara Sand cardstock in half at the score line to create the base card.
2. Adhere one of the 4” x 5-1/4” pieces of Basic White cardstock to the inside of the card base.
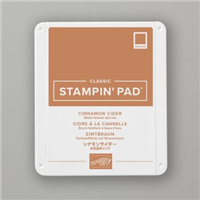
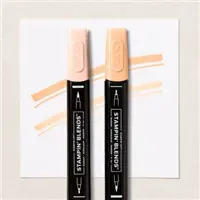
3. Using the other piece of White cardstock, stamp the bee and the flower image using Cinnamon Cider Ink. Color in the bee using the Light Ivory Blend on the bee. Color in the floral image using the Light Pale Papaya and Light Old Olive Blends.
4. Cut out the bee & floral images using the appropriate dies from the Honeybee Blooms Dies (part of the Bundle) and Cut & Emboss Machine.
5. Using the remaining Basic White cardstock, cut out another floral image using the same dies and the approximately 1” x 3” stitched rectangle using the Rectangle Stitched Dies.
6. Using the die-cut stitched rectangle, stamp the sentiment using Cinnamon Cider Ink Pad.
7. Layer the Heart & Home paper to the front of the card base.
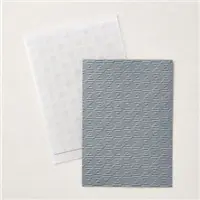
8. Using the Cut & Emboss Machine and the Gingham Embossing Folder, emboss the Pale Papaya cardstock and adhere to the right side of card base.
9. Adhere the White floral die-cut from Step #5 to the Pale Papaya using adhesive. Adhere the stamped & colored floral image over the White floral die-cut using Stampin’ Dimensionals.
10. Add the bee to the left side of the floral images using Stampin’ Dimensionals.
11. To finish, adhere the sentiment rectangle to the bottom of the card, slightly overlapping the floral images, using Stampin’ Dimensionals.

Supplies Used on this Project
Pin It
Like this project? Be sure to pin it so you can easily find it again. It will take you right back here to all the details of the card.
- Get a Free Tutorial Every Week!
- Shop 24/7 in your PJ’s
- Queen Bee Rewards – Earn FREE Stamps!
- View the 2024-2025 Annual Catalog
- View NEW Online Products
- Monthly Crafting Kit
Thanks so much for stopping by today! Be sure to give this card sketch idea a try and mail it to a friend who is celebrating something! It’s so fun to make a card but it’s even more fun to send! #makeacardsendacard


