Make Your Own Watercolor Background
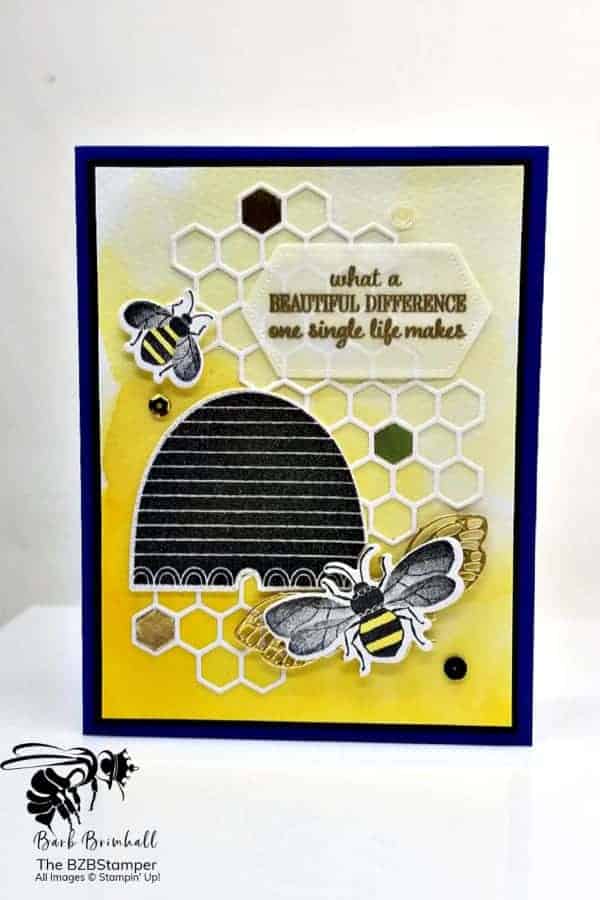
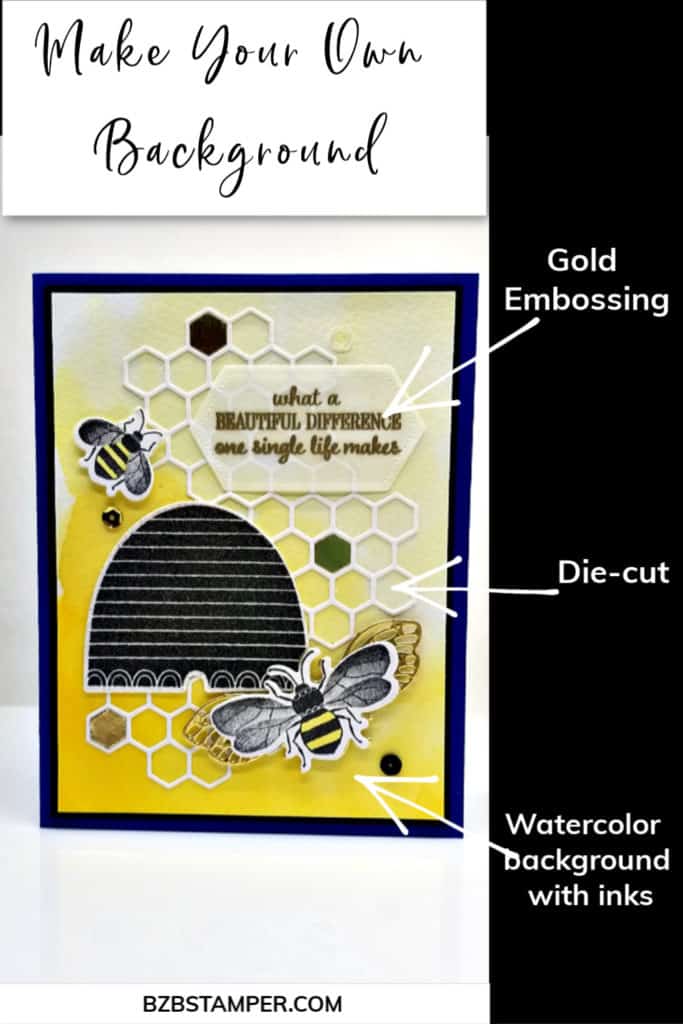
This elegant card was taken up a notch by making a special watercolor background to show off the gorgeous gold elements used in the card.
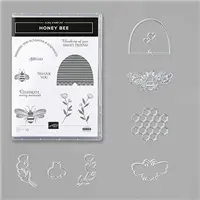
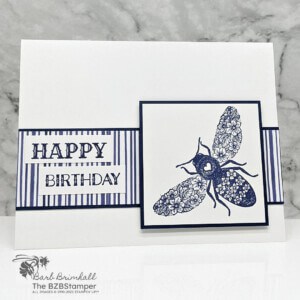
It probably won’t surprise anyone that I’m in love with the Honey Bee Stamp Set by Stampin’ Up!® I rarely make cards this complicated, but I couldn’t resist making this card. It took quite a bit of time but I think it was so worth it!
The coordinating Detailed Bee dies make this card easier to put together than it looks. And the use of the Watercolor Background just makes this entire card POP! Here’s how this card was made:
Measurements:
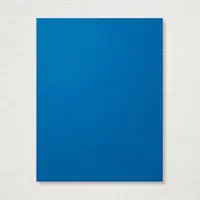
- Blueberry Bushel 4-1/4” x 11”, scored at 5-1/2”
- Whisper White 4” x 5-1/4” (2) 1 for inside card, other for die cutting
- Basic Black: 4” x 5-1/4”
- Watercolor Paper: 3-7/8” x 5-1/8”
- Vellum & Gold Foil: 3” x 3” Scraps for die-cutting
Instructions:
- Fold the 4-1/4” x 11” piece of Blueberry Bushel cardstock in half to create basecard.
- Adhere the 4” x 5-1/4” mat of Whisper White inside the card.
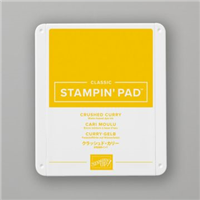
- Squeeze the lid of the Crushed Curry ink pad and use your Aqua Painter to create swirls of Crushed Curry ink, moving from the bottom up to create an ombre effect. Set aside to dry.
- Stamp the Hive and the 2 bees onto the scrap of Whisper White cardstock using Memento Black ink; cut out using the corresponding dies.
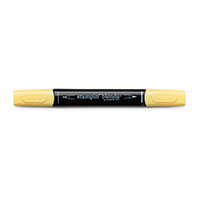
- Color the bee’s using the Light Daffodil Delight Blend and highlight both bees & the Hive with Wink of Stella. Set aside.
- Using remaining White Cardstock, cut out 3 sets of the honeycomb.
- Using the Gold Foil paper, cut one partial set of the honeycomb (enough for 3 gold hexagons) and one ornate bee.
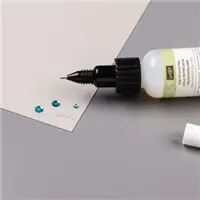
- Mount the Watercolor Paper onto the Basic Black mat. Using the Fine-Tip Glue Pen, glue down the white honeycomb shapes. Glue the Hive over the Honeycombs. Adhere the large stamped bee over the Gold ornate bee and apply to card using Dimensionals. Apply small bee to card using Dimensional.
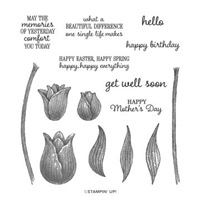
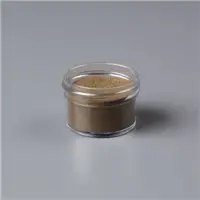
- Using the sentiment from Timeless Tulip, stamp in Versamark into the scrap of Vellum Cardstock and heat emboss using Gold Embossing Powder & your heat tool. Cut the sentiment using the appropriate die from the Stitched Nested Labels. Apply to card with Liquid Glue.
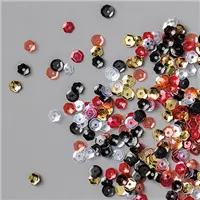
- Use the Fine-Tip Glue Pen to apply a black, gold & clear sequin, as well as 3 Gold Foil hexagons inside the honeycomb.
Supplies Used:
Pin It
Like this project? Be sure to pin it so you can easily find it again It will take you right back here to all the details of the card.
- Get a Free Tutorial Every Week!
- Shop 24/7 in your PJ’s
- Queen Bee Rewards – Earn FREE Stamps!
- View the 2024-2025 Annual Catalog
- View NEW Online Products
- Monthly Crafting Kit
Thanks so much for stopping by today! Be sure to give this card a try and mail it to a friend that is celebrating something BIG!


