Hey Birthday Chick Bundle by Stampin’ Up!
Need a fun birthday card for your bestie? The Hey Birthday Chick Bundle by Stampin’ Up! will provide you with all the fun images you’ll need!
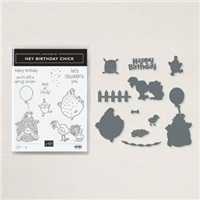
Flock to the fun with the Hey Birthday Chick Stamp Set. It’s “chick” full of celebratory images and phrases you can use to make any birthday delightful. These quirky line-art chicks are ready to be stamped and colored using your favorite coloring technique.
But it’s not just for birthdays! Use this set to celebrate friendship, celebrations and more!
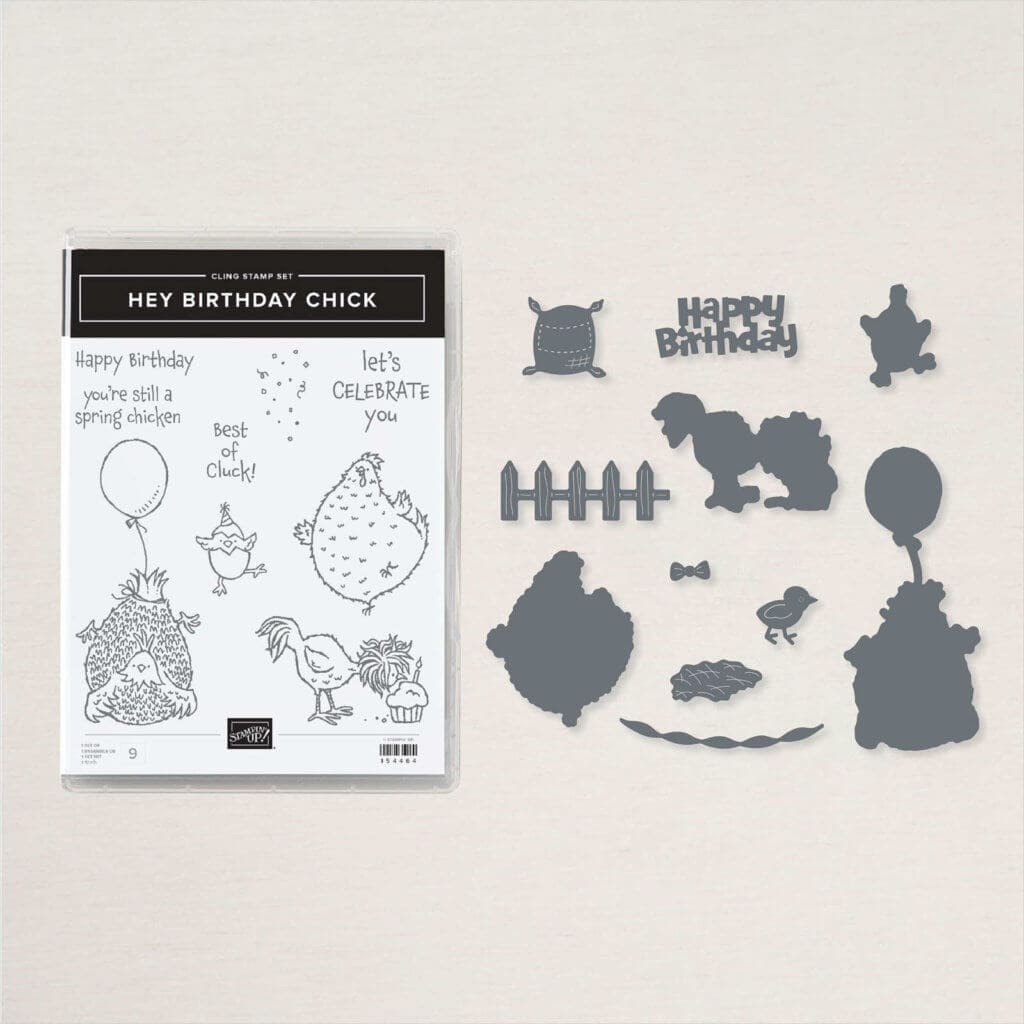
The Stamp Set comes bundled with the Birthday Chick Dies, an 11-piece coordinating die set. Time for a birthday bash? Break out the Dies to create chicken and fence images, along with a celebratory bow, garland, and more. Use them together to create an amazing birthday or celebration scene.
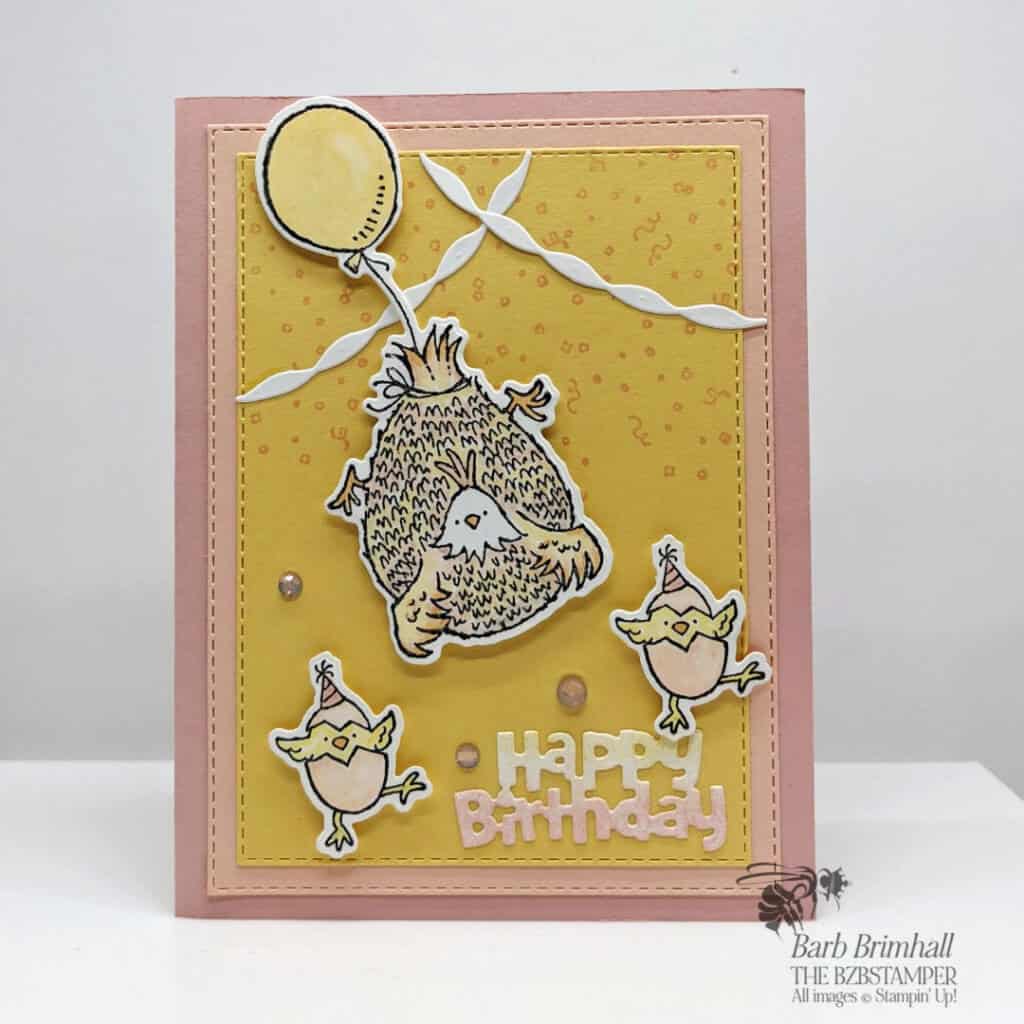
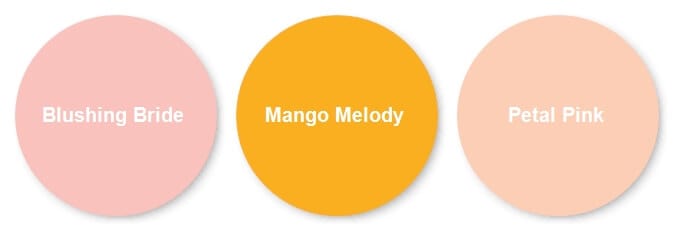
One of my favorite things about the Hey Birthday Chick Bundle is that you can use the same design over & over again but just use different colors to make it look totally diferent. For today’s card, I needed a birthday card for one of good friends who likes pastels, so I went with pinks – but added my favorite Mango Melody for a pop of color! Here’s my color combination:
Supplies Used on This Project
Project Measurements
- Blushing Bride Cardstock: 5-1/2″ x 8-1/2″
- Basic White Cardstock: 4″ x 5-1/4″ and 4-1/4″ x 5-1/2″ for die-cutting and stamping images
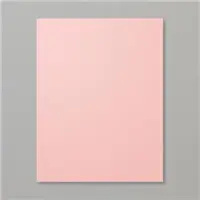
- Petal Pink Cardstock: 4-1/4″ x 5-1/2″ for die cut
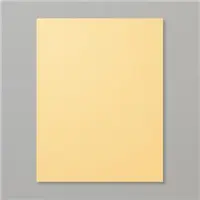
- So Saffron Cardstock: 4-1/4″ x 5-1/2″ for die cut
Project Instructions
- Cut a 5-1/2” x 8-1/2” piece of Blushing Bride Cardstock, score at 4-1/4” and fold to make card base. Cut a piece of Basic White Cardstock to 4” x 5-1/4” and adhere to inside of card.
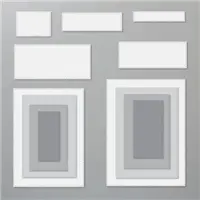
- Using the Cut & Emboss Machine and the 3-3/4” x 5-1/8” Stitched Rectangle die, cut a piece of Petal Pink cardstock. Using the 3-3/8” x 4-3/4” Stitched Rectangle die, cut a piece of So Saffron cardstock. Using a half sheet of Basic White Cardstock, stamp one of the “balloon chicken” and 2 of the “happy egg chicken” using Black Memento ink. Cut those 3 images out using the Birthday Chick Dies, as well as the “Happy Birthday” sentiment and 2 of the streamers.
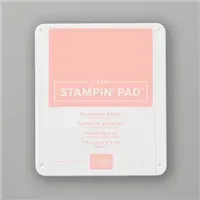
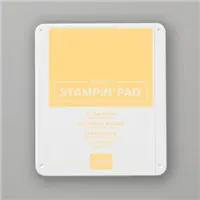
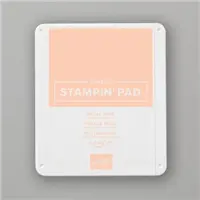
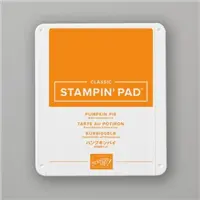
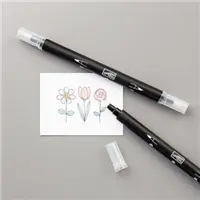
- Color in the chicken images using Blender Pens with the So Saffron, Petal Pink, Blushing Bride and Pumpkin Pie ink pads. (Tip: while the ink pad is closed, squeeze the pad together until ink is on the inside lid of the ink pad. Use your Blender Pen to pick up ink from the lid of the ink pad. Clean your Blender Pen in-between color changes by lighting swirling over a piece of scratch paper to remove ink.)
- Using the Blushing Bride ink pad, stamp the confetti on the top part of the So Saffron Stitched Rectangle.
- Using the Blushing Bride & So Saffron ink pads, lightly sponge So Saffron ink on the “happy” and Blushing Bride or Petal Pink ink on the “birthday”. Adhere to the So Saffron mat using Liquid Adhesive.
- Using Liquid Adhesive, adhere the 2 streamers to the top of the So Saffron rectangle, trimming if desired. Adhere the So Saffron mat to the Petal Pink mat and adhere to base card.
- Add the Chickens using Stampin’ Dimensionals.
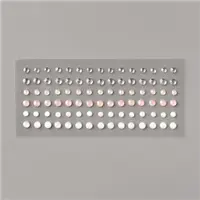
- Add 3 of the Elegant Faceted Gems as desired to finish.

Pin It For Later!
Don’t forget to pin this image below to your Pinterest boards.

- Get a Free Tutorial Every Week!
- Shop 24/7 in your PJ’s
- Queen Bee Rewards – Earn FREE Stamps!
- View the 2023-2024 Annual Catalog
- View the 2023 Winter Holiday Catalog
- View NEW Online Products
- Monthly Crafting Kit
Thank you so much for stopping by today. I hope you are inspired to create today, whether it is this simple and cute handmade card or another cardmaking project. My goal is to help you enjoy some creative joy! Keep checking back for more projects.


