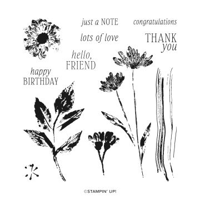
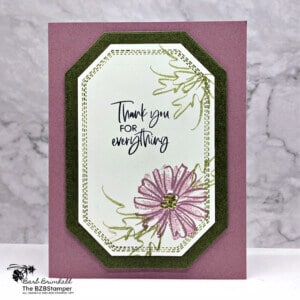
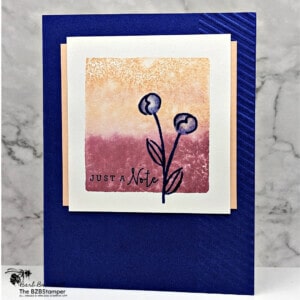
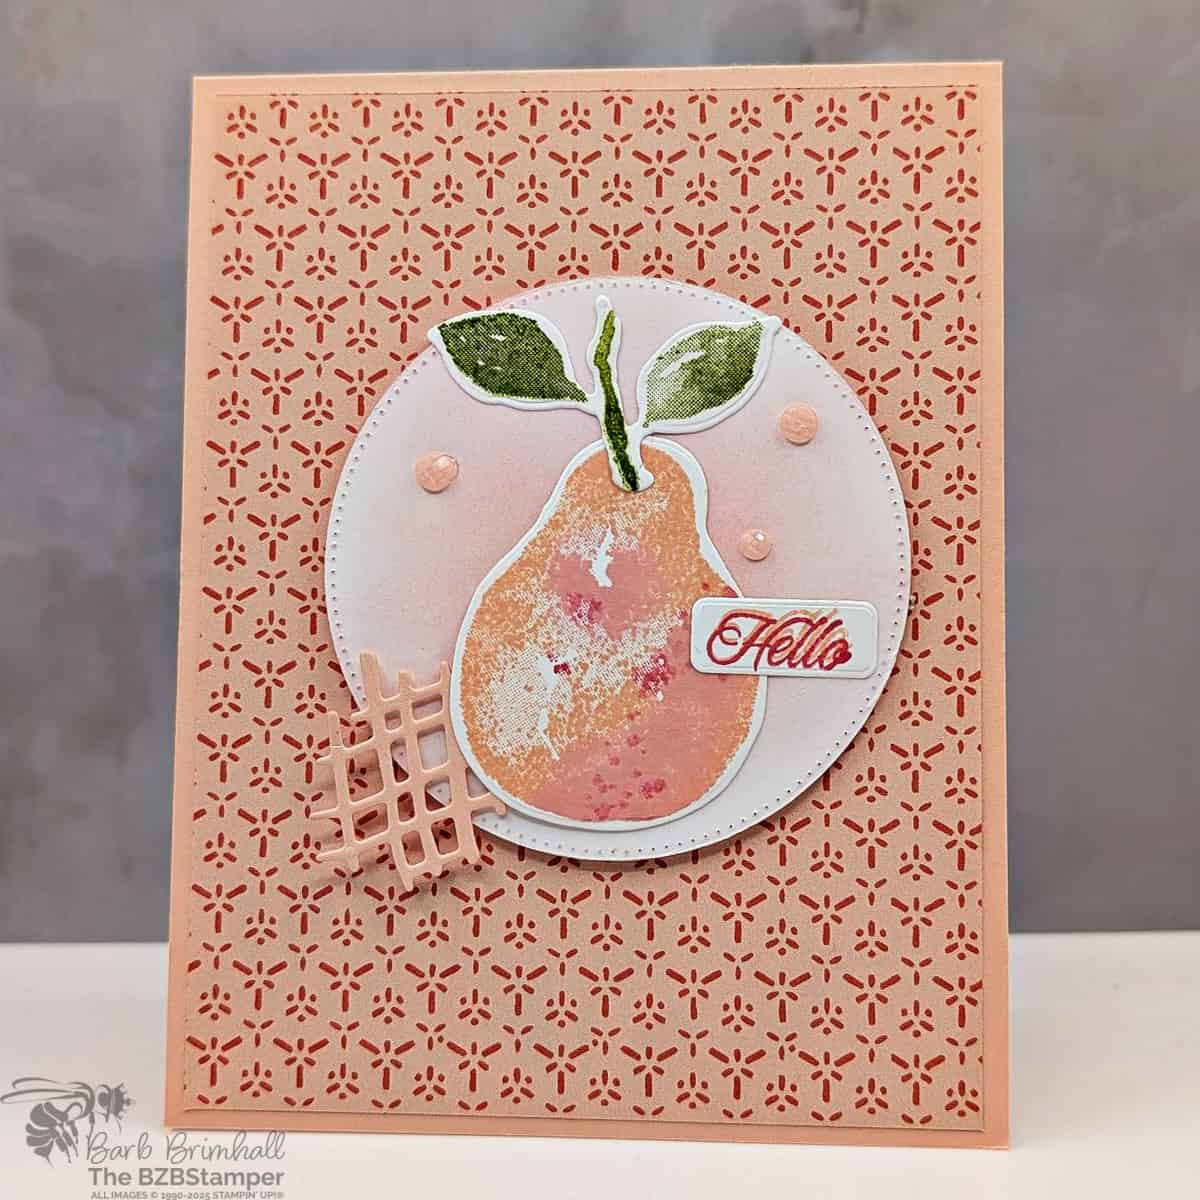
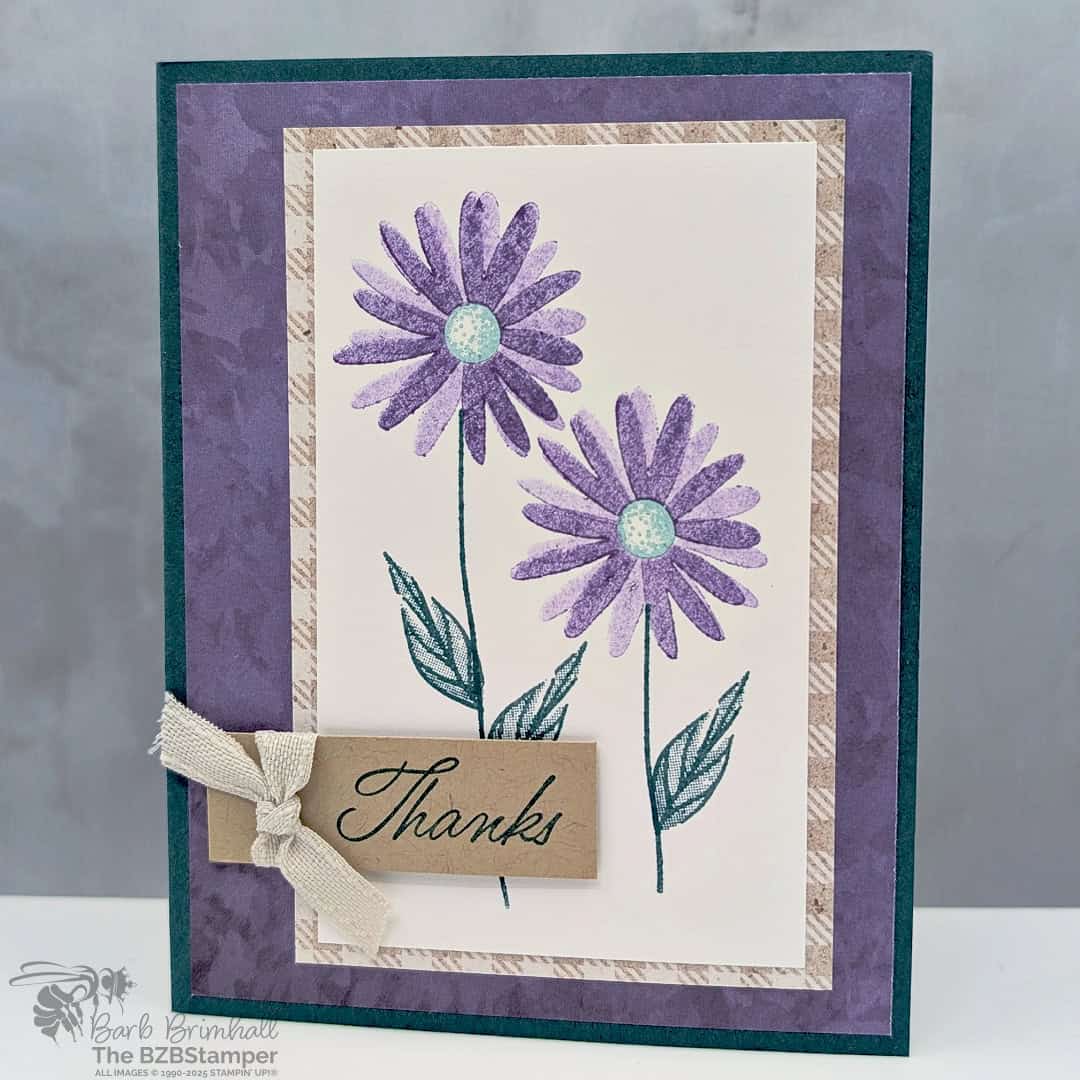
Inked and Tiled Stamp Set
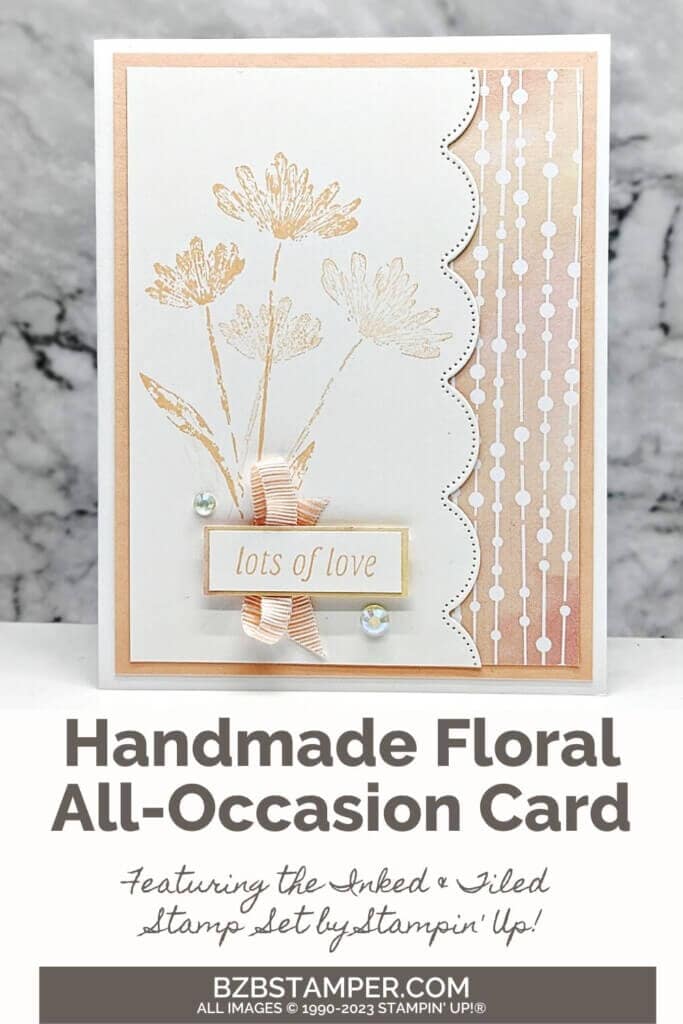
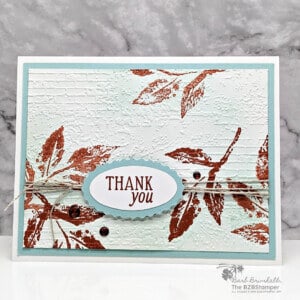
Nature has a way of captivating our hearts and inspiring our creativity. If you’re seeking to bring a slice of the great outdoors into your projects, then look no further than the stunning Inked and Tiled Stamp Set by Stampin’ Up! This remarkable stamp set beautifully captures the essence of nature with its exquisite botanical designs. Each stamp features a pressed look, adding a touch of vintage charm to your creations. Whether you’re crafting cards, scrapbooking, or creating beautiful mixed media pieces, the Inked & Tiled Stamp Set will infuse your projects with the beauty and serenity of the natural world. Join us as we embark on a journey of artistic exploration with this remarkable set.
View more stamped samples & inspiration here
Project Measurements
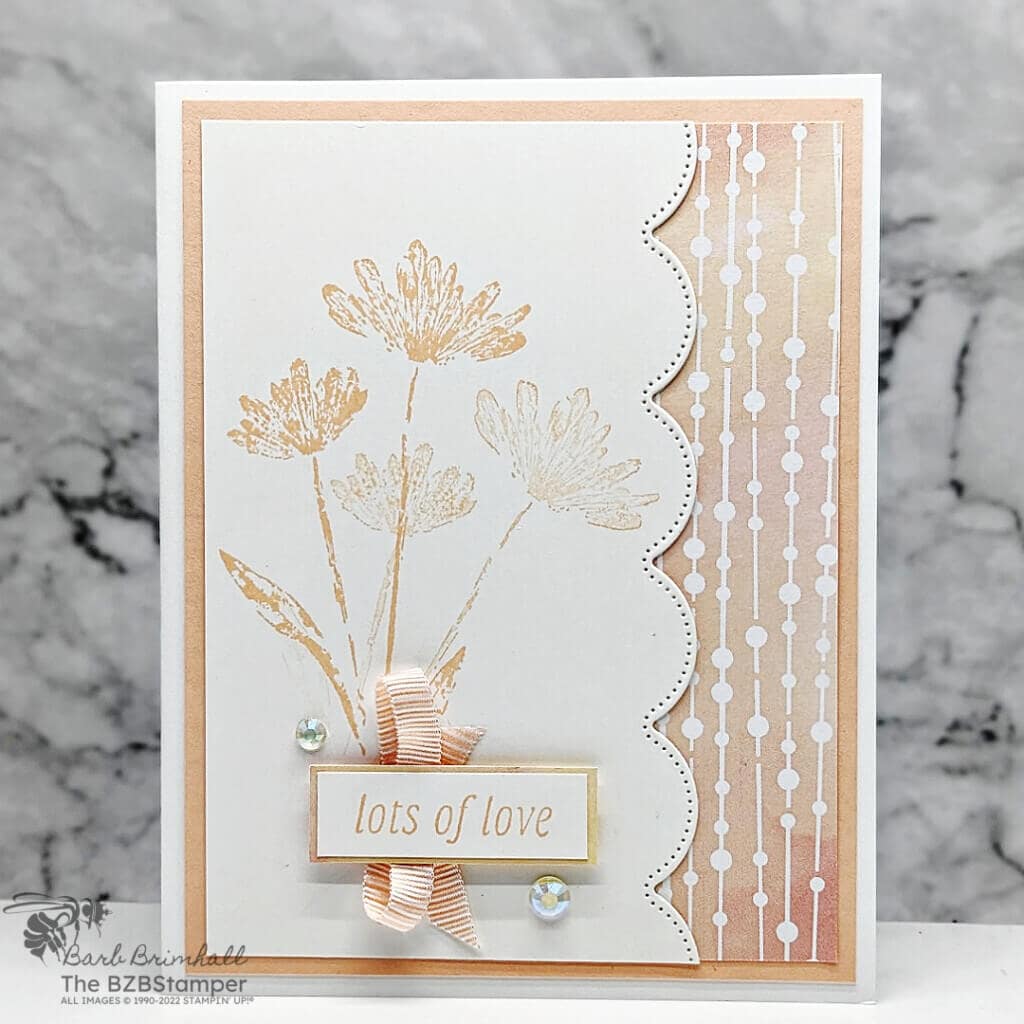
- Basic White Cardstock: 5-1/2″ x 8-1/2″, scored at 4-1/4″
- Petal Pink Cardstock: 4″ x 5-1/4″
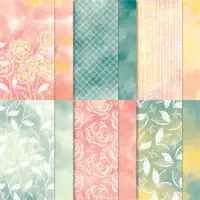
- Hello, Irresistible Paper: 1-1/2″ x 5″
- Basic White: 3-1/4″ x 5″
- Petal Pink: 5/8″ x 1-3/4″
- Basic White: 1/2″ x 1-5/8
Instructions
- Fold the Basic White cardstock in half at the score line and burnish well with the Bone Folder to create your card base.
- Adhere the Hello, Irresistible Paper to the right side of the Petal Pink cardstock. Adhere the Petal Pink cardstock to the card base.
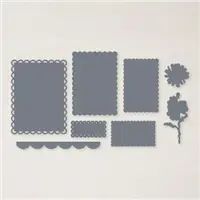
- Using the 3-1/4″ x 5″ piece of Basic White cardstock, run through the Stampin’ Cut & Emboss Machine using the long scallop die that comes in the Scalloped Contours Dies to cut off the right side of the cardstock.
- Using the die-cut cardstock, stamp the long flower once using Petal Pink ink. Stamp again without reinking just to the right of that at a slight angle. Adhere the White Cardstock to the front of the card as shown in the sample.
- Stamp the sentiment onto the 1/2″ strip of Basic White cardstock using Petal Pink ink. Adhere to the slightly larger Petal Pink cardstock.
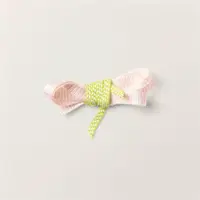
- Cut 5″ of ribbon and create a “z” fold back onto itself, then adhere to the back of the Petal Pink sentiment strip, taping down with scotch tape to secure it.
- Adhere the sentiment strip to the cardfront using Stampin’ Dimensionals.
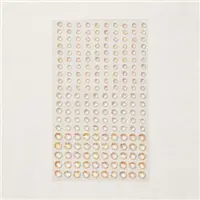
- To finish, add 2-3 of the Iridescent Rhinestone Basic Jewels in various sizes as desired.
Supplies Used in this Project
Sale: $10.62
Price: $12.50
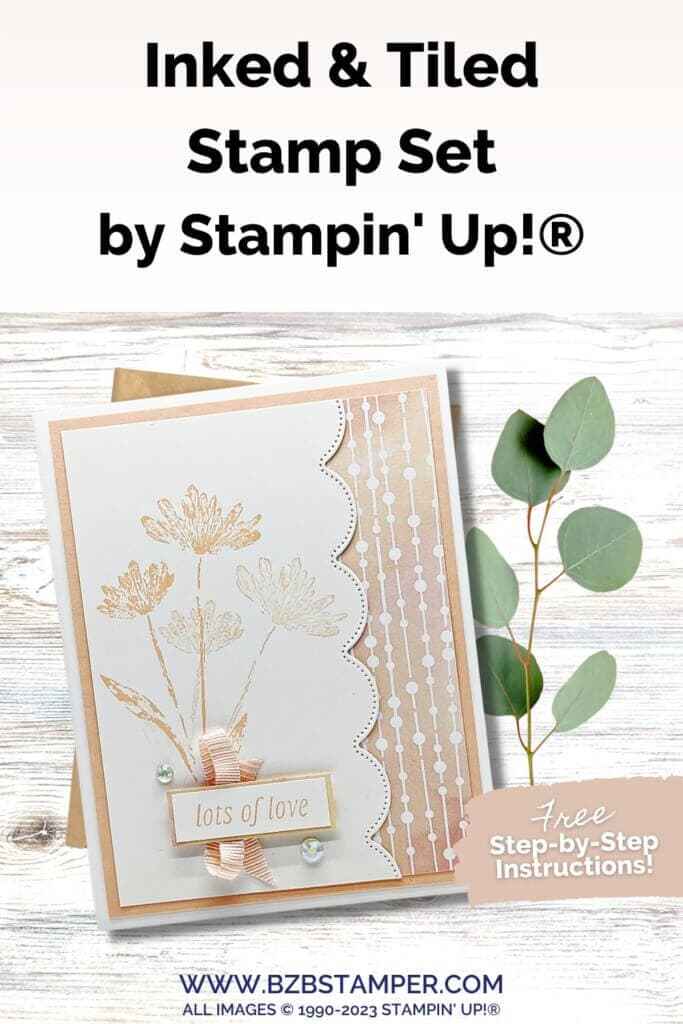
Pin It!
Now it’s your turn to give this card a try. Order your supplies and plan a fun afternoon of papercrafting 🙂.
Thank you so much for stopping by! I hope you feel inspired to create and that you also feel you have all the info you need to make this card with these instructions. If you aren’t sure about something or would like more detailed directions on how to make this card, feel free to email me. I’m here to help!


