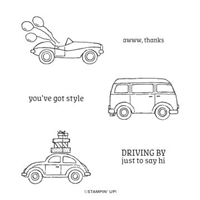
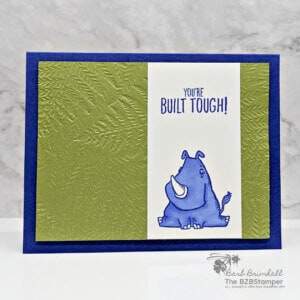
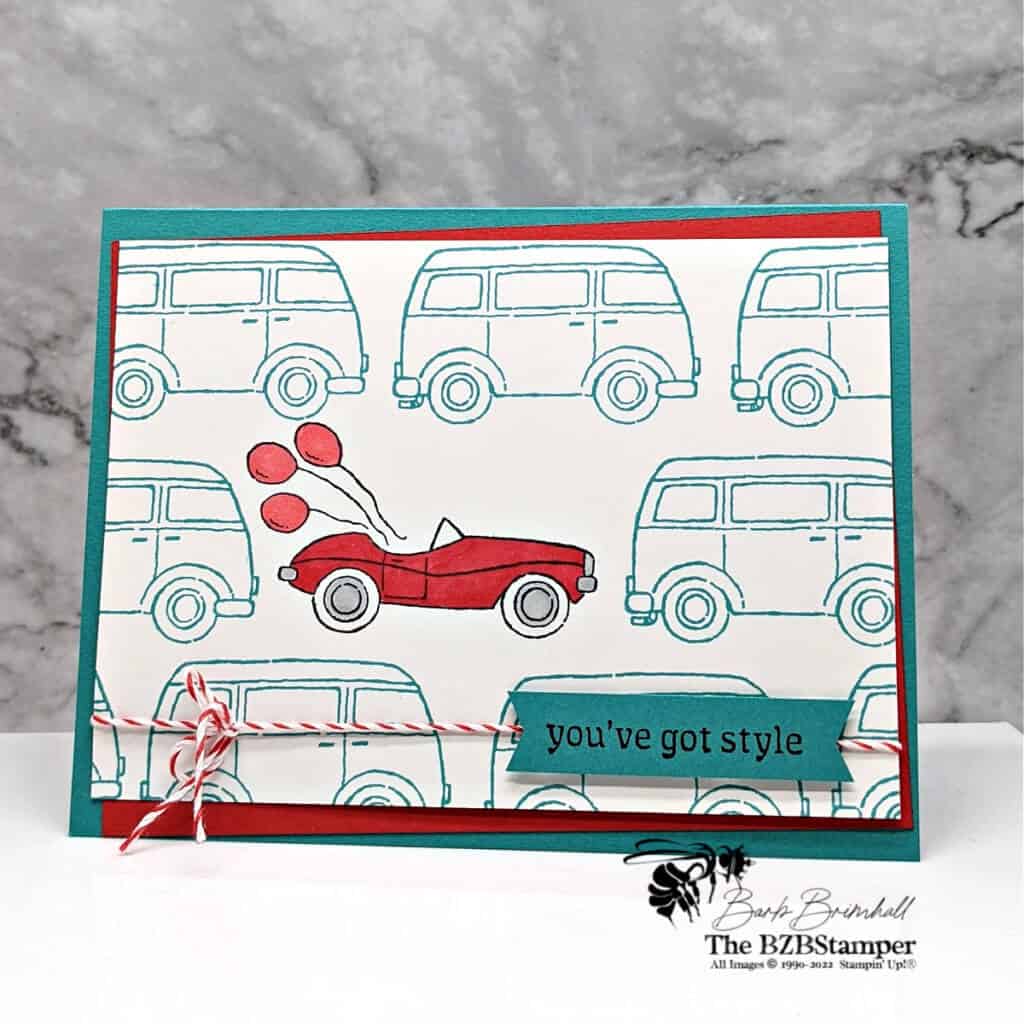
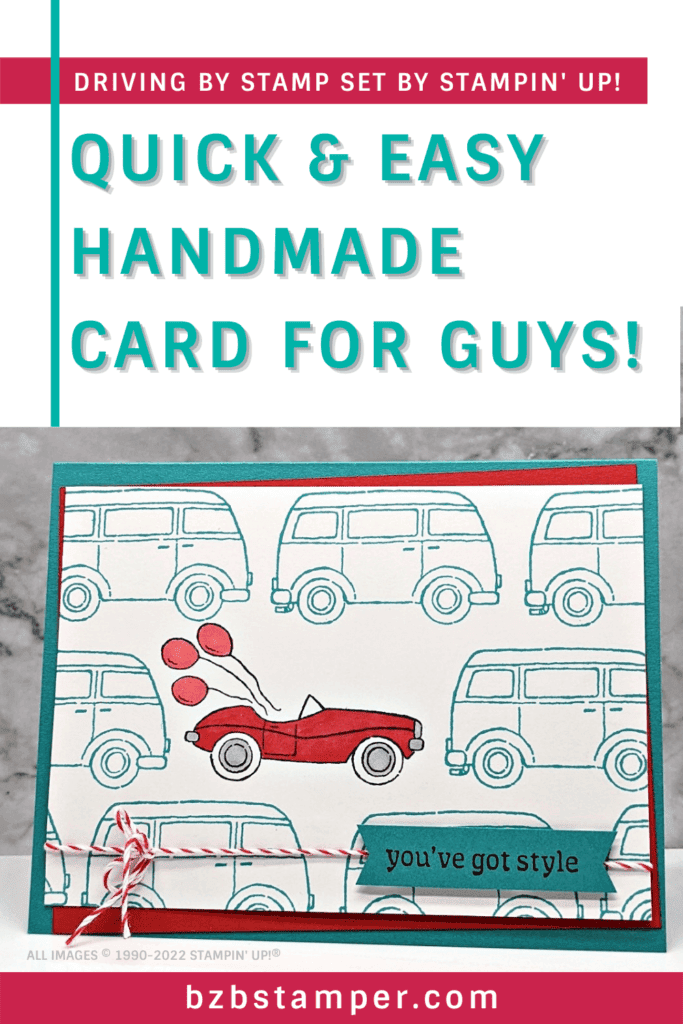
If you find making a handmade greeting card for the guys in your life difficult, check out this fun card featuring the Driving By Stamp Set from Stampin’ Up!
View more stamped samples & inspiration here
One of the requests I get the most from my customers is “Barb, I need some more masculine card ideas!” I just love the Driving By Stamp Set by Stampin’ Up! cuz it’s perfect for making up a bunch of masculine cards! With fun car images, you’re sure to find an image that’s perfect for all the guys in your life!
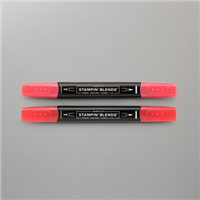
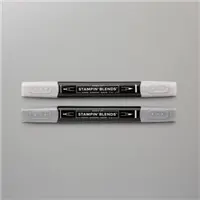
For this card, I went with bright colors, but if you’d like something a bit more subdued, you can find tons of inspiration in my Color Combination Library. I used only 2 colors of ink and then colored in the focal image with coordinating Stampin’ Blends, our alcohol markers.
For your convenience, I have a written card tutorial, which you can download below. Let’s dive into how I made this card…
Project Measurements
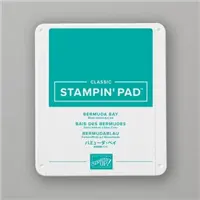
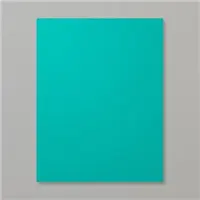
- Bermuda Bay: 5 ½” x 8 ½” scored at 4 ¼” and 1/2” x 2-1/4”
- Basic White: 4” x 5-1/4” and 3-3/4” x 5-1/4”
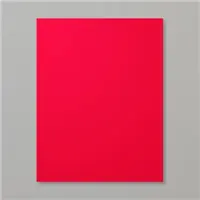
- Poppy Parade: 4” x 5-1/4”
Project Instructions
1. Fold the 5-1/2” x 8-1/2” piece of Bermuda Bay cardstock in half at the score line. Burnish well with your Bone Folder to create a crisp fold.
2. Adhere the 4” x 5-1/4” piece of Basic White cardstock inside your card.
3. Adhere the Poppy Parade cardstock onto the base card at an angle.
4. Using the 3-3/4” x 5-1/4” piece of Basic White cardstock, stamp the car in the center of the cardstock using Memento Black Ink. Color in the car using the Poppy Parade Dark Blend and the Balloons using the Poppy Parade Light Blend. Color in the Wheel Rims & Bumpers using the Smoky Slate Blends.
5. Using the Bermuda Bay Ink Pad, stamp the car to the left, right, above & below and the black car, re-inking the stamp each time. Don’t worry about them being straight or evenly spaced.
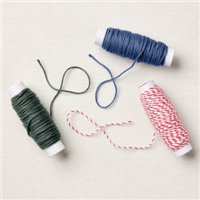
6. Using about 18” of the Poppy Parade Baker’s twine, wrap it around the Basic White cardstock and tie into a bow on the left side. Adhere to the base card.
7. Using the 1/2” strip of Bermuda Bay cardstock, stamp the sentiment using Black Memento ink, “flag notch” both ends using your Paper Snips and adhere to the card using Stampin’ Dimensionals to finish.

Supplies Used on this Project
Save It!
Now it’s your turn to give this card a try. Order your supplies and plan a fun afternoon of papercrafting 🙂.
- Get a Free Tutorial Every Week!
- Shop 24/7 in your PJ’s
- Queen Bee Rewards – Earn FREE Stamps!
- View the 2024-2025 Annual Catalog
- View NEW Online Products
- Monthly Crafting Kit
Thank you so much for stopping by! I hope you feel inspired to create and that you also feel you have all the info you need to make this card with these instructions. If you aren’t sure about something, please comment below. I’m here to help!


