Color And Contour Bundle by Stampin’ Up!
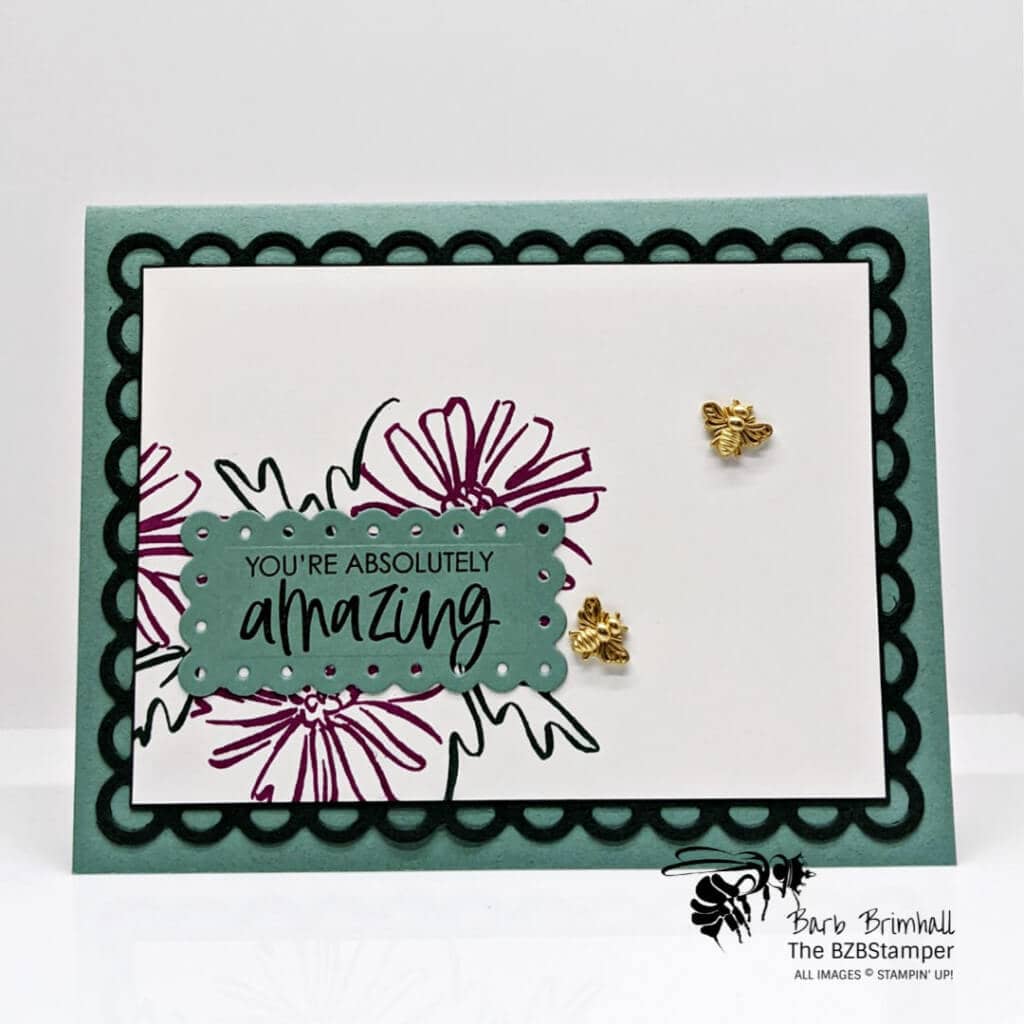
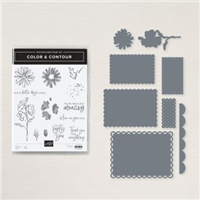
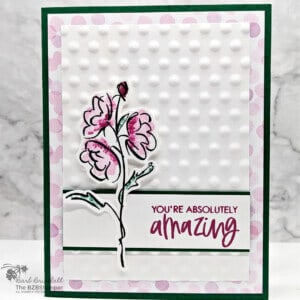
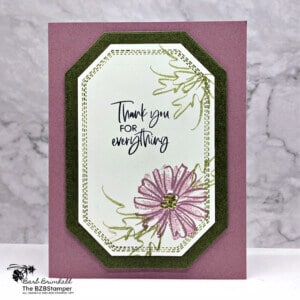
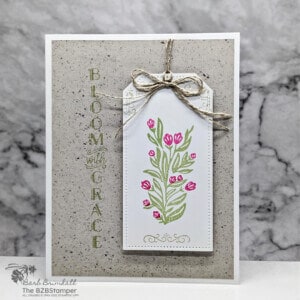
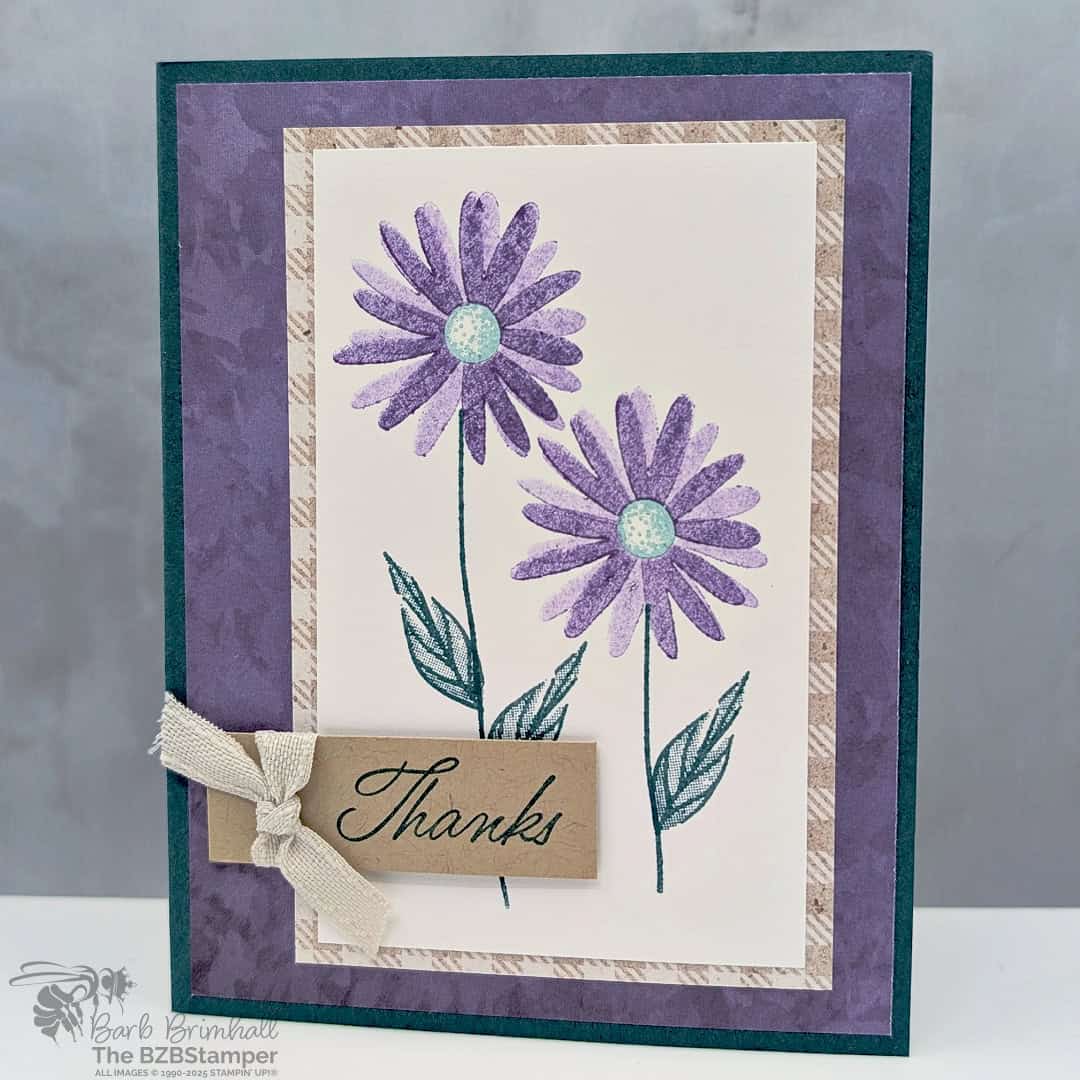
Get creatively colorful with the Color And Contour Bundle by Stampin’ Up! The open-line floral art and abstract filler stamps allow for a range of coloring techniques.
The Color & Contour Bundle is such a versatile one! Not only do the Scalloped Contours Dies include a variety of dies to cut out your floral shapes, this set also includes a number of scalloped border dies for all your decorating desires! The scalloped edge borders in this set range in size, allowing you to decorate a card front or create scalloped labels for your sentiments.
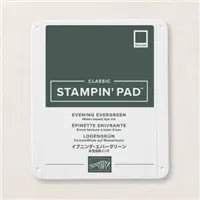
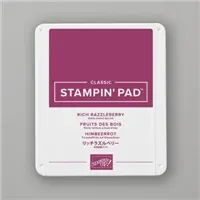
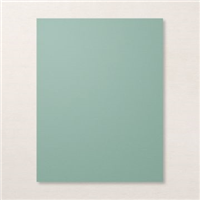
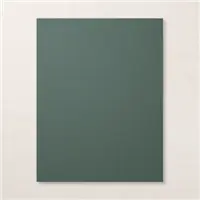
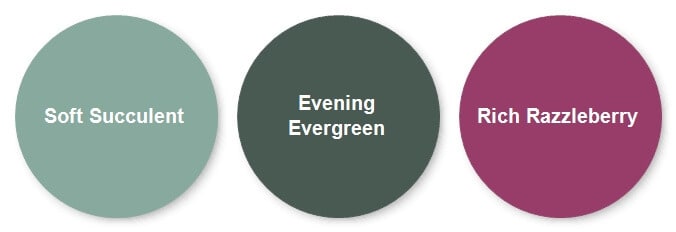
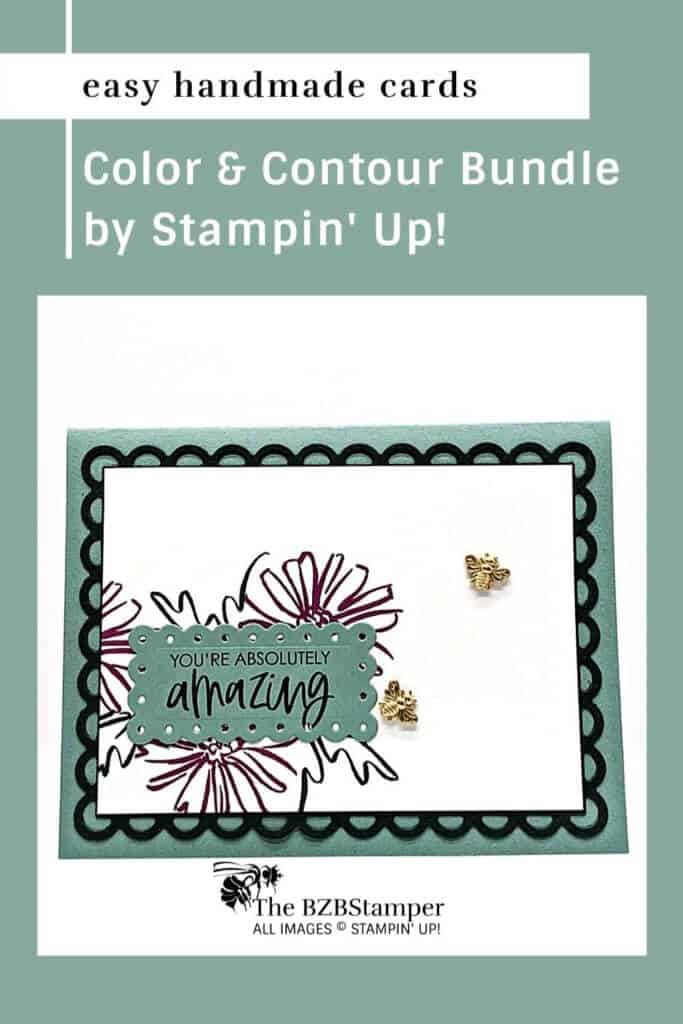
For this card, I used one of my favorite new color combinations, using 2 of the latest 2021-2022 In Colors and pairing it with an old favorite, Rich Razzleberry:
Supplies Used on this Project
Card Measurements
- Soft Succulent Cardstock: 5-½” x 8-½” and 2” x 3” scrap for die cutting
- Evening Evergreen Cardstock: 4-¼” x 5-½”
- Basic White Cardstock: 4” x 5-¼” and 3-⅜” x 4-¾”
Project Instructions
- Cut a piece of Soft Succulent cardstock”, score at 4-1/4” and fold at score line to create your base card.
- Cut a 4” x 5-1/4” piece of Basic White cardstock and adhere inside your base card.
- Cut a 4-1/4” x 5-1/2” piece of Evening Evergreen cardstock. Run through the Cut & Emboss Machine using the largest die from the Bundle.
- Cut a 3-3/8” x 4-3/4” piece of Basic White Cardstock. Using the Rich Razzleberry ink, stamp the flower 3 times in the lower left corner, leaving room for the leaves. Using the Evening Evergreen ink pad, stmap the leaves around the flowers. Adhere to the Evening Evergreen die from the previous step and adhere to the base card.
- Using a 2” x 3” piece of Soft Succulent cardstock, stamp the sentiment into the center using Evening Evergreen ink. Run this piece through the Cut & Emboss Machine using the appropriate label die to cut out. Layer onto base card over the flowers.
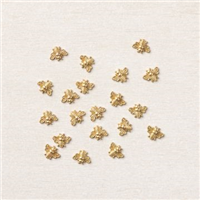
- Add 2 Bumblebee Trinkets using either Glue Dots or your Liquid Adhesive to finish.

Like It? Pin It!
Be sure to pin this project to your card making boards on Pinterest if you like this project
- Get a Free Tutorial Every Week!
- Shop 24/7 in your PJ’s
- Queen Bee Rewards – Earn FREE Stamps!
- View the 2024-2025 Annual Catalog
- View NEW Online Products
- Monthly Crafting Kit
Try this card sketch idea with different sentiments and colors and you’ll have a card in minutes! Leave me a comment and let me know how you’d tweak this card.


