Color and Contour Stamped Card for All Occasions
View more stamped samples & inspiration here
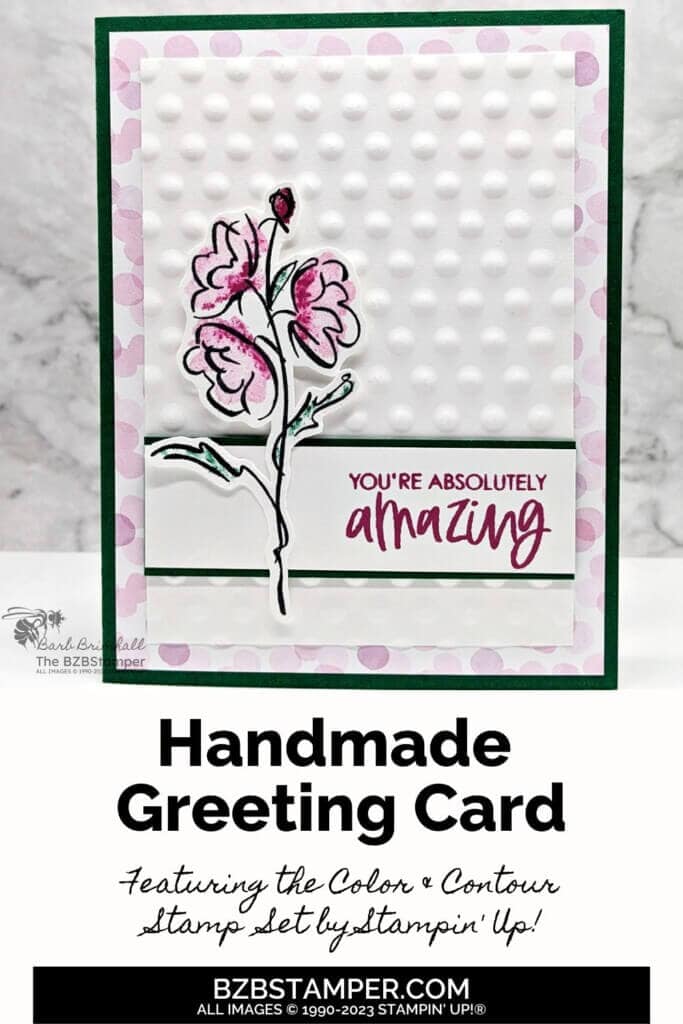
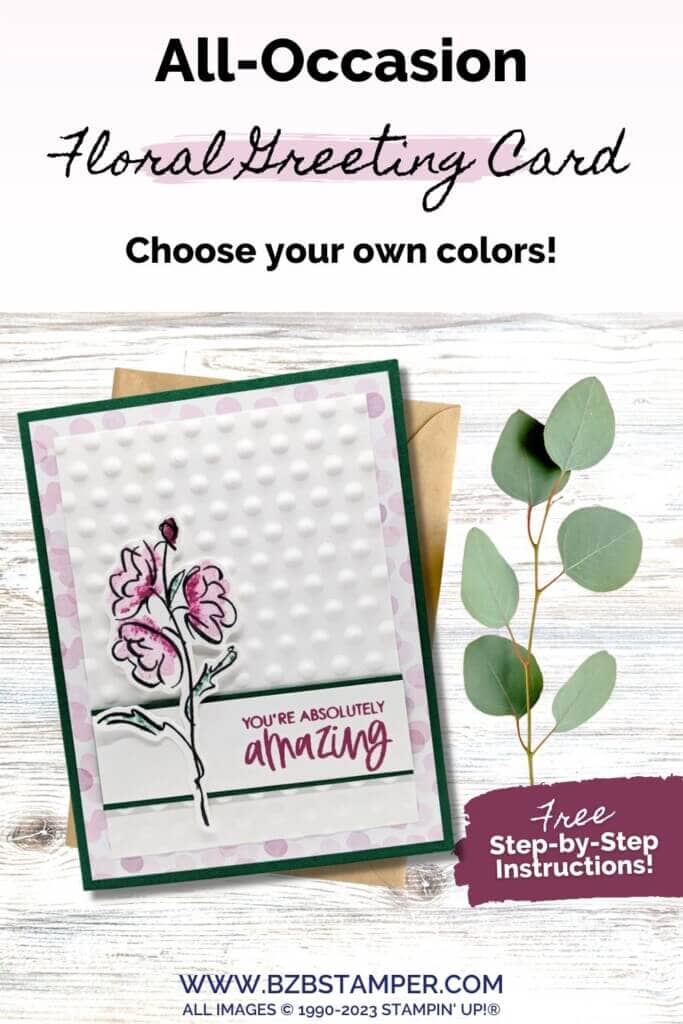
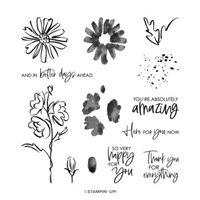
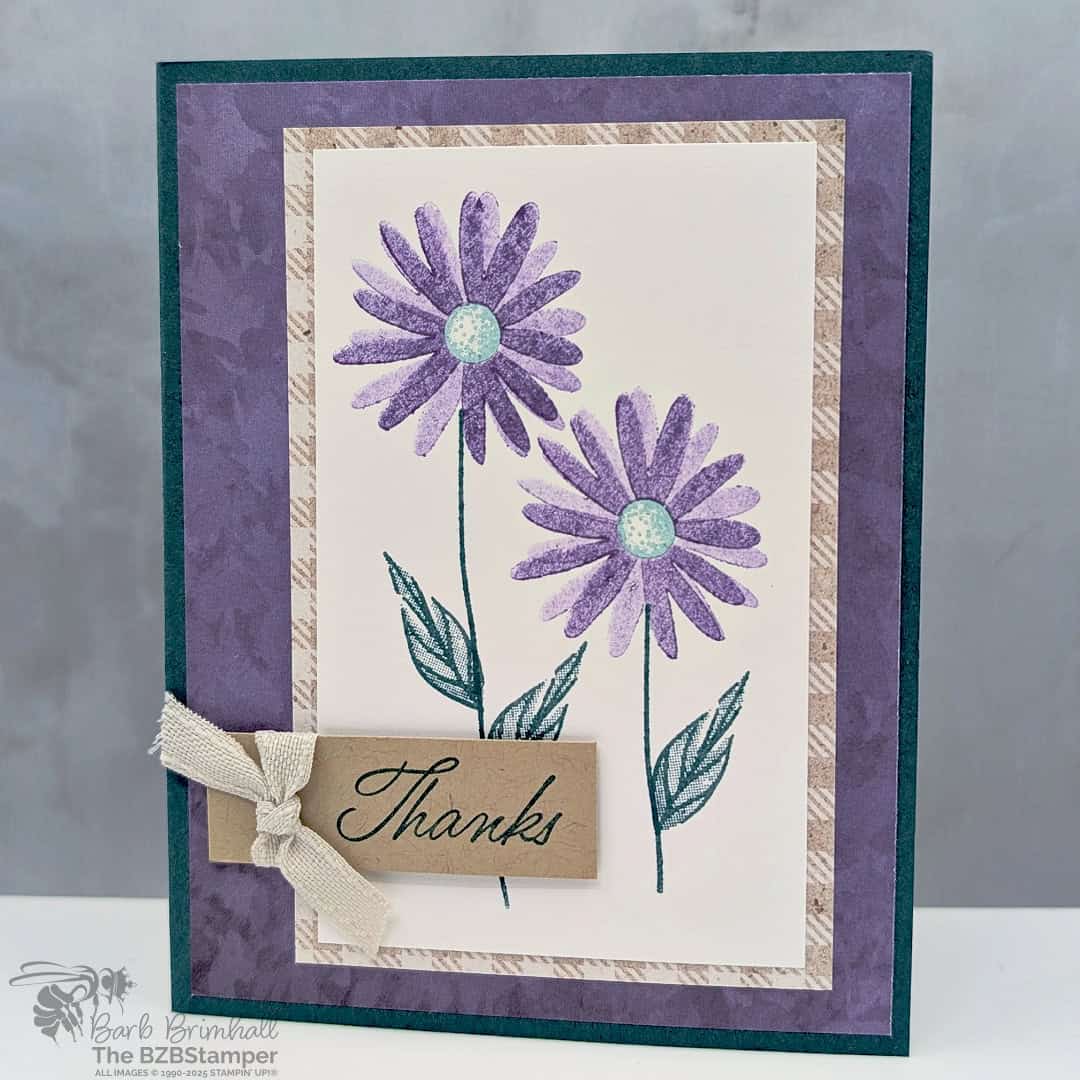
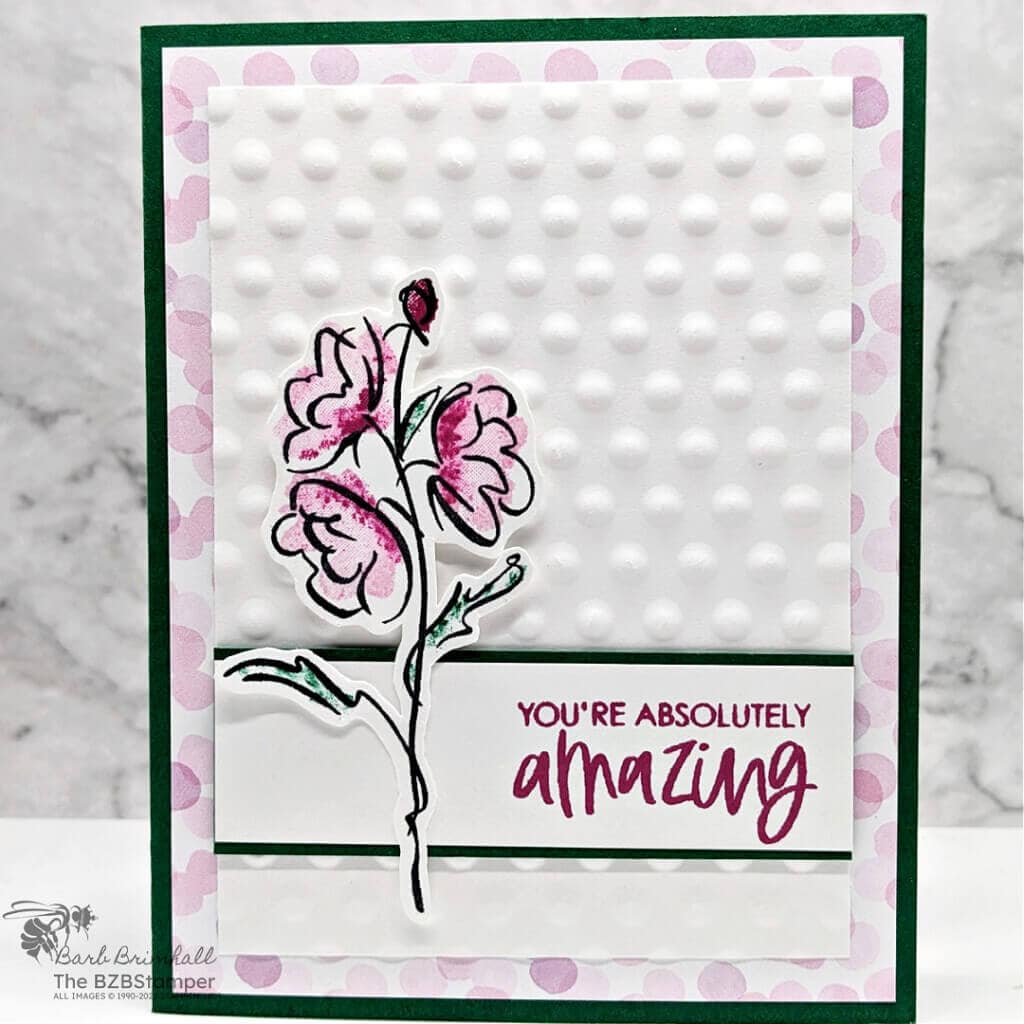
Unleash your inner artist with this Color and Contour Stamped Card for All Occasions. Using the Color and Contour Stamp Set by Stampin’ Up!, it will be easy to create handmade cards full of vibrant colors and artistic expression. With its open-line floral art and abstract filler stamps, you’ll be able to explore a wide range of coloring techniques. From modern freehand watercoloring to creating stunning ombre floral effects with ink and sponge daubers, this set is a must-have for all papercrafting color enthusiasts!
Find this post helpful?
Share it on Pinterest
Now it’s your turn to give this card a try. Order your supplies and plan a fun afternoon of papercrafting.
How To Make This Card
Cardstock Measurements:
- Shaded Spruce: 5-1/2” x 8-1/2”, scored at 4-1/4”
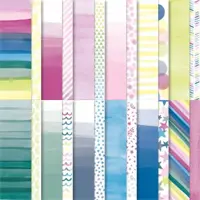
- Bright & Beautiful Paper: 4” x 5-1/4”
- Shaded Spruce: 1-1/8” x 3-1/2”
- Basic White:
- 4” x 5-1/4”
- 3-1/2” x 4-3/4”
- 2-1/2” x 4”
- 1” x 3-1/2”
Step-by-Step Instructions:
- Fold the Shaded Spruce Cardstock in half to create your card base.
- Adhere the 4” x 5-1/4” piece of Basic White cardstock inside your card.
- Adhere the 4” x 5-1/4” piece of Bright & Beautiful Paper onto the card front.
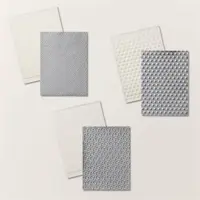
- Using the 3-1/2” x 4-3/4” piece of Basic White Cardstock, run through the Cut & Emboss Machine using the Polka Dot Basics 3D Embossing Folder.
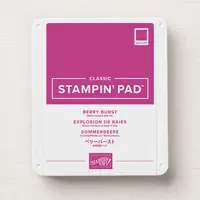
- Using the 1” x 3-1/2” strip of Basic White cardstock, stamp the sentiment on the right side using Berry Burst ink. Adhere the White cardstock to the 1-1/8” strip of Shaded Spruce cardstock and adhere to the embossed White Cardstock from Step #4.
- Adhere to front of card.
- Using the 2-1/2” x 4” piece of Basic White cardstock, stamp the floral image using Shaded Spruce ink.
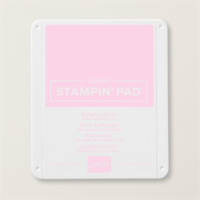
- Ink up the Bold flower images using Bubble Bath ink and before stamping, take a Q-Tip and apply a bit of Berry Burst ink into the bottom of each flower. (Tip: swirl the Q-Tip into the ink pad and then use this ink to add color to the stamp.)
- Huff on the stamp and stamp onto the outline floral image. Use another Q-Tip and apply Shaded Spruce ink onto the outline leaves as desired.
- Use the Paper Snips Scissors to cut out the flower and adhere to the card by using adhesive where it will be attached to the sentiment strip and Stampin’ Dimensionals for the top part of the image.
I love how all the elements of this card come together – the colors, that fabulous Embossing Folder, and the pretty paper used on this card. Who do you know who would love this card?
Thank you so much for stopping by! I hope you feel inspired to create and that you also feel you have all the info you need to make this card with these instructions. If you aren’t sure about something or would like more detailed directions on how to make this card, feel free to email me. I’m here to help!

- Get a Free Tutorial Every Week!
- Shop 24/7 in your PJ’s
- Queen Bee Rewards – Earn FREE Stamps!
- View the 2024-2025 Annual Catalog
- View NEW Online Products
- Monthly Crafting Kit
Don’t forget to pin this for later!
