Wishes All Around Stamp Set
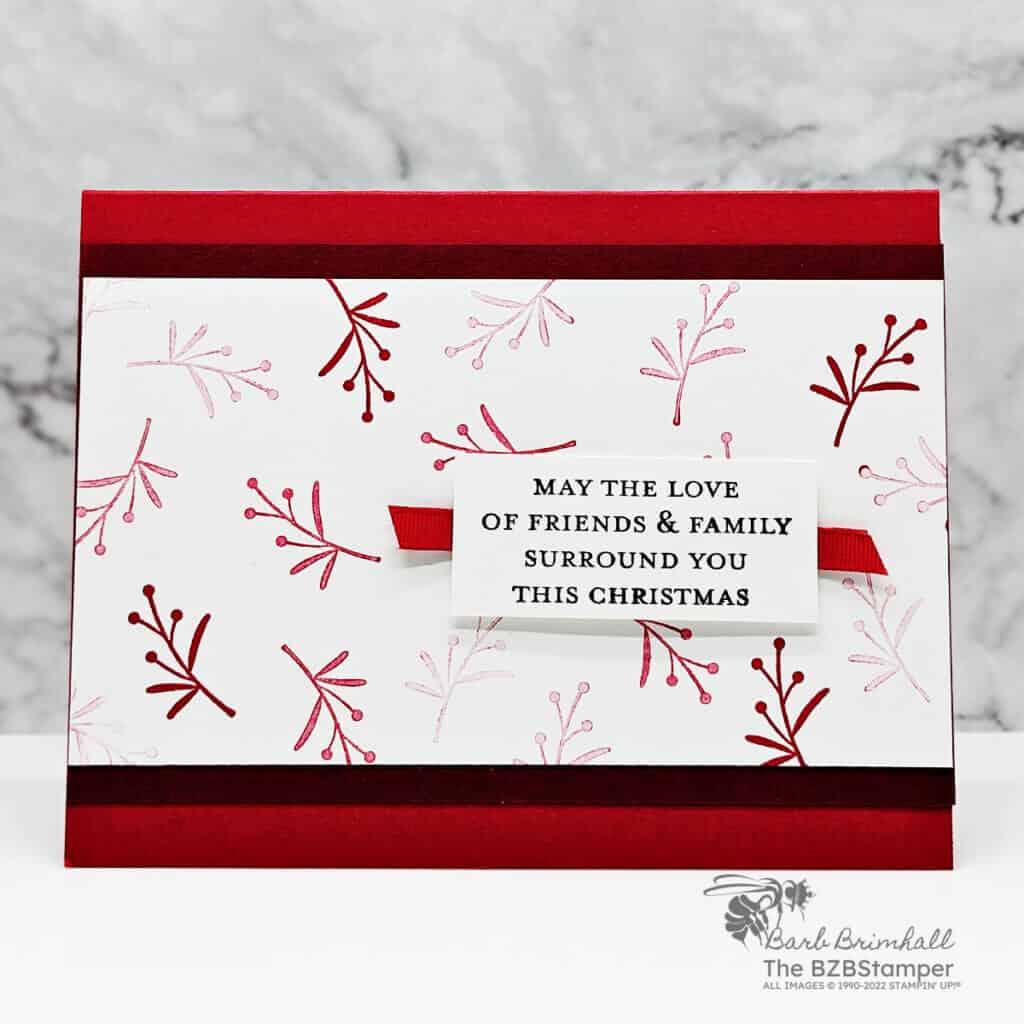
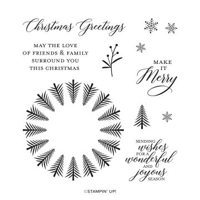
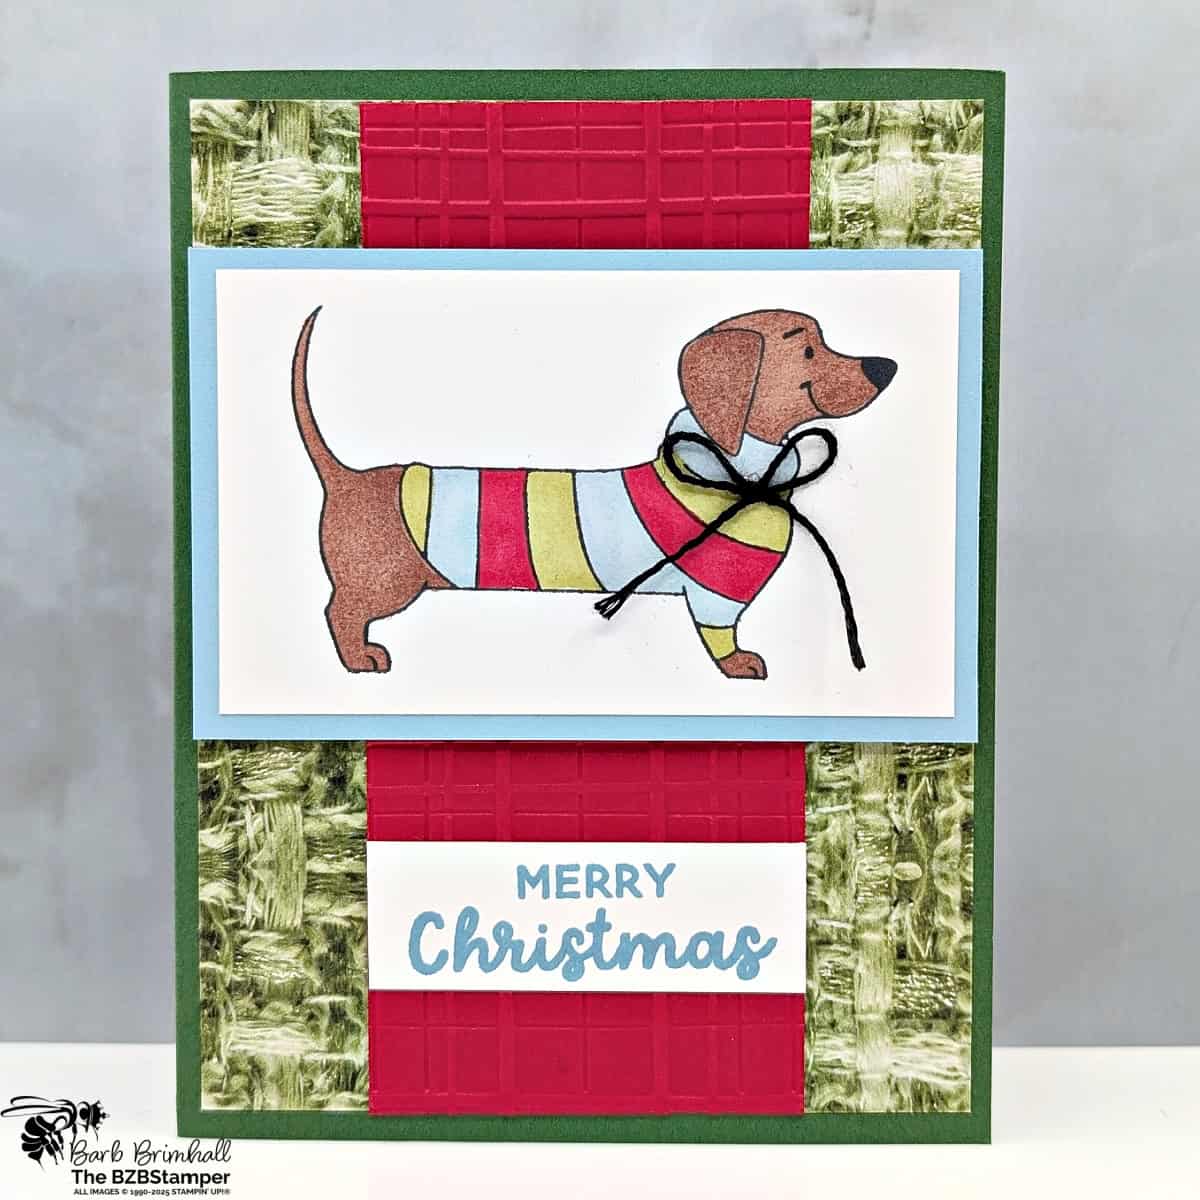
Spread joy this Christmas to friends and family with the Wishes All Around Stamp Set by Stampin’ Up! This stamp set is the perfect way to add a touch of elegance and sophistication to cards, gift packaging, and home decor.
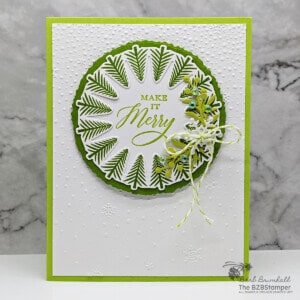
With nine stamps in total, this set contains a beautiful tree wreath, four wondrous sentiments, and four versatile decorative images, adding a sweet note of snow or winter greenery to whatever you create. Most of the sentiments fit within the wreath, and the long sentiment can be stamped, cut out, and layered over any of the circular designs. Use the small imagery to add texture to card bases, or stamp them on Christmas card envelopes.
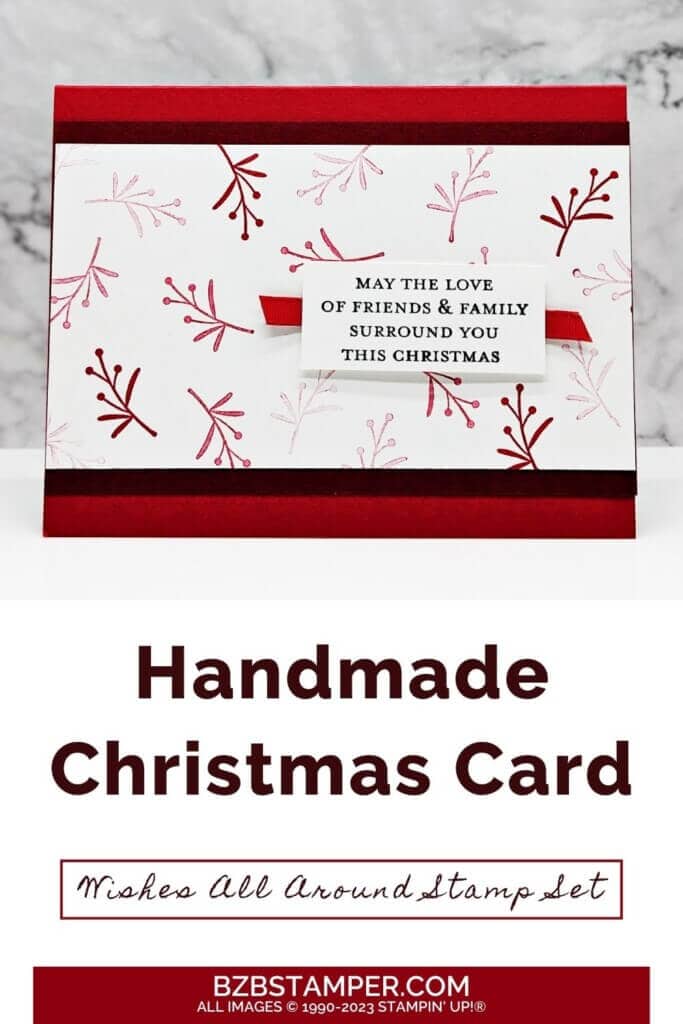
How To Make This Card
Project Skill Level: Busy Bee
Busy Bee projects are designed for the beginner or busy papercrafter. This is a basic cardmaking project that can be achieved by someone who has never made a handmade card before. You can view more Busy Bee cards here.
Cardstock Measurements:
- Real Red Cardstock: 5-1/2″ x 8-1/2″, scored at 4-1/4″
- Basic White Cardstock: 4″ x 5-1/4″
- Cherry Cobbler Cardstock: 3-1/2″ x 5-1/2″
- Basic White Cardstock: 3″ x 5-1/2
- Basic White Cardstock: 1″ x 2-1/4″

Grab your Free copy
Get 5 Bee-utiful Exclusive
Card Sketches in Your Inbox
Join our newsletter and receive a honey of a package of five quick & simple cards guaranteed to make your creativity buzz! Sign up now and let the goodness flow straight to your inbox!
Step-by-Step Instructions:
- Fold the Real Red cardstock in half at the scoreline and burnish well with the Bone Folder.
- Adhere the 4″ x 5-1/4″ piece of Basic White cardstock inside the card.
- Using the 3″ strip of Basic White cardstock, stamp the “leaf” using Real Red ink, then stamp again randomly 2 more times without reinking. Repeat as desired to fill Basic White cardstock.
- Adhere the Basic White cardstock to the Cherry Cobbler cardstock and adhere to front of card.
- Stamp the sentiment onto the 1″ piece of Basic White cardstock using the Black Memento ink pad. Cut 3″ of the Real Red Ribbon and adhere to the back of the sentiment strip.
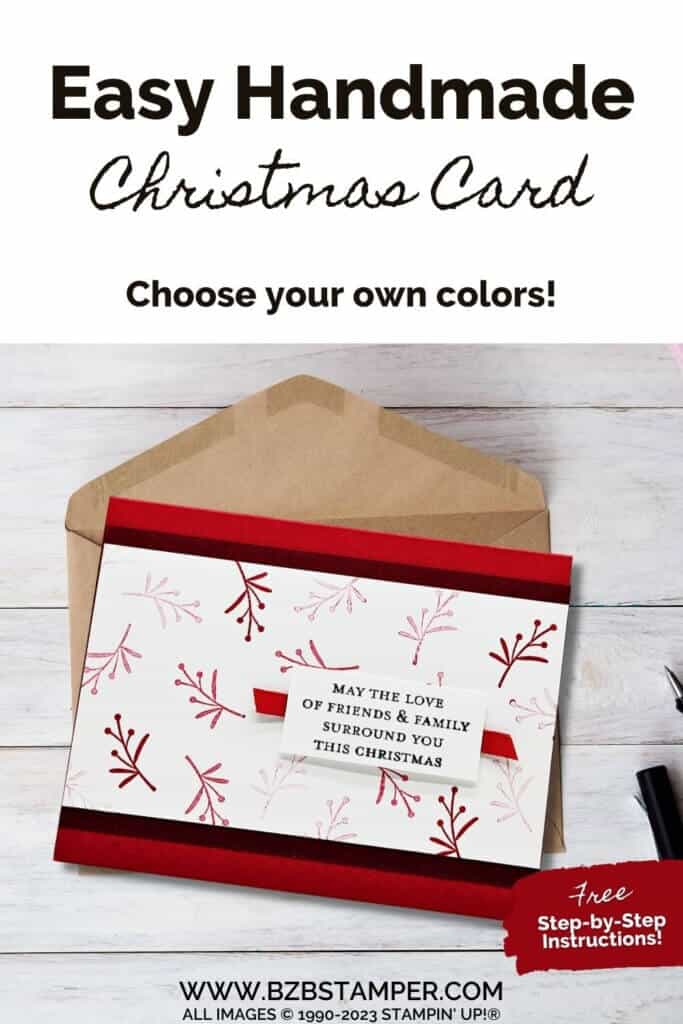
- Adhere the sentiment strip onto the front of the card as shown in the sample using Stampin’ Dimensionals to finish.
A Tip from Barb
This is the perfect card sketch for whenever you need a quick and easy card. Simply take the image of your choice and repeat stamp several times without reinking the stamp. This will give you depth of color by using only one ink pad!
Thanks for stopping by for today’s card tutorial! My goal is to help you make quick & easy greeting cards for all occasions. If you’d like more detailed directions on how to make this card, feel free to email me. I hope you’ll join me again for more card-making ideas!

Don’t forget to pin this project for later!
