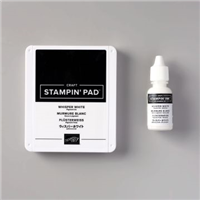
White Craft Ink by Stampin’ Up!
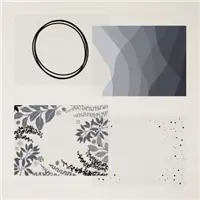
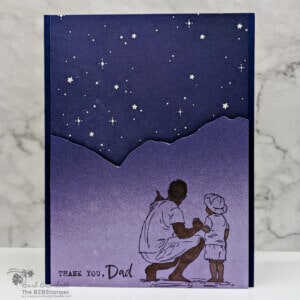
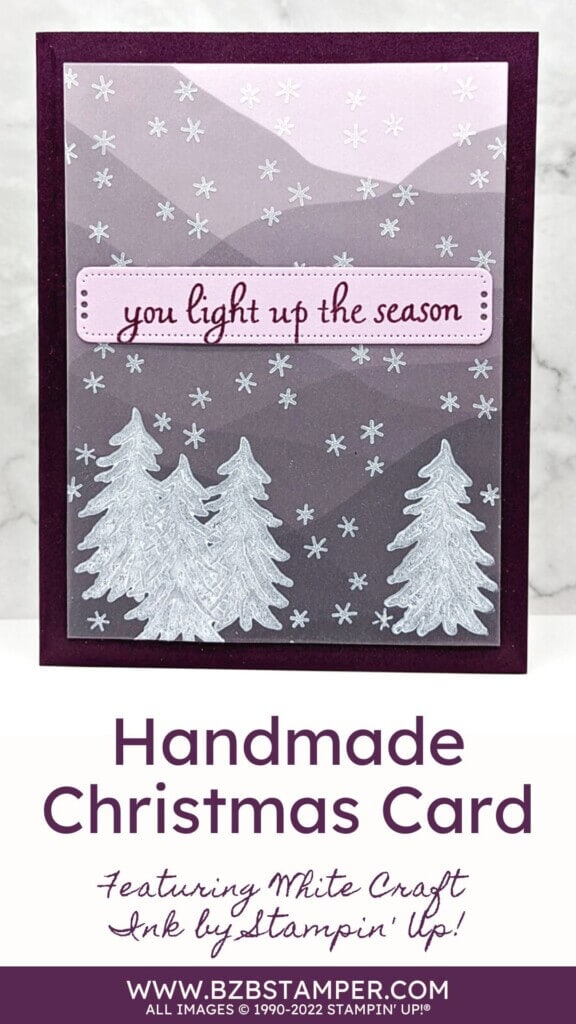
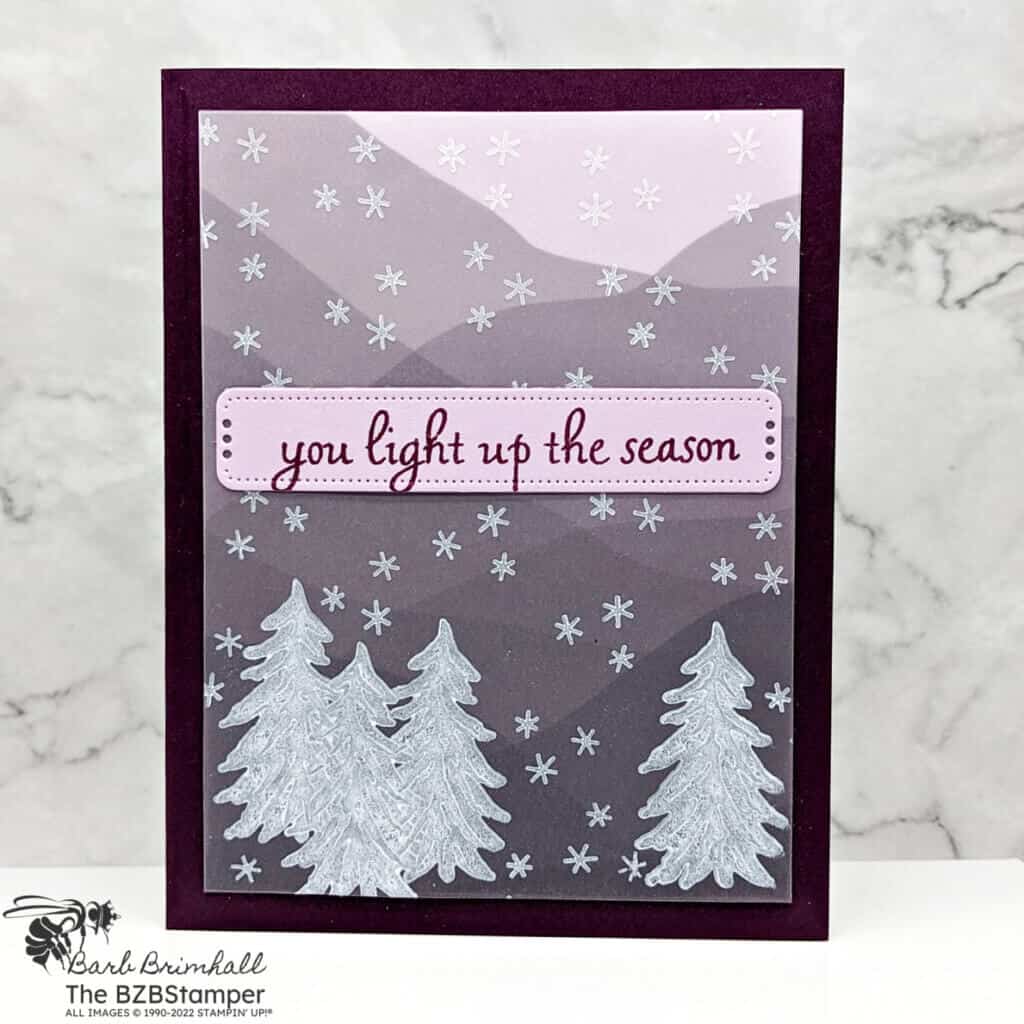
When you combine White Craft Ink by Stampin’ Up! with the gorgeous Lovely Layers Vellum, you’ll have a beautiful handmade card for everyone on your Christmas list! Although this card takes a bit of patience, it’s actually very easy to create!
View more stamped samples & inspiration here
This card is super easy, thanks to the beautiful Lovely Layers Vellum and White Craft ink. However, it does require some patience! White Craft ink is a thicker ink, which creates a more opaque look, but it also takes awhile to dry. And on Vellum, it takes a lot longer. I recommend you make this card assembly-style and do all the stamping on the Vellum first. Then set it aside and let it dry overnight. While you could zap the ink with your Heat Tool, it may also curl your Vellum, so it’s safer to just set it aside and let it dry naturally!
Project Measurements
- Blackberry Bliss: 5-1/2″ x 8-1/2″, scored at 4-1/4″
- Basic White: 4″ x 5-1/4″
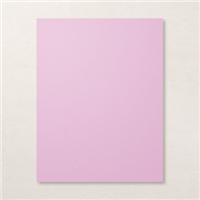
- Fresh Freesia: 3-3/4″ x 5″ and a scrap approximately 1″ x 4″ for die-cutting
- Lovely Layers Vellum (hill pattern): 3-3/4″ x 5″
Instructions
- Fold the Blackberry Bliss cardstock in half along the score line to create your card base.
- Adhere the Basic White cardstock inside the card.
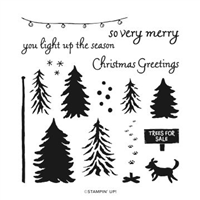
- Using the White Craft Ink (learn how to ink your pad here), stamp the bold tree image several times. If you want a brighter white image when it dries, stamp over the tree image again using the “tree branches” image.
- Being very careful to not touch the stamped trees (at this point, the ink will smear easily!) ink up the snowflake stamp with White ink and stamp onto the vellum and repeat as desired. TIP: do not press the stamp into the ink pad when you ink it. Instead using a light dab-dab-dab up and down motion to avoid getting too much ink onto your stamp. Then press the stamp lightly onto the Vellum.
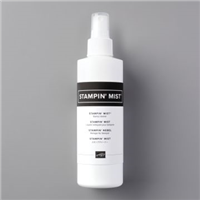
- Once you’re done using the White Craft ink, take your stamp to the sink and rinse with water. You can use a soft toothbrush to get the ink out of the crevices of the stamp. Stampin’ Mist stamp cleaner works really well to clean all of the ink off your stamp.
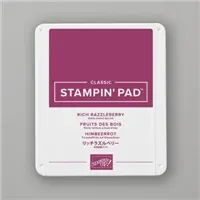
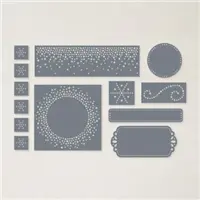
- While you’re waiting for the White Craft ink to dry, stamp the sentiment onto the scrap of Fresh Freesia cardstock using Rich Razzleberry ink. Run through the Cut & Emboss Machine using the label die from the Labels Aglow dies.
- Once the White Craft ink is dry, use small dots of liquid glue behind some of the stamped images so that the glue won’t show through on the other side and adhere to the 3-3/4″ x 5″ piece of Fresh Freesia cardstock. Press lightly to seal the 2 papers, being careful not to smoosh the liquid glue and make it spread. Adhere to the front of the card.
- Adhere the sentiment label from Step #6 using Stampin’ Dimensionals to finish.
Supplies Used in this Project
Pin It!
Save this to your Pinterest board where you save those quick and easy cards.
Thanks for stopping by for today’s card tutorial! My goal is to help you make quick & easy greeting cards for all occasions. If you’d like more detailed directions on how to make this card, feel free to email me. I hope you’ll join me again for more card-making ideas!


