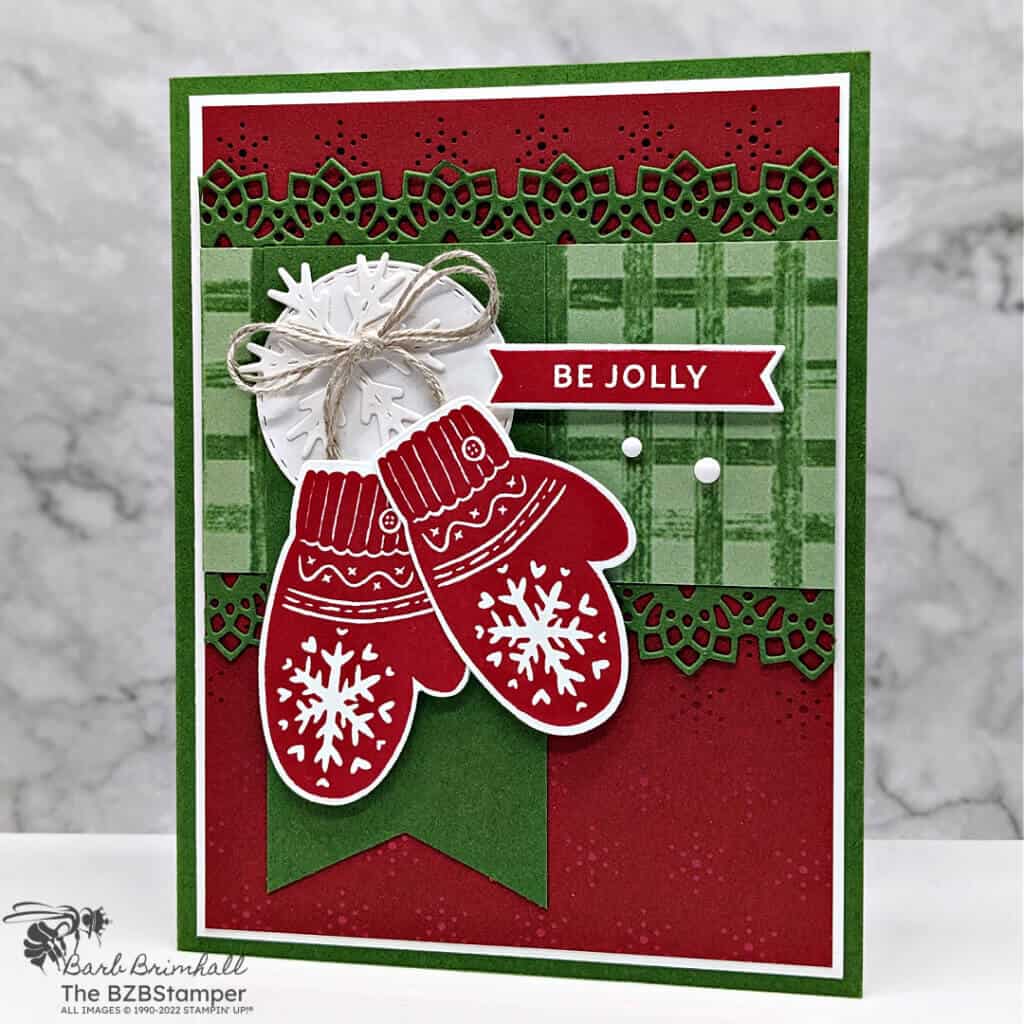
Make Elegant Christmas Cards Quickly!
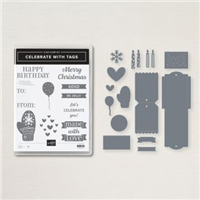
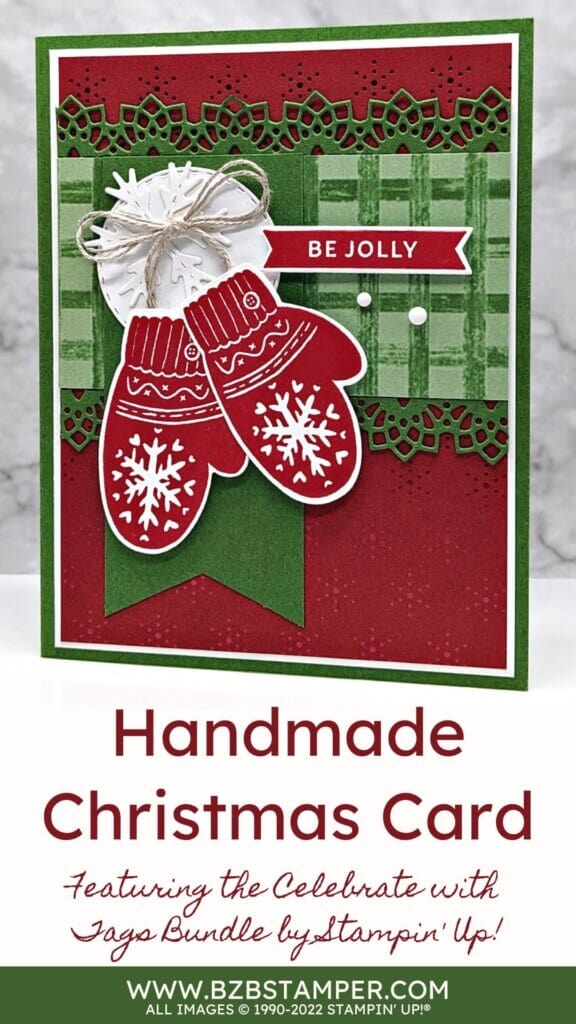
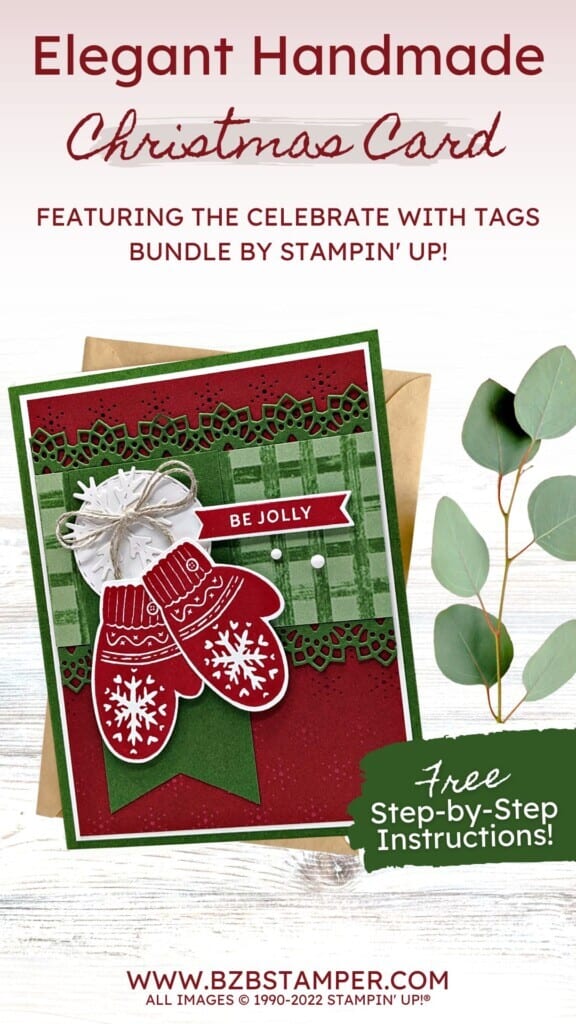
This Celebrates with Tags Bundle by Stampin’ Up! will help you make elegant Christmas Cards quickly. The coordinated Stampin’ Up! bundles will help you quickly cut out stamped images plus save you time and money! Buy the Bundle and save 10% off the price of buying the stamp set and dies separately.
View more stamped samples & inspiration here
Project Measurements
- Garden Green:
- 5-1/2″ x 8-1/2″, scored at 4-1/4″
- 1-3/4″ x 4″
- 2″ x 4-1/4″ (for die-cutting)
- Basic White: 4″ x 5-1/4″ (x3)
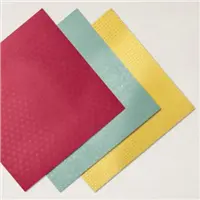
- Festive Foils Paper: 3-7/8″ x 5-1/8″
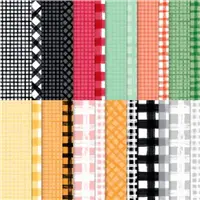
- Gingham Cottage Paper: 2″ x 3-7/8″
Instructions
- Fold the Garden Green cardstock in half at the score line to create your card base.
- Adhere one of the 4” x 5-1/4” pieces of Basic White inside of the card base. Adhere a second piece of the 4” x 5-1/4” pieces of Basic White on the outside of the card base.
- Adhere the Festive Foils paper onto the Basic White mat on the outside of the card base.
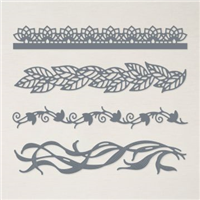
- Using the 2” x 4-1/4” piece of Garden Green cardstock, cut out 2 of the border dies using the Delicate Edges Dies. Adhere to the Gingham Cottage Paper and adhere to the card base.
- Using the final piece of 4” x 5-1/4” Basic White cardstock, stamp the mitten 2 times using the Real Red ink pad and stamp the “be jolly” sentiment using the same ink pad. Run the cardstock through the Cut & Emboss Machine, and using the Celebration Tags dies that come in the Bundle, cut out both mittens, the sentiment tag, the circle, and the snowflake.
- Cut a “flag notch” at the bottom of the 1-3/4” x 4” piece of Garden Green cardstock with your scissors and adhere it to the top of the Gingham Cottage Paper.
- Adhere the snowflake to the circle using adhesive and adhere to the Garden Green tag. Tie a bow using the Linen Thread and adhere to the center of the snowflake. Adhere the 2 mittens below the snowflake and the sentiment tag to the right of the snowflake using Stampin’ Dimensionals.
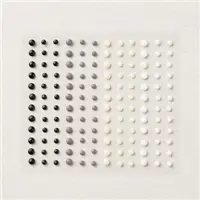
- Add 2 of the White Classic Matte Dots just below the sentiment to finish.
Supplies Used in this Project
Price: $10.00
Pin It!
Go ahead and pin this image in your “favorites” board so you can find this when you need it!
Thank you so much for stopping by and checking out this papercrafting tutorial. I hope you are inspired to create and send cards. If you’d like more detailed directions on how to make this card, feel free to email me. I love sharing how to make cards here on the BZBStamper blog and I can’t thank you enough for all of your support!


