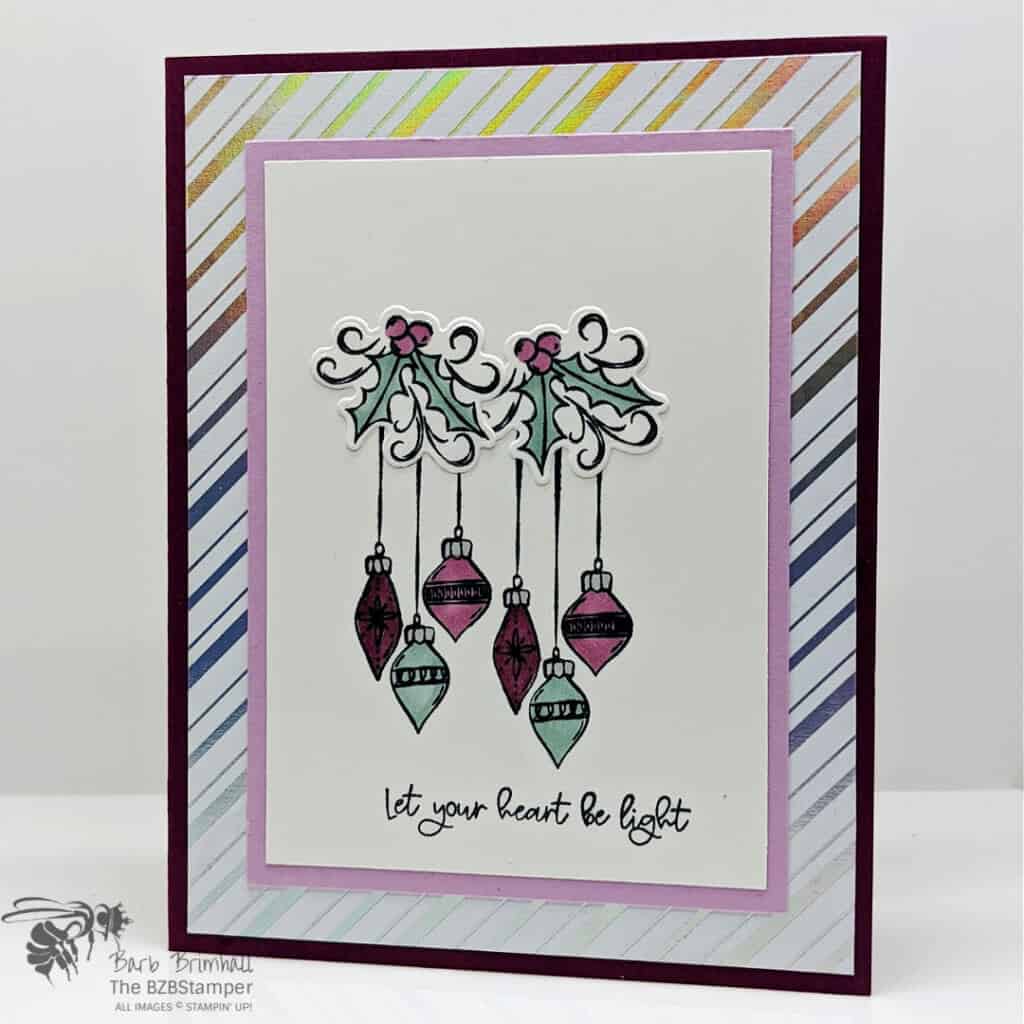
Whimsy and Wonder Ornament Card
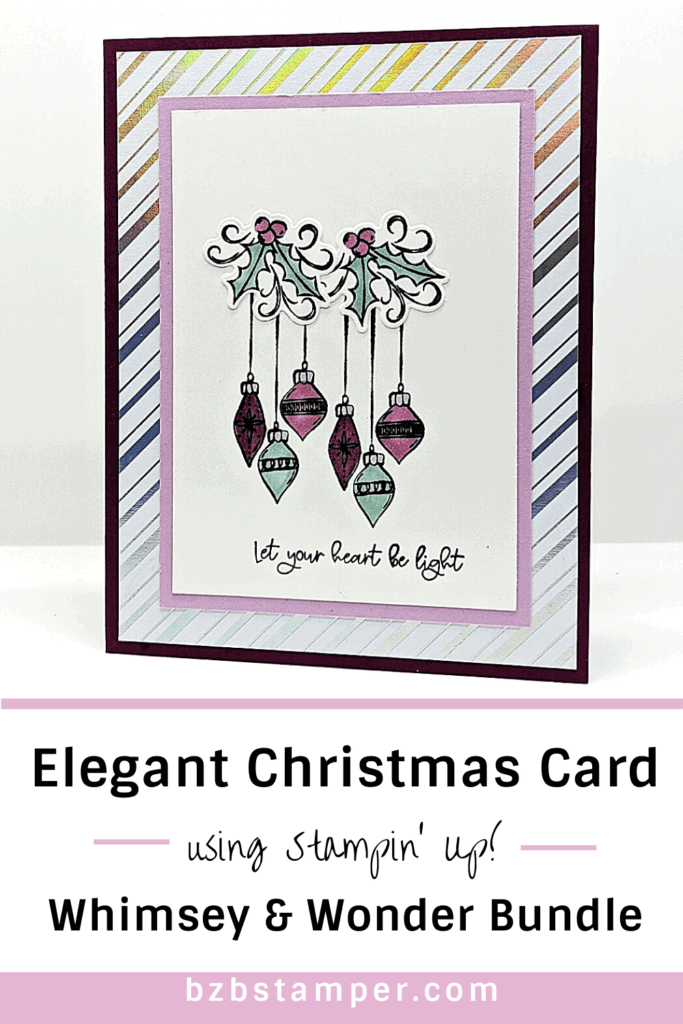
This Whimsy and Wonder Ornament card is easy to make – even though it looks difficult!
Oh my, I just can’t get enough of this stamp set or the beautiful coordinating paper! The colors just make me so happy!
I took a slight departure today from the colors in the Whimsy & Wonder Designer Paper and instead went with a slightly different Combination:
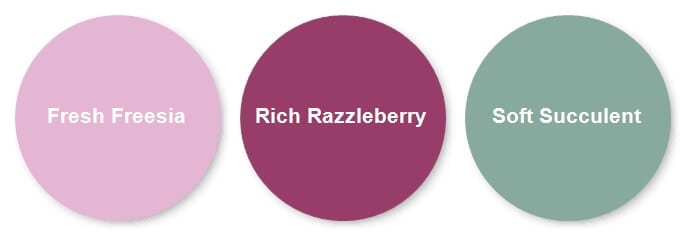
Isn’t it pretty? My family tends to stick to traditional holiday colors, but I really like this combination! (If you prefer traditional Christmas colors, check out my Color Library for a few ideas.)
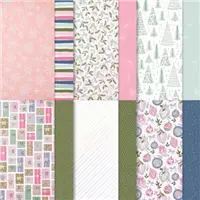
But what really makes this handmade Christmas card something special is that gorgeous Whimsy & Wonder Designer Paper! you can find other cards I’ve made with this paper here. Here’s how I made this card:
Supplies Used on this Project
Project Measurements
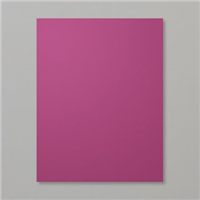
- Rich Razzleberry: 5-1/2” x 8-1/2”, scored at 4-1/4”
- Whimsy & Wonder Designer Paper: 4” x 5-1/4”
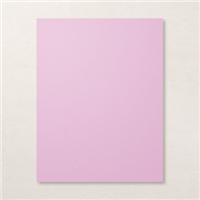
- Fresh Freesia: 3-1/4” x 4-1/2”
- Basic White: 4” x 5-1/4” and 3” x 4-1/4” and scrap for Die-Cutting
Project Instructions
1. Fold the Rich Razzleberry cardstock in half at the score line to burnish well with your Bone Folder to create the base card.
2. Adhere the 4” x 5-1/4” piece of Basic White cardstock inside the card base.
3. Adhere the 4” x 5-1/4” piece of striped Whimsy & Wonder Designer Paper to outside of card base.
4. Using the 3” x 4-1/4” piece of Basic White cardstock, stamp the sentiment at the bottom of the mat using Black Memento ink.
5. Above sentiment, stamp the ornaments once using Black Memento ink. Ink the stamp again and stamp next to the other image, varying the height.
6. Using the scrap of Basic White cardstock, stamp the berry/leaf cluster 2 time using Black Memento ink.
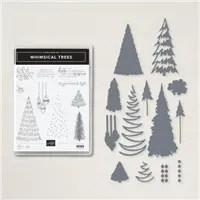
7. Using the Cut & Emboss Machine and the appropriate die from the Christmas Trees Dies (part of the Whimsical Trees Bundle) cut out using the 2 images from the previous step.
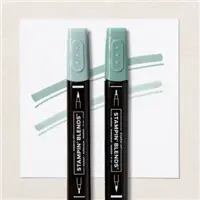
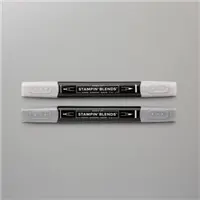
8. Using the Soft Succulent Blends, color in the 2 sets of leaves and 2 of the ornaments.
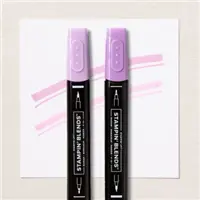
9. Using the Light Fresh Freesia Blend, color in the berries and 2 of the ornaments.
10. Using the Dark Fresh Freesia Blend, color in the last 2 ornaments.
11. Using the Light Smoky Slate Blend, color in the ornament toppers.
12. Adhere the White cardstock mat to the Fresh Freesia Mat and then to the card base.
13. Adhere the 2 leave/berry images to the card base using Stampin’ Dimensionals to finish.

Pin It
Like this project? Be sure to pin it so you can easily find it again. It will take you right back here to all the details of the card.
- Get a Free Tutorial Every Week!
- Shop 24/7 in your PJ’s
- Queen Bee Rewards – Earn FREE Stamps!
- View the 2024-2025 Annual Catalog
- View NEW Online Products
- Monthly Crafting Kit
Thanks for stopping by today, I hope you enjoyed this papercrafting tutorial. If you have a question or if I can help you with anything, please leave me a comment. I’d love to hear from you!


