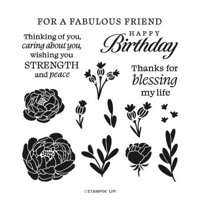
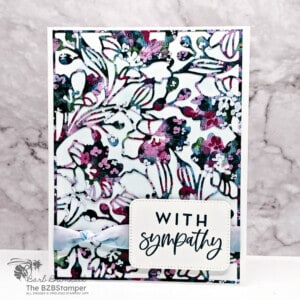
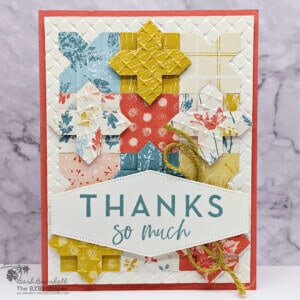
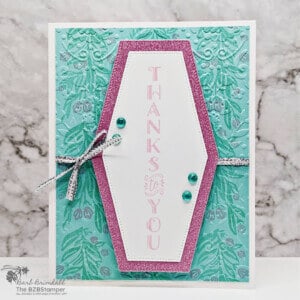
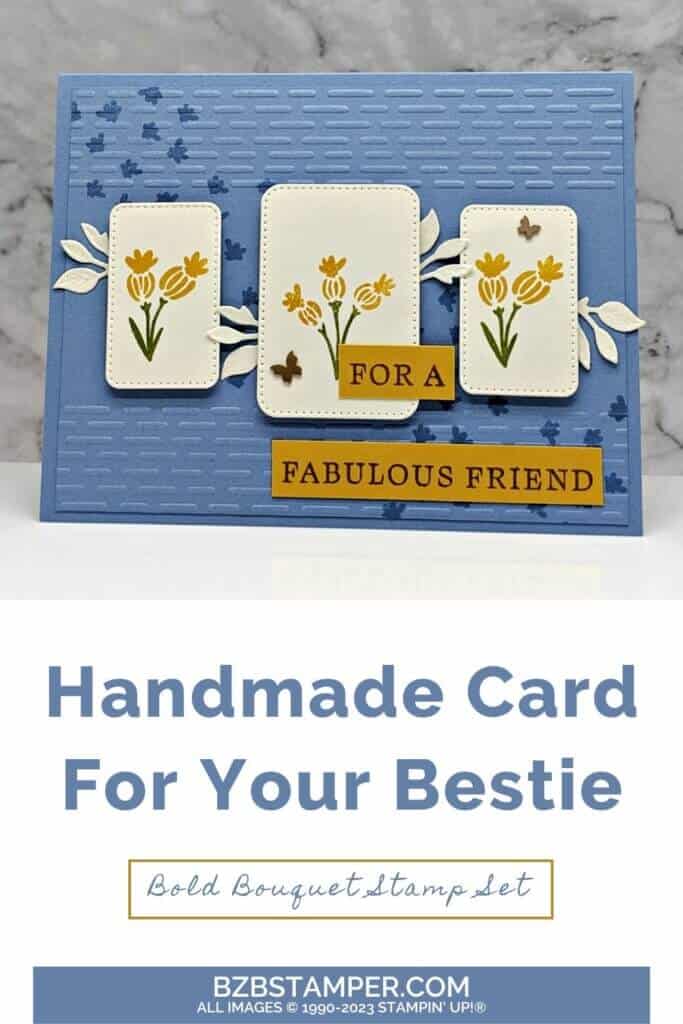
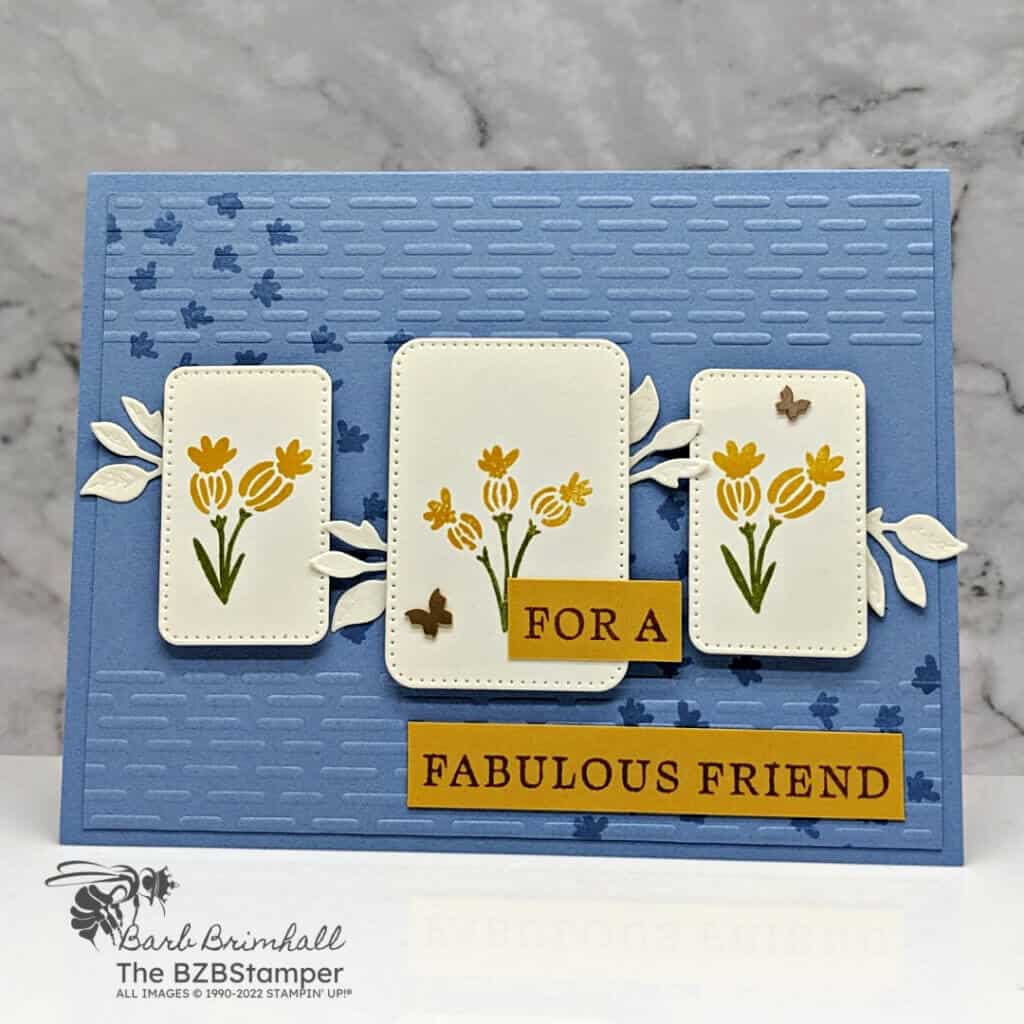
Learn how to easy it is to create beautiful handmade floral cards with this cardmaking tutorial featuring the Bold Bouquet Stamp Set by Stampin’ Up! The Bold Bouquet Stamp Set is a true gem in the world of card making. With its unique floral designs and uplifting sentiments, it offers endless possibilities for creating eye-catching centerpieces and adding delicate details to your cards. Whether you’re a seasoned crafter or just starting out, this set will inspire and delight you.
View more stamped samples & inspiration here
Project Measurements
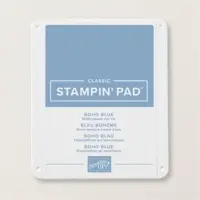
- Boho Blue: 5-1/2” x 8-1/2”, scored at 4-1/4”
- Boho Blue: 4” x 5-1/4”
- Very Vanilla: 4” x 5-1/4” (x 2)
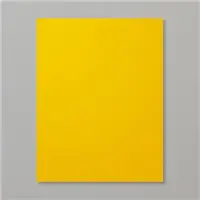
- Crushed Curry: 1/2” x 4”
Instructions
- Fold the Boho Blue cardstock in half to create your base card.
- Adhere one of the 4” x 5-1/4” pieces of Very Vanilla cardstock inside the card.
- Using the 4” x 5-1/4” piece of Boho Blue cardstock, stamp the small floral image in the upper left and lower right corners of the cardstock.
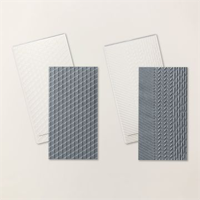
- Run the stamped cardstock through the Cut & Emboss Machine using the Geometric Patterns Embossing Folder that has the 3 patterns on it. Emboss the bottom only of the cardstock using only the “lined” part of the Embossing Folder, then repeat at the top of the cardstock, leaving the middle of the cardstock unembossed.
- Adhere the embossed Boho Blue cardstock to the front of the card.
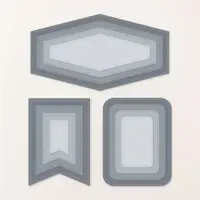
- Using the other piece of Very Vanilla cardstock, run through the Cut & Emboss Machine using the Nested Essentials Dies. Cut out 2 of the 1” x 1-3/4” die and 1 of the 1-1/2” x 2-1/4” die. Set aside.
- Using the remaining Very Vanilla Cardstock, run through the Cut & Emboss Machine and cut out 4 of the small leaf die. Set aside.
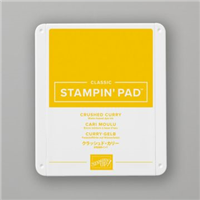
- Using the rectangle die-cut pieces from Step #6, stamp a floral image on each die-cut by using the corner of the Crushed Curry ink pad to ink only the flowers and then use the corner of the Old Olive ink pad to ink only the stems. Adhere to the middle of the card base using Stampin’ Dimensionals.
- Using the leaves from Step #7, fit the leaves in between the floral images using adhesive at the bottom of the stems of each piece.
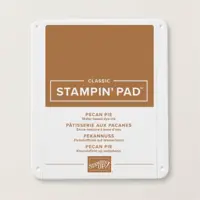
- Using the 1/2” strip of Crushed Curry cardstock, stamp the sentiment using Pecan Pie ink. Cut off the “for a” part of the sentiment using scissors and adhere to the middle floral image using adhesive only on the left side.
- Adhere the remaining part of the sentiment at the bottom right of the card using adhesive.
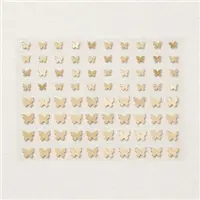
- To finish, add 2 of the Brass Butterflies as desired.
Supplies Used in this Project
Pin It!
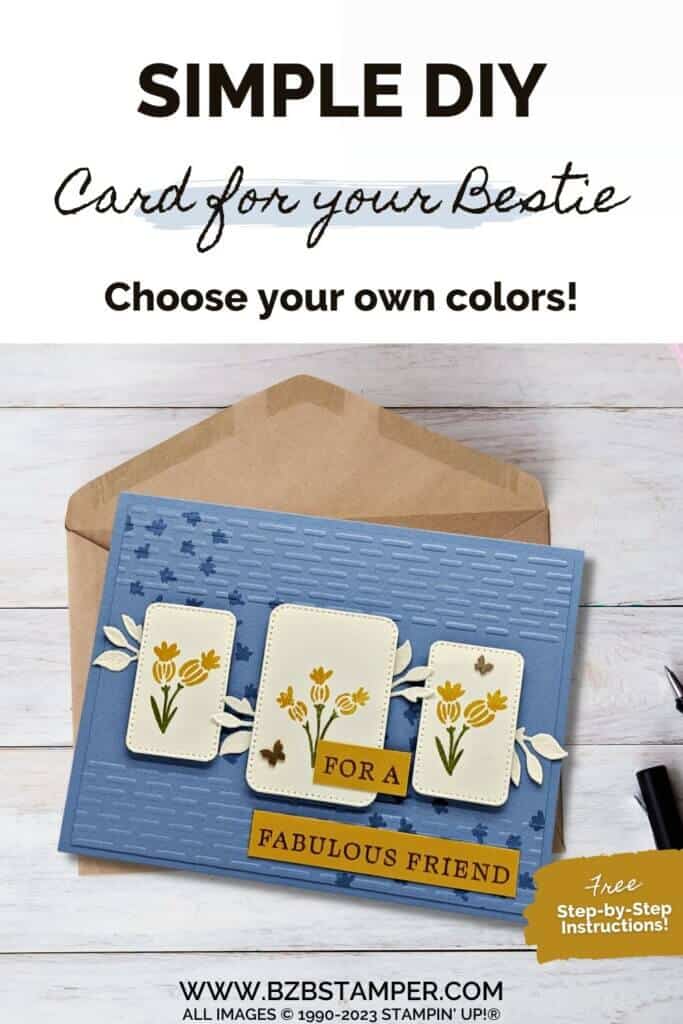
Go ahead and pin this image in your “favorites” board so you can find this when you need it!
Thank you so much for stopping by and checking out this papercrafting tutorial. I hope you are inspired to create and send cards. If you’d like more detailed directions on how to make this card, feel free to email me. I love sharing how to make cards here on the BZBStamper blog, and I can’t thank you enough for all of your support!


