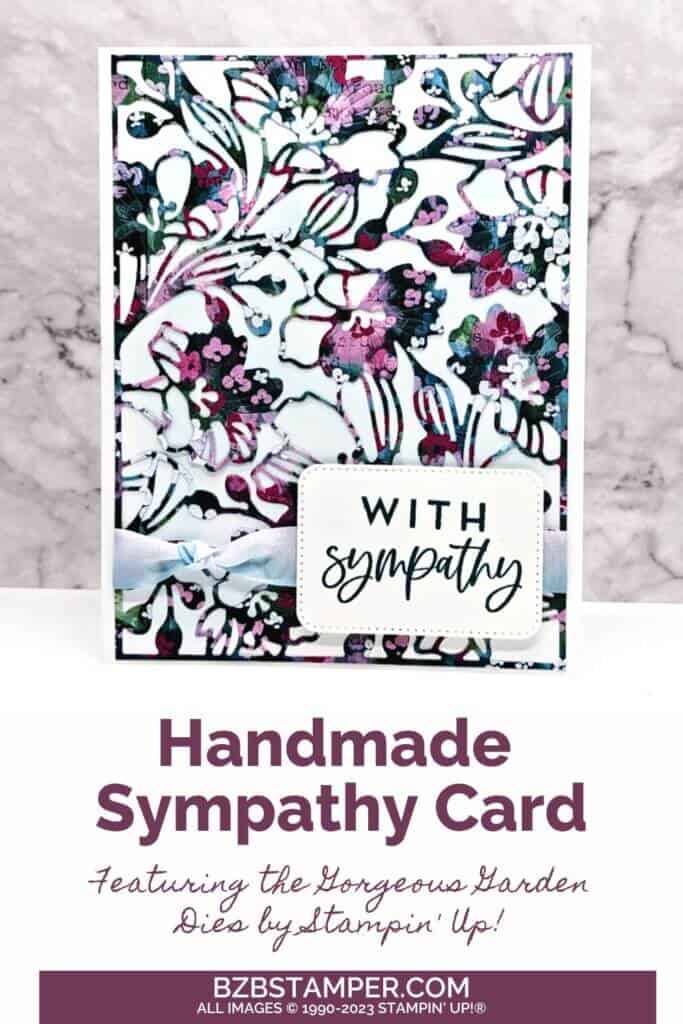
Gorgeous Garden Dies by Stampin’ Up!
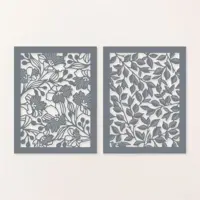
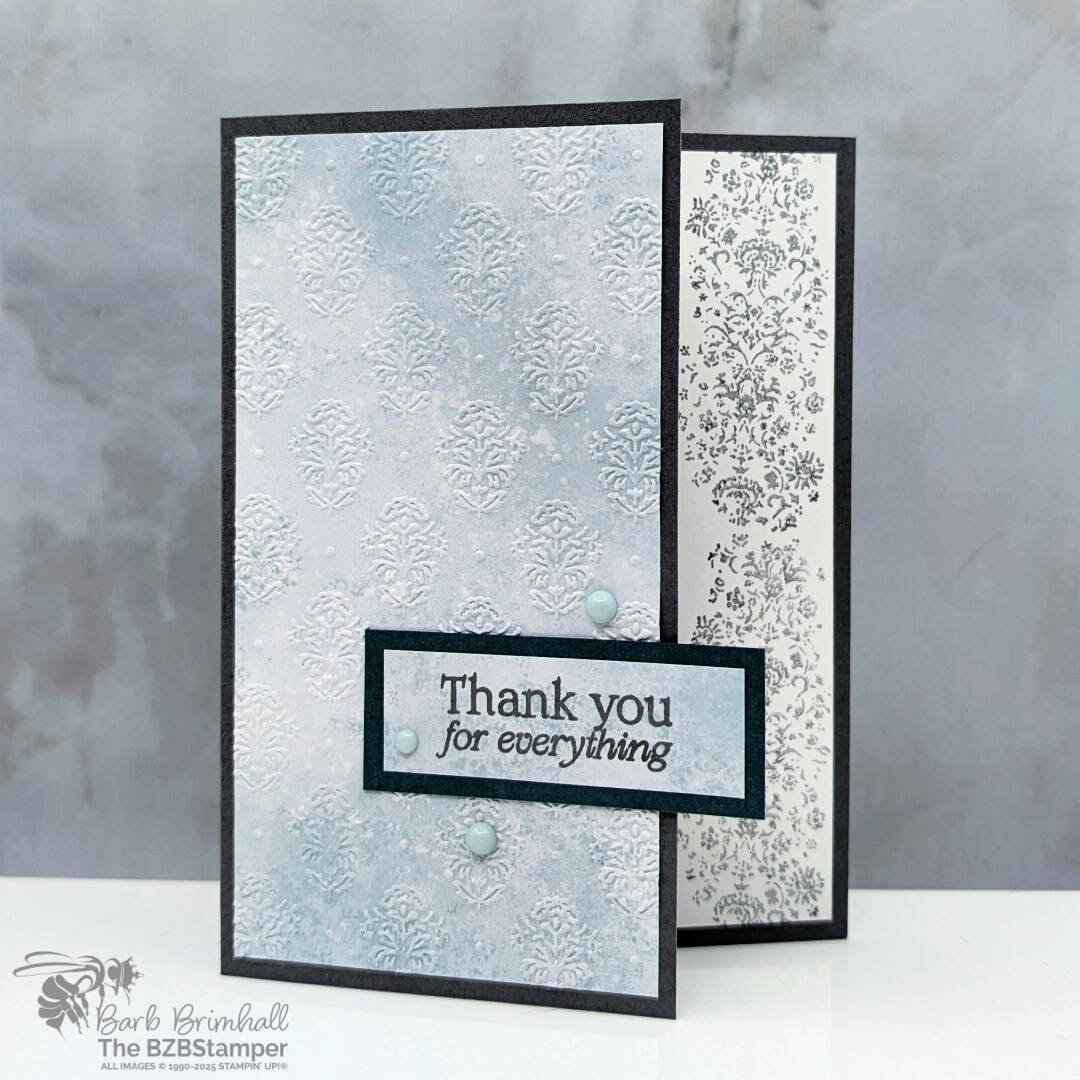
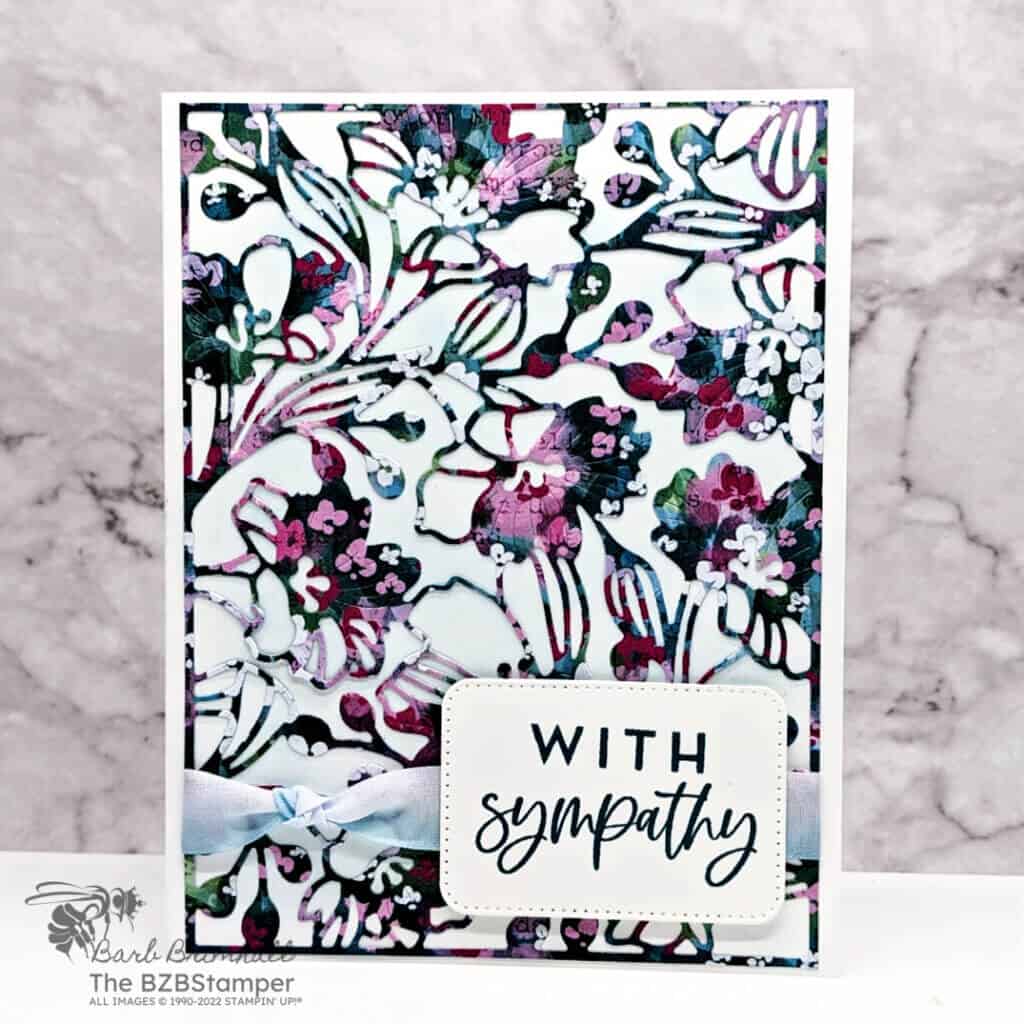
If you love adding intricate and stunning backgrounds to your handmade cards, then the Gorgeous Garden Dies by Stampin’ Up! are for you. This set of dies offers two background dies, one showcasing beautiful flowers and the other featuring delicate leaves. With these dies, you can bring a touch of nature and whimsy to your card-making projects. Pair it with a sentiment from the Kindest Expressions Stamp set you’ll be able to create your very own paper garden and customize it to suit your style!
View more stamped samples & inspiration here
Project Measurements
- Basic White: 5-1/2″ x 8-1/2″, scored at 4-1/4″
- Masterfully Made Paper: 4-1/2″ x 6″ for die-cutting
- Basic White: 4″ x 5-1/4″
- Basic White: 2-1/2″ x 2-1/2″ for die-cutting
Instructions
- Fold the Basic White cardstock in half at the score line to create your card base.
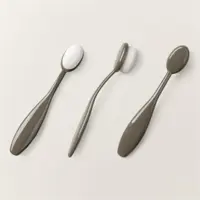
- Using the Pretty Peacock ink pad and one of the Blending Brushes, lightly sponge ink onto the 4” x 5-1/4” White Basic White cardstock. Tip: after rubbing your Blending Brush over the Pretty Peacock ink pad, lightly dab some of it off on your scratch paper before applying to the Basic White cardstock.
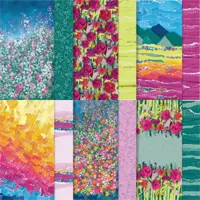
- Using the Cut & Emboss Machine, die-cut the Designer Paper using the Gorgeous Garden Dies.
- Adhere the die-cut piece to the sponged White Cardstock from Step #2, using small dots of the Multipurpose Liquid Glue.
- Cut 6” of the Balmy Blue & White Ribbon, tie a loose knot on left side, and adhere to the front of cardstock by adhering the ends to the back of the White Cardstock.
- Adhere cardstock to the front of the card base.
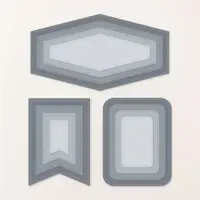
- Using the scrap of Basic White cardstock, die-cut the 1-1/2” x 2-1/4” rectangle from the Nested Essentials Dies.
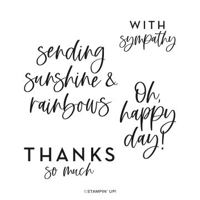
- Stamp the sentiment onto the die-cut piece of Basic White cardstock using Pretty Peacock ink and adhere to the front of the card using Stampin’ Dimensionals to finish.
Supplies Used in this Project
Sale: $10.62
Price: $12.50
Pin It!
Like this project? Be sure to pin it so you can easily find it again. It will take you right back here to all the details of the card.
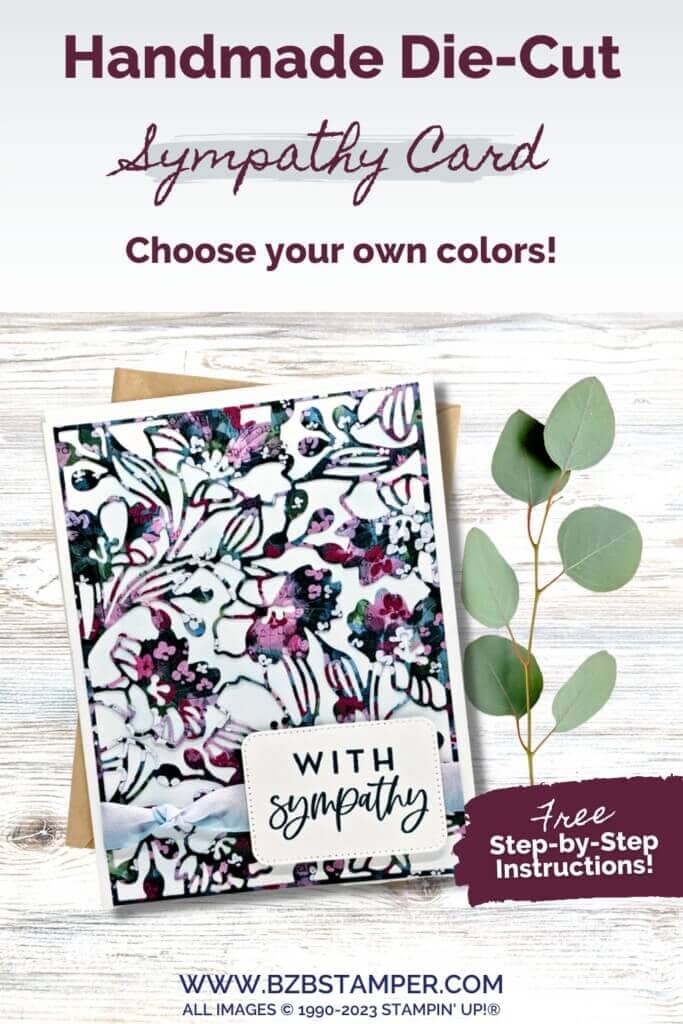
Thanks so much for stopping by today! If you’d like more detailed directions on how to make this card, feel free to email me. Be sure to give this card sketch idea a try and mail it to a friend who is celebrating something! It’s so fun to make a card, but it’s even more fun to send! #makeacardsendacard


