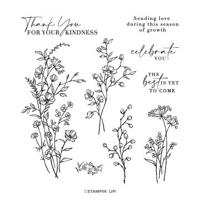
Dainty Delight Stamp Set
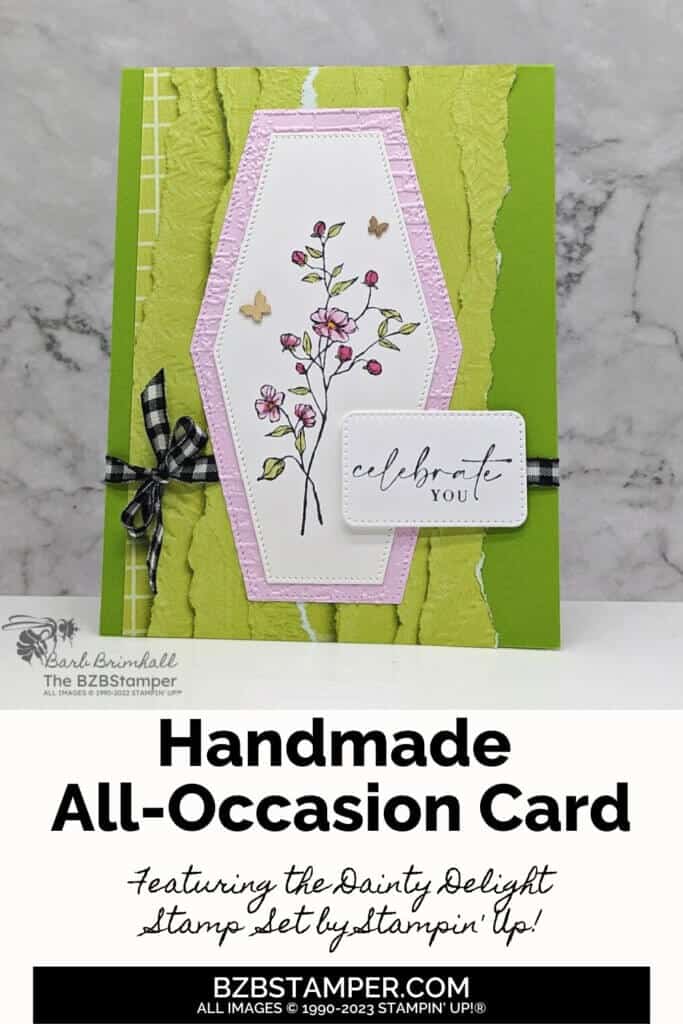
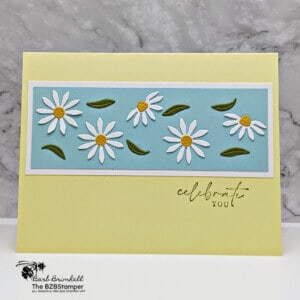
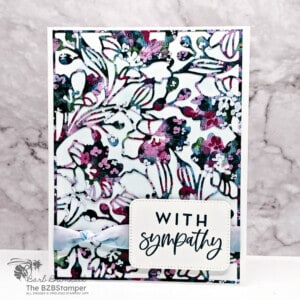
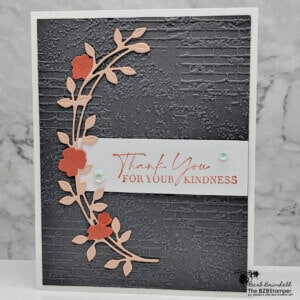
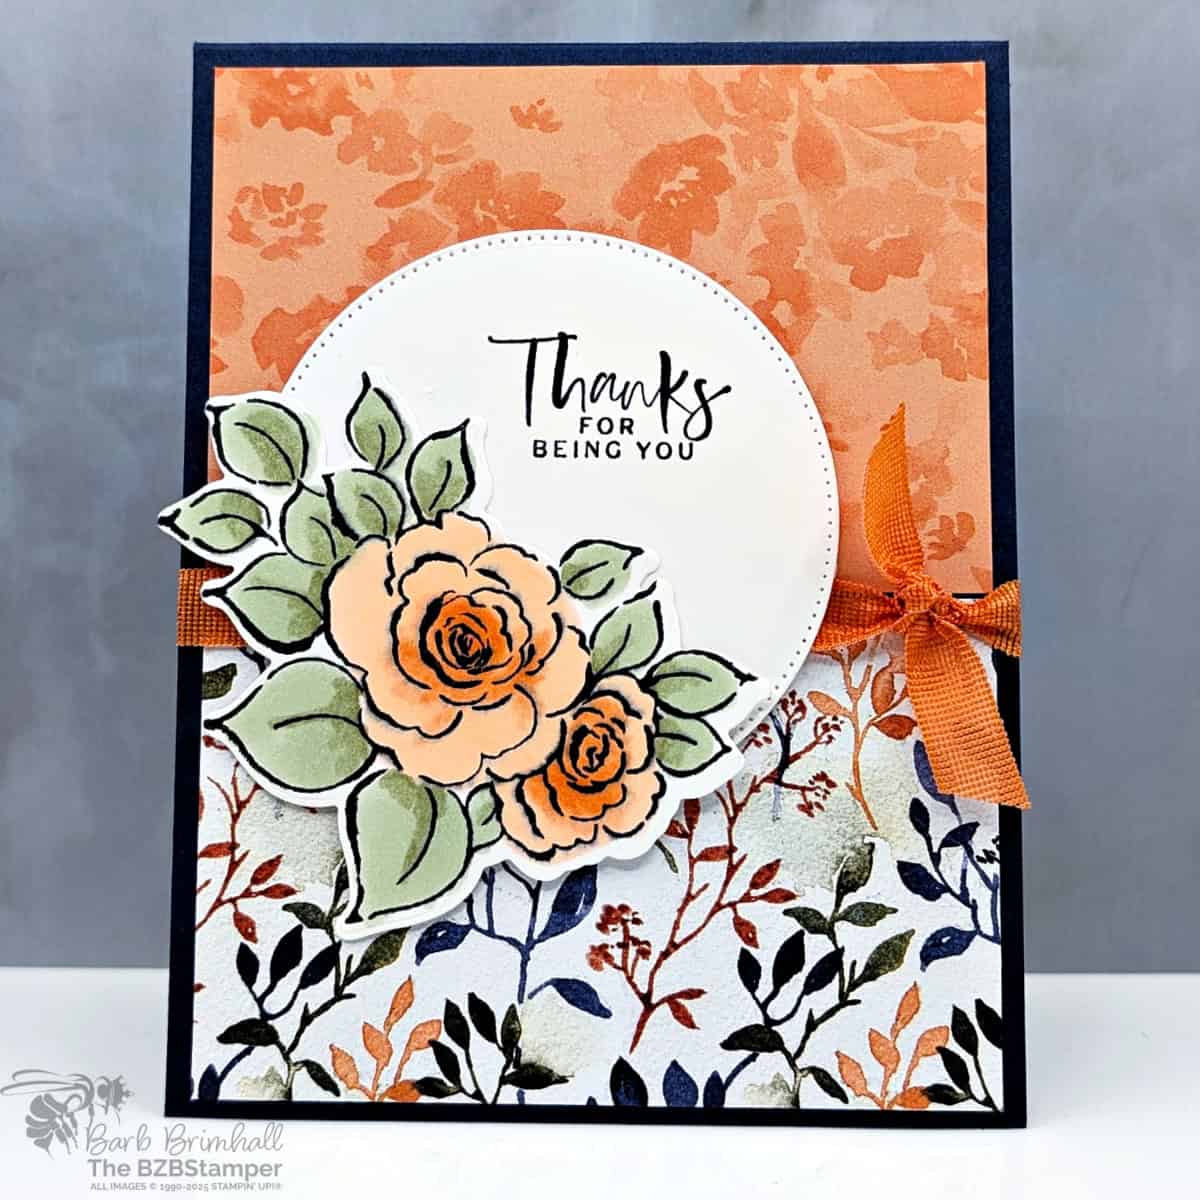
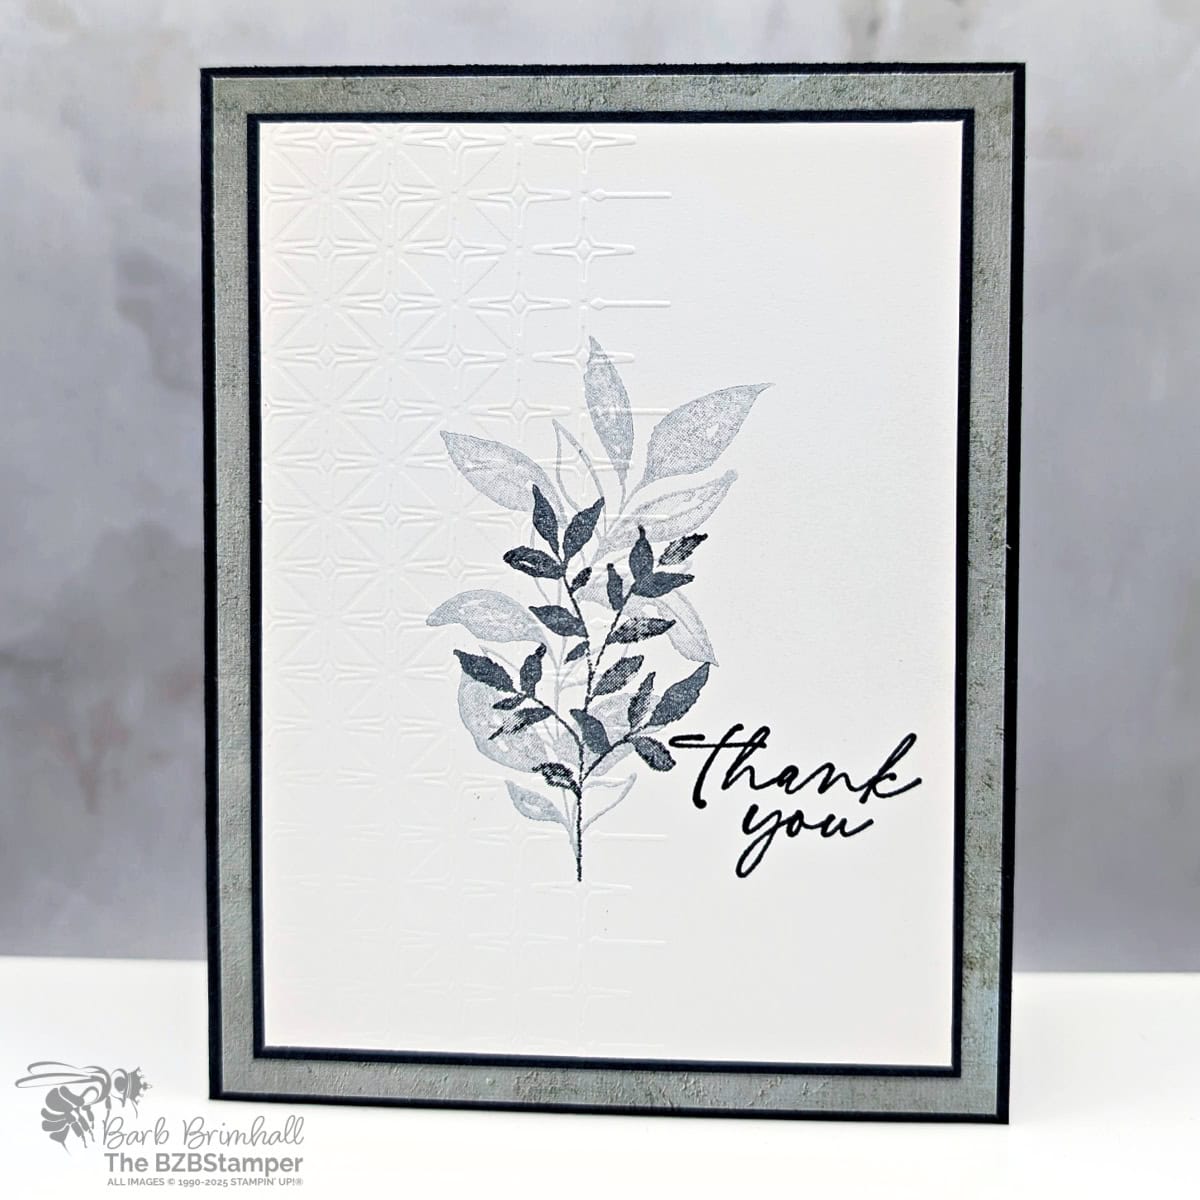
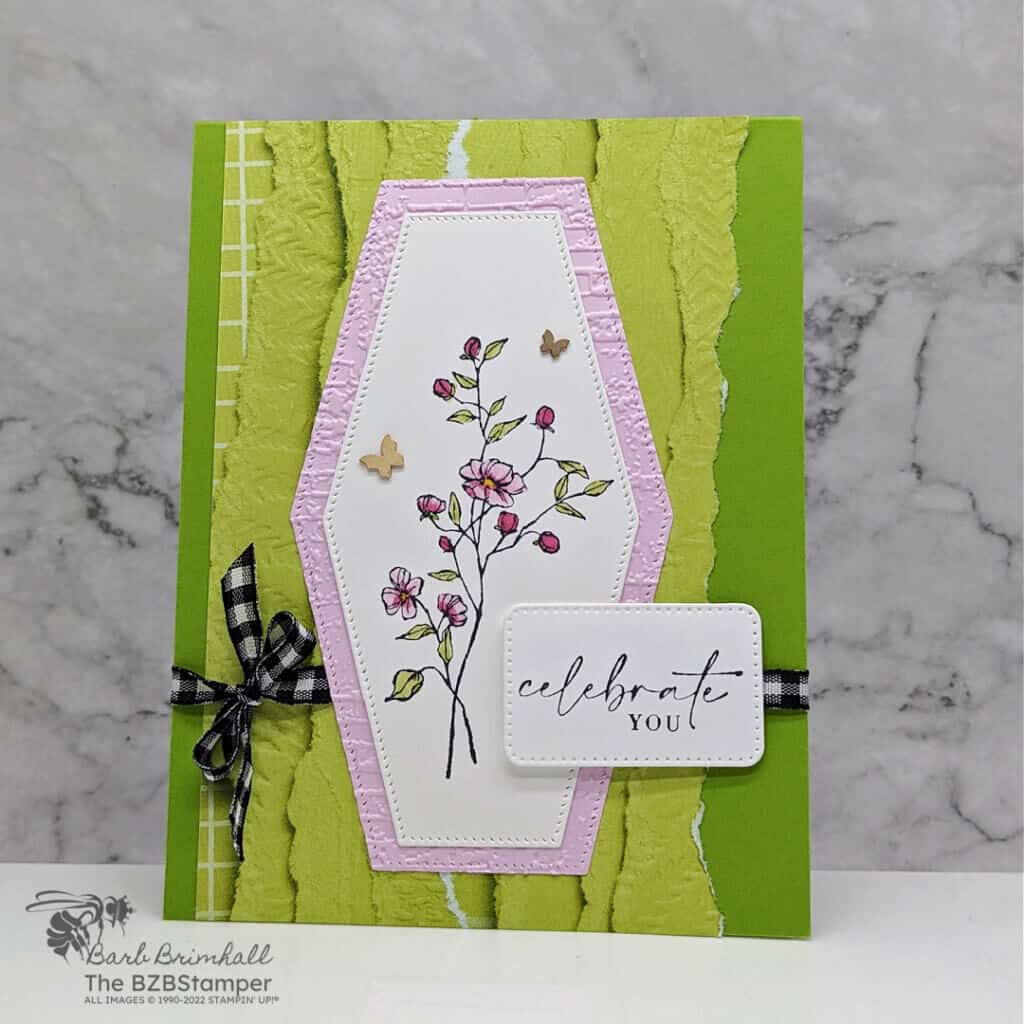
You’re going to love the enchanting Dainty Delight Stamp Set, where little flowers speak volumes. These delicate blooms may be small in size, but their message carries immense power. With each impression, they convey a profound sense of hope, gratitude, celebration, and more, effortlessly elevating all your papercrafting projects. Use these beautiful florals on your handmade cards and watch the smiles bloom! No matter how you style them, you can’t go wrong with these delicate beauties.
View more stamped samples & inspiration here
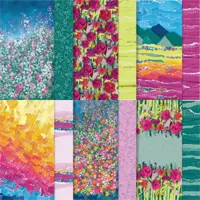
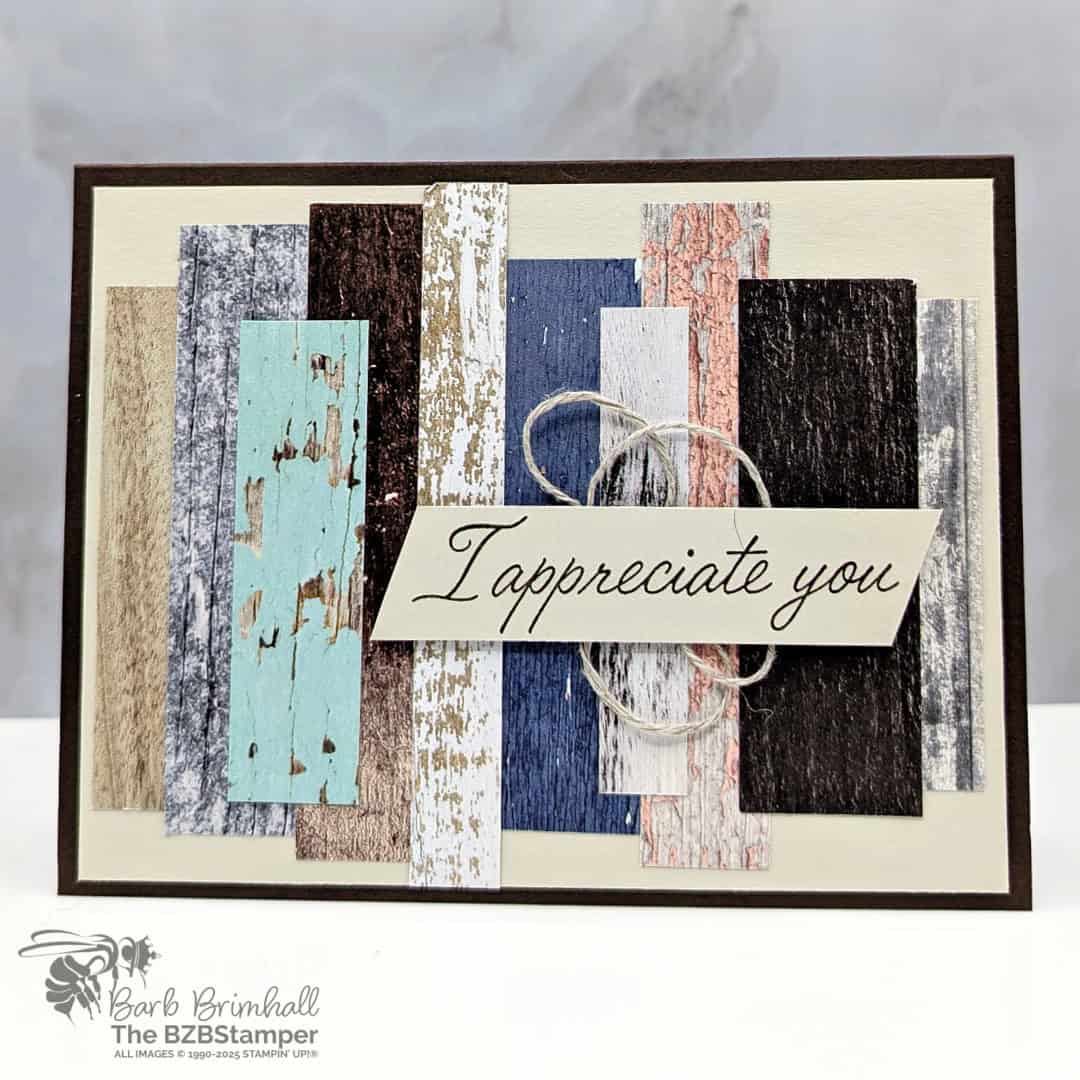
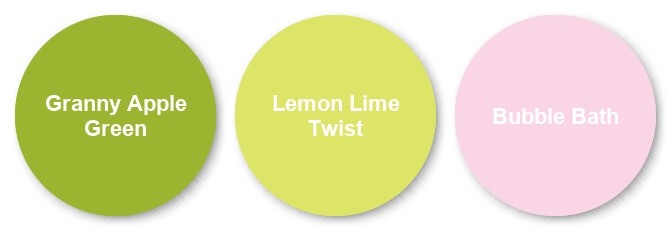
I pulled this color combination straight from the designer paper and I love it! But if you’d prefer to softer color combination, make sure you check out my Color Combination Library, where you’re sure to find a different combination you’ll love!
Project Measurements
- Granny Apple Green: 4-1/4″ x 11″, scored at 5-1/2″
- Masterfully Made Designer Paper: 4″ x 5-1/2″
- Basic White: 4″ x 5-1/4″ (x2)
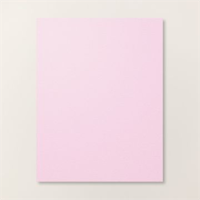
- Bubble Bath: 3″ x 5″
Instructions
- Fold the Granny Apple Green cardstock in half at the score line and burnish well with your Bone Folder for a crisp fold.
- Adhere one of the 4″ x 5-1/4″ pieces of Basic White Cardstock inside the card.
- Tear one of the sides of the Masterfully Made paper and adhere to the front of the card.
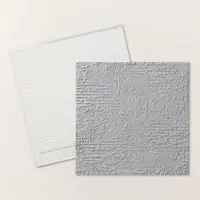
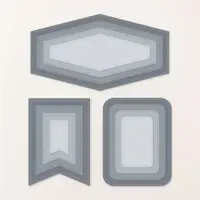
- Using the Cut & Emboss Machine, run the Bubble Bath paper through the Machine using the Exposed Brick Embossing Folder. Run it through the Machine again, this time cutting out the shape using the 2-3/4″ x 4-3/4″ Nested Essentials die.
- Run the other piece of Basic White cardstock through the Cut & Emboss Machine, using the 2″ x 4-1/4″ die and the 1″ x 1-3/4″ rectangle die.
- Using the 1″ rectangle die, stamp the sentiment using Black Memento ink and set aside.
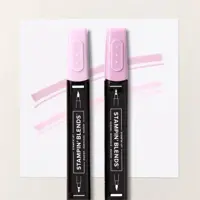
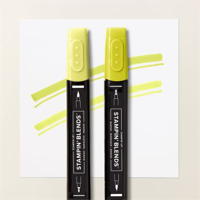
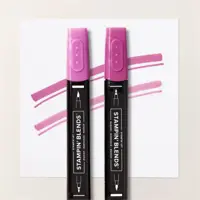
- Using the remaining die-cut piece, stamp the floral image using Black Memento ink. Color in the large flowers using the Dark Bubble Bath Blends. Color in the center of the large flowers using the Dark Daffodil Delight Blend. Color in the small flower buds using the Light Berry Burst Blend. Color in the leaves using the Lemon Lime Twist Blends.
- Adhere the White die-cut piece to the Bubble Bath die-cut piece.
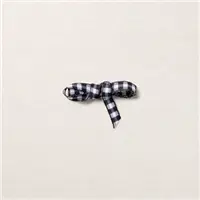
- Wrap 20-24″ of the Black & White Gingham around the card and tie into a bow on the left side.
- Adhere the the Bubble Bath piece to the card base using Adhesive.
- Adhere the sentiment tag from Step #6 to the right of the die-cut images using Stampin’ Dimensionals.
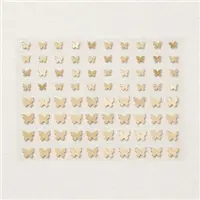
- To finish, add 2-3 of the Brushed Brass Butterflies as desired.
Supplies Used in this Project
Pin It!
Be sure to pin this project to your card-making boards on Pinterest if you like this project
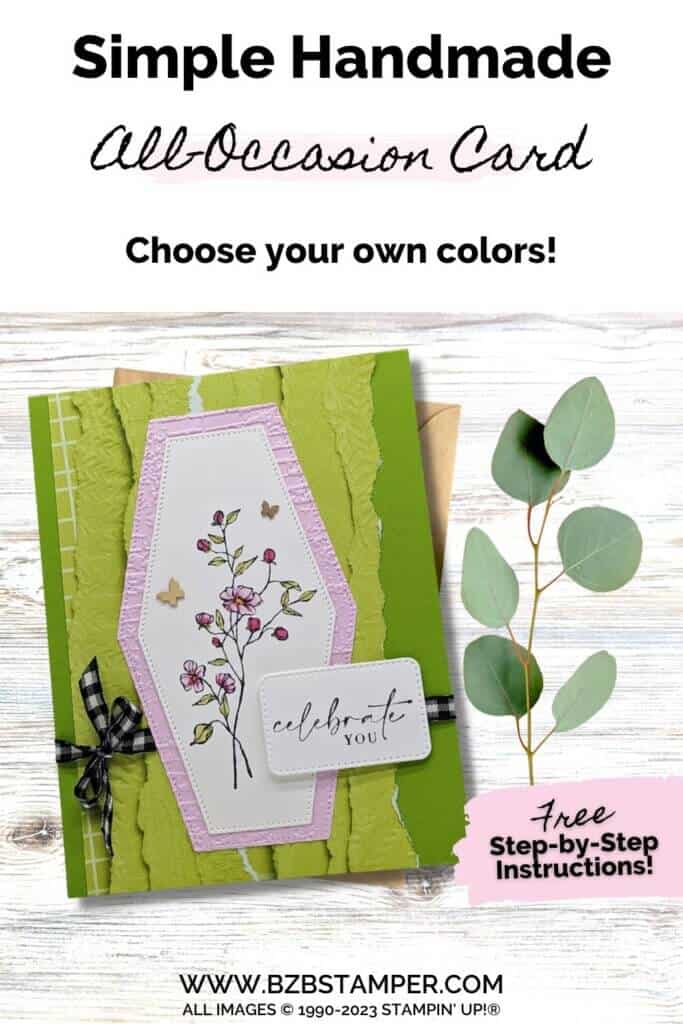
Thank you so much for stopping by! I hope you are inspired to make simple handmade cards for friends this week! If you’d like more detailed directions on how to make this card, feel free to email me. Give this papercrafting tutorial a try 🙂 Check back soon for more card making ideas!


