The Ornate Floral Embossing Folder by Stampin’ Up!
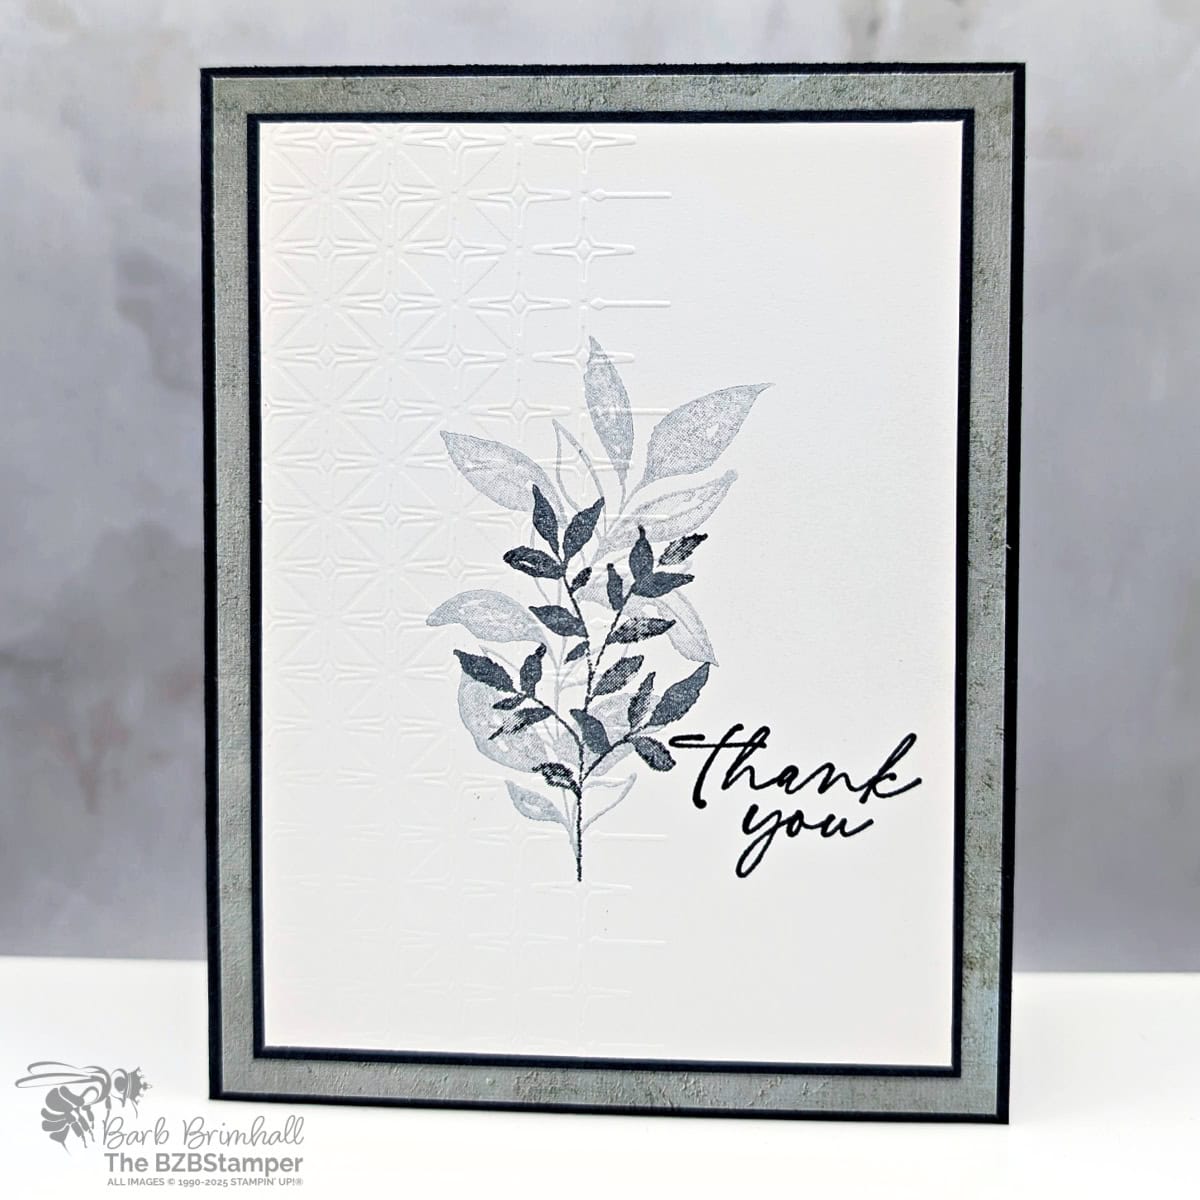
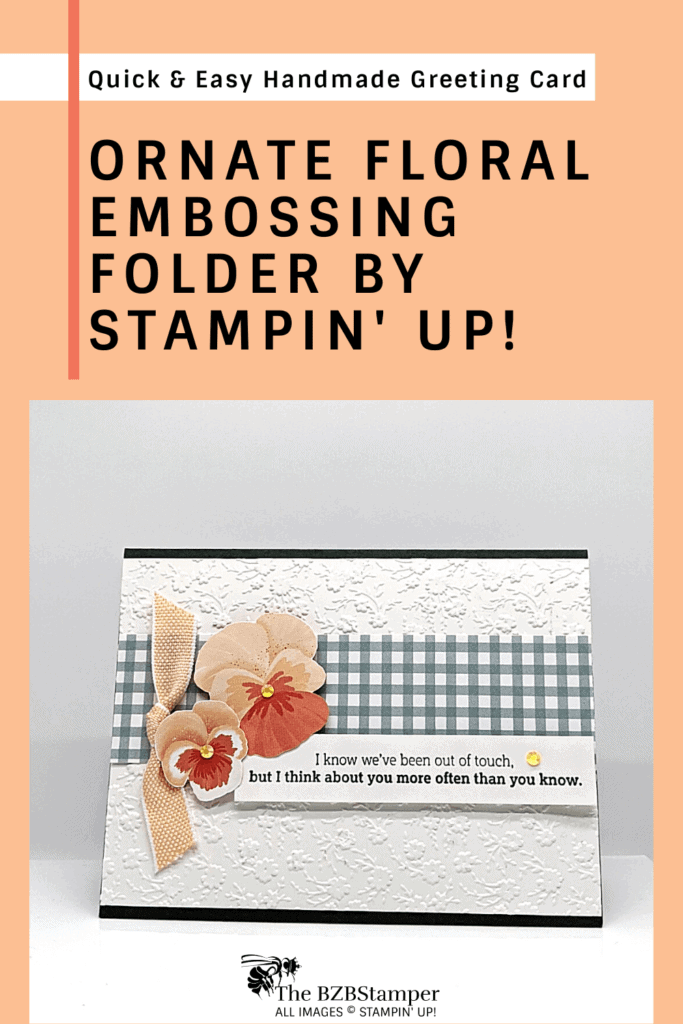
There’s nothing prettier than a background full of embossed flowers. The Ornate Floral Embossing Folder by Stampin’ Up! will fill those backgrounds with a bouquet of blooms that are sure to brighten anyone’s day.
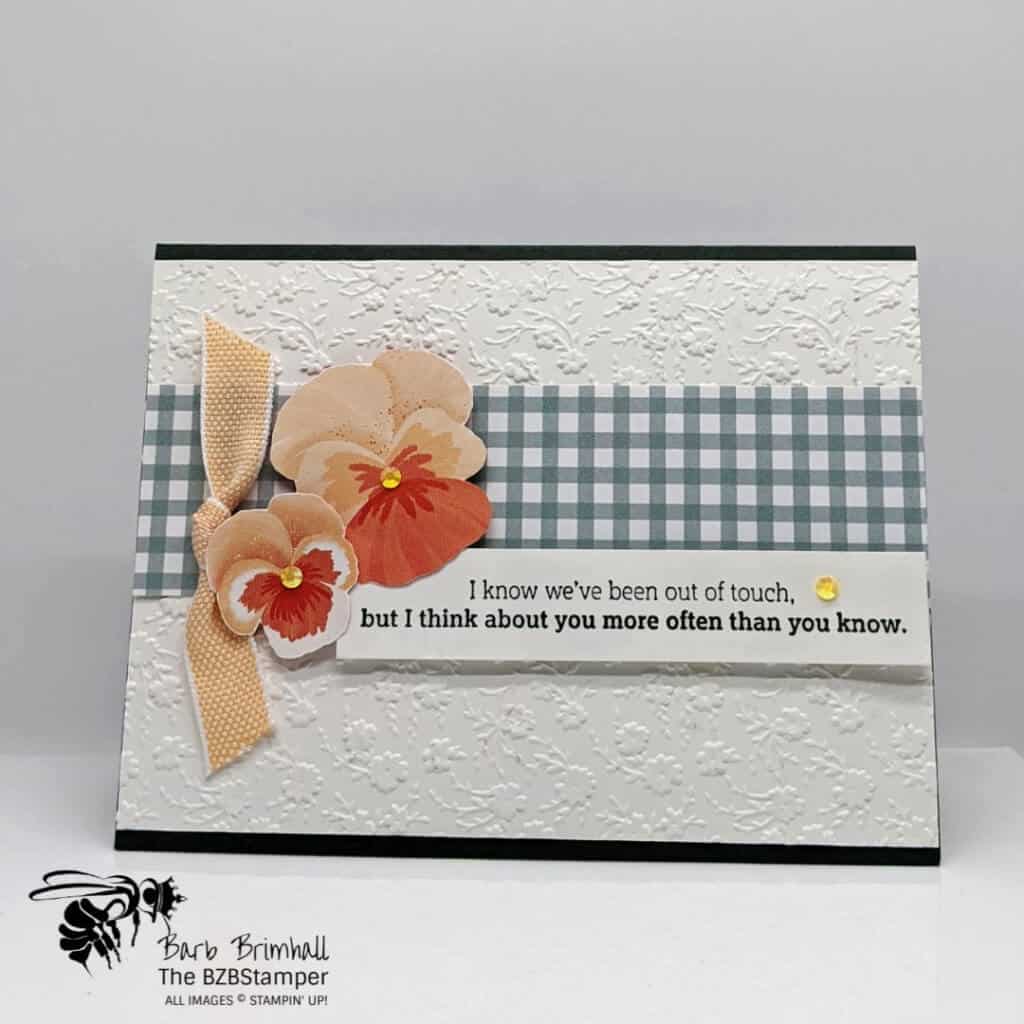
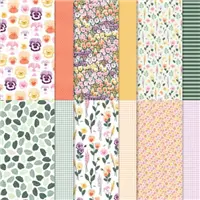
This card came together quickly thanks to the use of the beautiful Pansy Petals Designer Paper, which just happens to be on sale through August 2, 2021. You can find out more about this sale here.
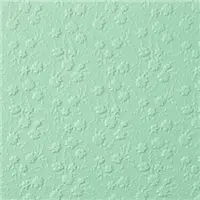
The focal point of this card, tho, is that gorgeous 3-D embossed background, courtesy of the Ornate Floral Embossing Folder by Stampin’ Up! I love to emboss on Basic White cardstock – I think it’s subtle but oh so elegant!
Here’s how I made this card:
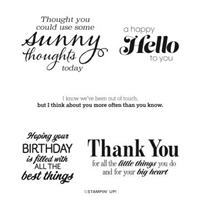
Supplies Used On This Project
Project Measurements
- Evening Evergreen: 5-½” x 8-½”
- Pansy Petals Designer Paper:
- 1-½” x 5-½” Soft Succulent Gingham Design
- Pansy Design Scrap (enough to cut 2 pansies from it)
- Basic White:
- 4” x 5-¼”
- 4” x 5-½”
- ¾” x 4”
Project Instructions
- Cut a piece of Evening Evergreen Cardstock to 5-1/2” x 8-1/2”, score at 4-1/4” and fold at score
line to create your base card. - Cut a 4” x 5-1/4” piece of Basic White cardstock and layer inside card.
- Cut a 4” x 5-1/2” piece of Basic White cardstock. Run through the Cut & Emboss Machine using
the Ornate Floral 3-D Embossing Folder. Layer onto the base card, leaving 1/8” at top & bottom. - Cut a 1-1/2” x 5-1/2” piece of Soft Succulent Gingham Design from the Pansy Petals Designer
Paper. Layer onto the center of the base card. - Cut a 3/4” x 4” piece of Basic White Cardstock. Stamp the sentiment onto the cardstock using
Evening Evergreen ink. Adhere to card using Stampin’ Dimensionals, lining up on left side of card,
slightly overlapping the bottom of the Gingham Plaid paper. - Using a scrap piece of the Pansy Petals Designer Paper with the Pansy images, cut out a small and
large pansy. Adhere to the Designer Paper using Stampin’ Dimensionals so that they slightly
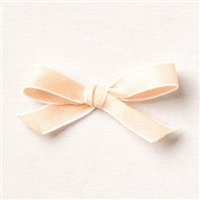
overlap the sentiment strip. - Tie a knot with the Papaya & White Ribbon and adhere to the base card just to the left of the
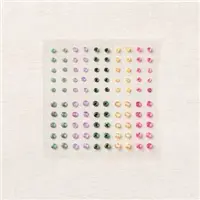
pansy’s. If desired, add 3 of the In Color Jewels to the base card.

Like It? Pin It!
Be sure to pin this project to your card making boards on Pinterest if you like this project
- Get a Free Tutorial Every Week!
- Shop 24/7 in your PJ’s
- Queen Bee Rewards – Earn FREE Stamps!
- View the 2024-2025 Annual Catalog
- View NEW Online Products
- Monthly Crafting Kit
Thank you so much for stopping by and checking out this papercrafting tutorial. I hope you are inspired to create and send cards. I love sharing how to make cards here on the BZBStamper blog and I can’t thank you enough for all of your support!


