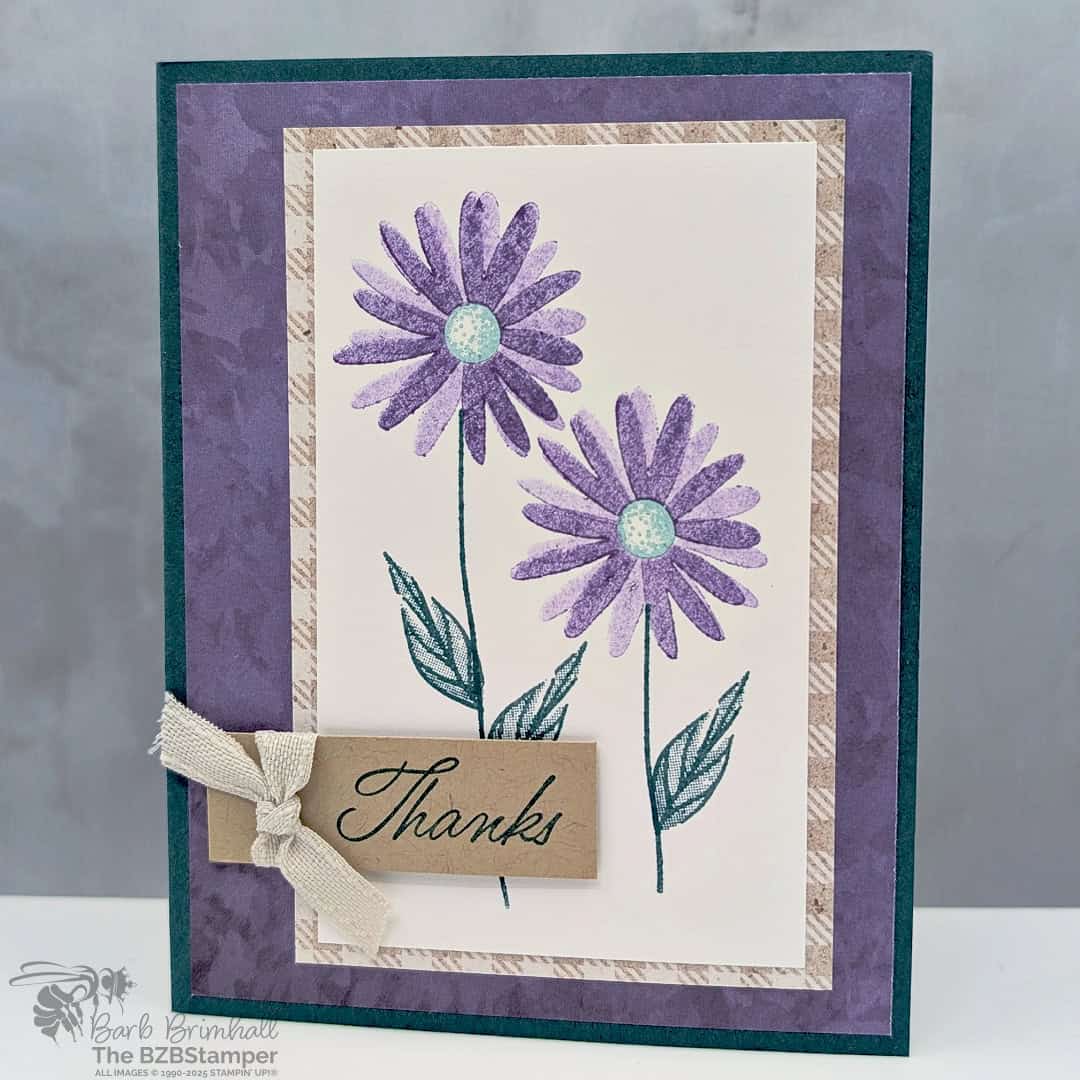
Thanks A Bunch Handmade Card
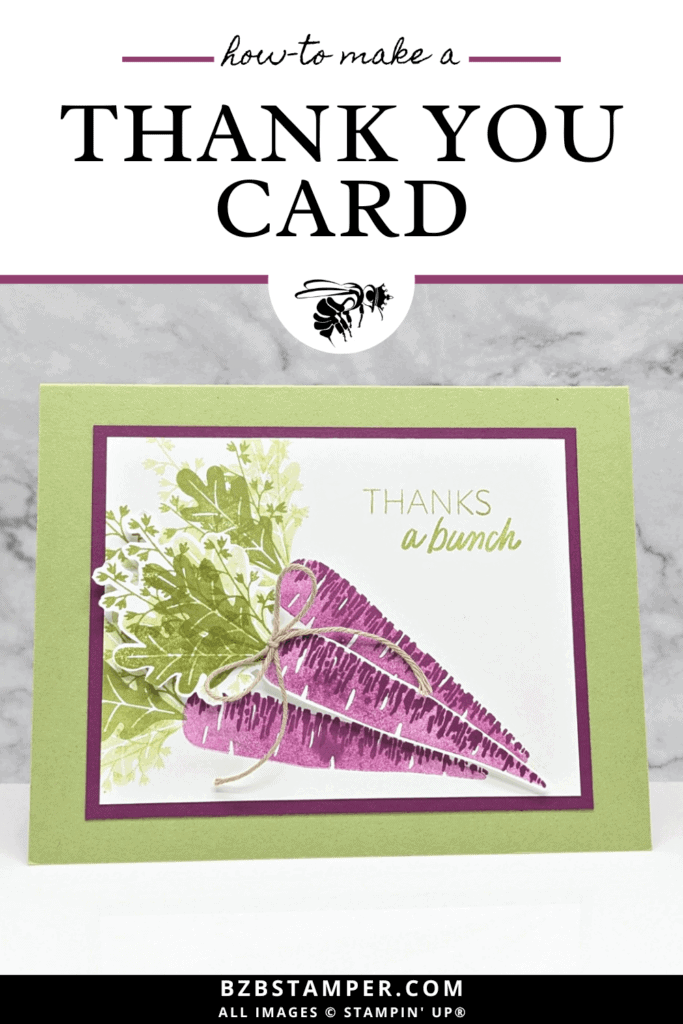
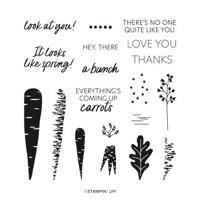
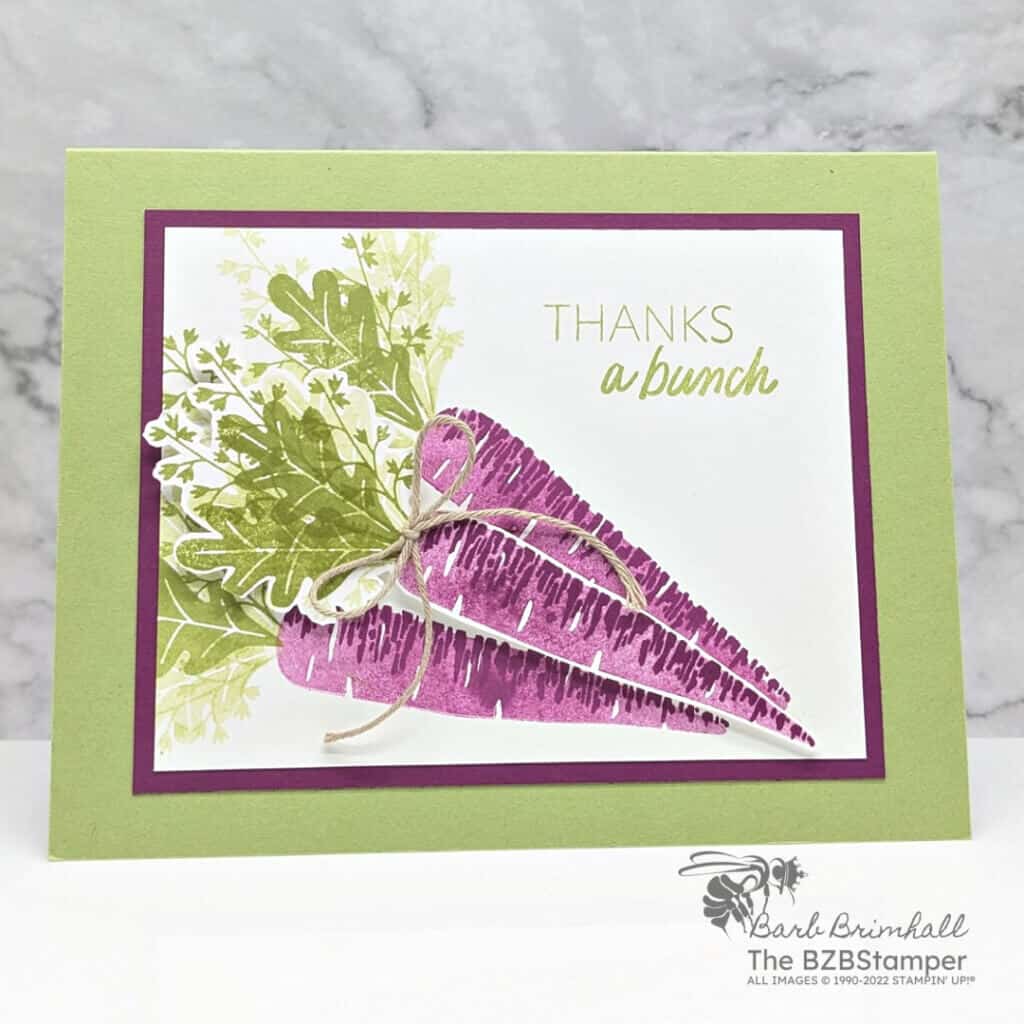
This Thanks A Bunch handmade card features the Sale-A-Bration Stamp Set, Thanks a Bunch by Stampin’ Up! You’ll “carrot” a lot about all the things you can do with the Thanks a Bunch Stamp Set. This Two-Step Stampin’ set makes it easy to build a vegetable garden scene. With more than half a dozen greetings to choose from, you can create friendship and spring-themed cards for a variety of occasions. Harvest these playful images and greetings for yourself!
View more stamped samples & inspiration here
Project Measurements
- Pear Pizzazz: 5-1/2″ x 8-1/2″, scored at 4-1/4″
- Rich Razzleberry: 3-1/2″ x 4-1/2″
- Basic White:
- 4″ x 5-1/4″ (2 pieces)
- 3-1/4″ x 4-1/4″
Instructions
- Fold the Pear Pizzazz cardstock in half at the score line to create your card base.
- Adhere one of the 4″ x 5-1/4″ Basic White pieces to the inside of your card.
- Using the 3-1/4″ x 4-1/4″ Basic White cardstock, stamp the sentiment in the upper right corner using Old Olive ink.
- Ink up the solid carrot using Rich Razzleberry ink and tap off the ink on your scratch paper. Stamp at an angle to the left of the sentiment (see picture of card for placement.) Repeat at the bottom left of the Basic White cardstock, leaving room for a carrot to fit in between these 2 carrots.
- Ink up the “detailed” carrot image using Rich Razzleberry ink and stamp it onto of the first carrot image. Reink the stamp and repeat on the second carrot image.
- Ink up the Bold leaf image using Old Olive ink and stamp it onto the stem of the 2 carrots. Stamp again slightly off the first leaf image without reinking your stamp. Ink up the smaller multiple-leaf image with the same ink and stamp it onto the stem; stamp again without reinking.
- Repeat Step #6 for the second carrot.
- Adhere the Basic White cardstock to the Rich Razzleberry Cardstock and adhere to card base.
- Using the other piece of 4″ x 5-1/4″ Basic White cardstock, follow the same steps from #5 above. Once stamped, use your Paper Snips Scissors to cut out the carrot & stem/leaves. Adhere in between the 2 stamped carrots using Stampin’ Dimensionals.
- Using about 12″ of the Crumb Cake Baker’s Twine, tie into a bow and adhere to the top of the middle carrot to finish.
Supplies Used in this Project
Pin It!
Pin the image below to your board for all those handmade thank you card ideas you have saved, so when you have an opportunity for a fun cardmaking session, you will be able to get right to the creative part!
Thanks for stopping by for today’s card tutorial! My goal is to help you make quick & easy greeting cards for all occasions. If you’d like more detailed directions on how to make this card, feel free to email me. I hope you’ll join me again for more card-making ideas!


