Stampin’ Up! Thanks A Bunch Stamp Set
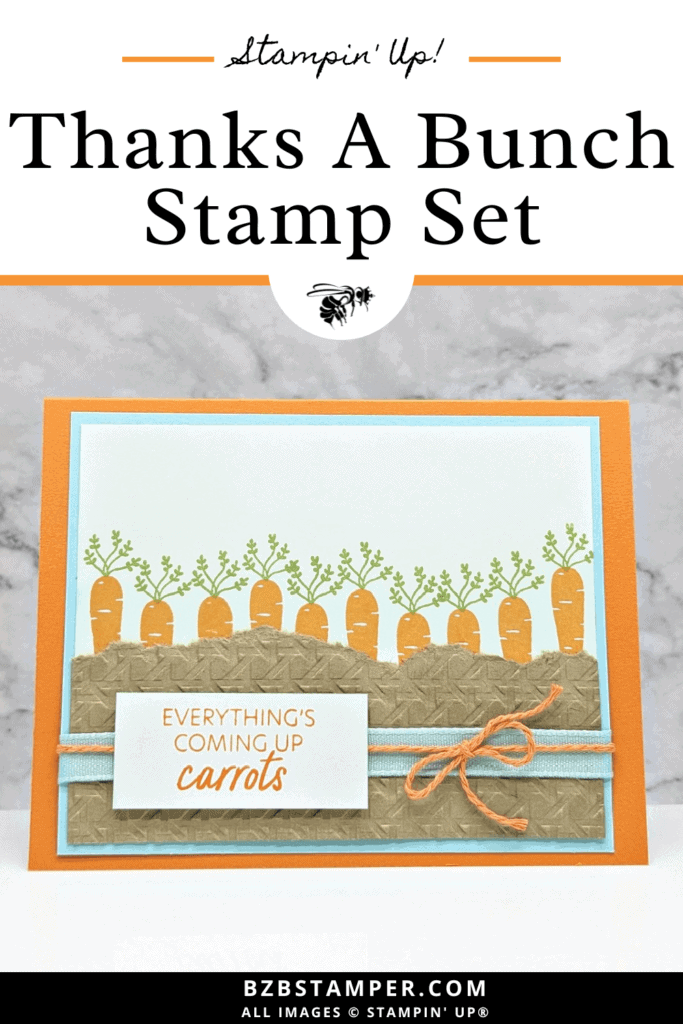
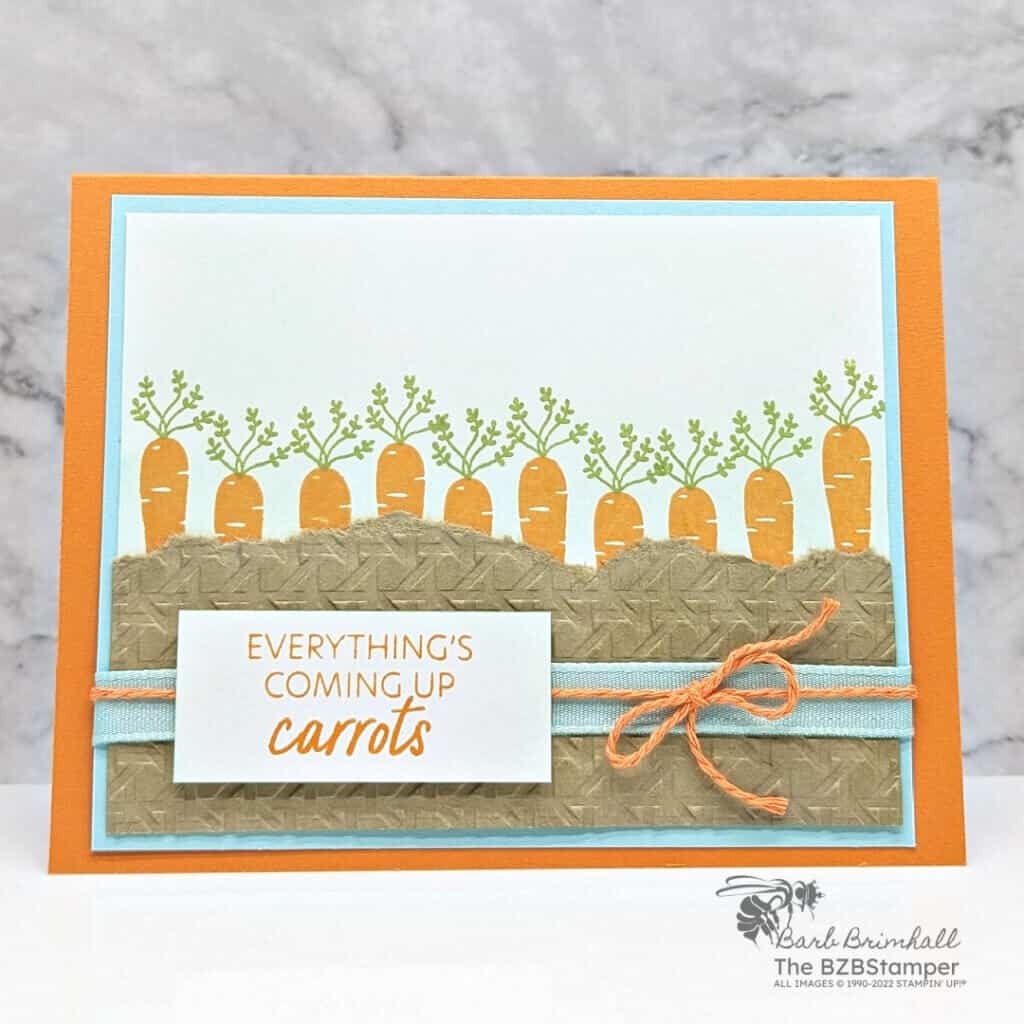
Looking for the perfect way to express your gratitude? Look no further than the Thanks A Bunch Stamp Set from Stampin’ Up! This exquisite set of stamps is designed to help you create a handmade card that will make your recipient feel truly appreciated.
View more stamped samples & inspiration here
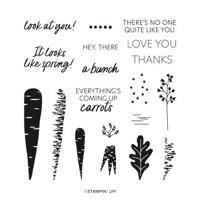
I love any stamp set that is Two-Step Stamping. If you’re unfamiliar with this term, it basically means that stamps that are usually one image (i.e., carrot and stems) are on two separate stamps so that you can quickly stamp the images in different colors. That’s the case with the Thanks A Bunch stamp set, which is so easy to use.
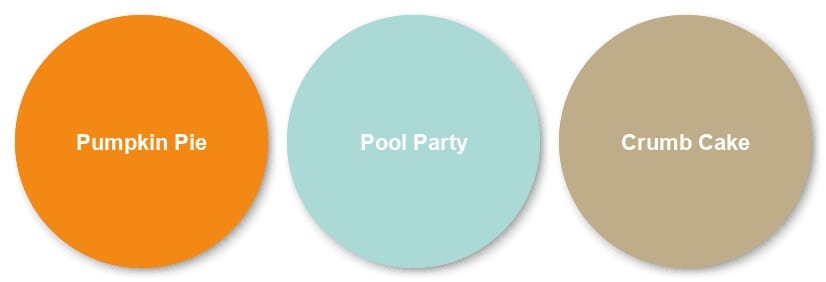
I wanted an earthy, rustic color combination for this card, but with a pop of color, so I chose this color combination. If you prefer something different, make sure you check out my Color Combination Library, which has lots of different ideas for you!
Project Measurements
- Pumpkin Pie: 5-1/2″ x 8-1/2″, scored at 4-1/4″ for your card base
- Pool Party: 4″ x 5″
- Crumb Cake: 2″ x 4-3/4″
- Basic White:
- 4″ x 5-1/4″
- 3-3/4″ x 4-3/4″
- 1″ x 2-1/4″
Instructions
- Fold the Pumpkin Pie cardstock in half to create your card base.
- Adhere the 4″ x 5-1/4″ Basic White cardstock inside your card.
- Using the 3-3/4″ x 4-3/4″ piece of Basic White cardstock, stamp the smallest single carrot using Pumpkin Pie ink in the center of the cardstock. Repeat at varying heights across the cardstock.
- Stamp the small stems onto the carrots using Old Olive ink.
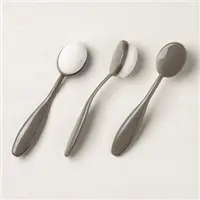
- Using a Blending Brush, lightly sponge Pool Party ink on the top of the cardstock and very lightly around the carrots to create a sky effect. Adhere the White mat onto the Pool Party cardstock and set aside.
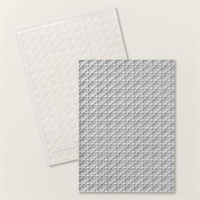
- Using the Cut & Emboss Machine, emboss the piece of Crumb Cake cardstock using the Cane Weave 3D Embossing Folder. Using your fingers, tear the top part of the cardstock randomly, tearing off about 1/4″.
- Using a Blending Brush, lightly sponge Crumb Cake ink over the bottom of the Crumb Cake cardstock to simulate dirt. Adhere the cardstock to the bottom of the stamped White cardstock, lining up the bottom; adhere these pieces to the Pool Party cardstock.
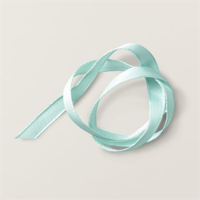
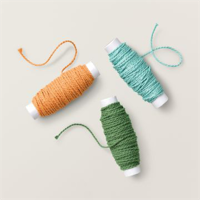
- Cut 5-1/2″ of Pool Party ribbon and adhere the ends to the backside of the Pool Party cardstock. Cut 15″ of the Pumpkin Pie Baker’s Twine and tie it into a bow on the right side of the Pool Party ribbon. Adhere the Pool Party cardstock to the card front.
- Using the 1″ strip of Basic White cardstock, stamp the sentiment using Pumpkin Pie ink. Lightly sponge edges with the Pool Party Blending Brush. Tip: there is probably enough ink left on the Brush from Step #5 to sponge the edges of the cardstock without reinking the Brush.
- Adhere the sentiment strip to the base card to the left of the Baker’s Twine Bow to finish.
Supplies Used in this Project
Pin It!
Save this to your Pinterest board where you save those quick and easy cards.
Thanks for stopping by for today’s card tutorial! My goal is to help you make quick & easy greeting cards for all occasions. If you’d like more detailed directions on how to make this card, feel free to email me. I hope you’ll join me again for more card-making ideas!


