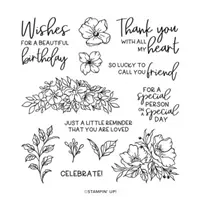
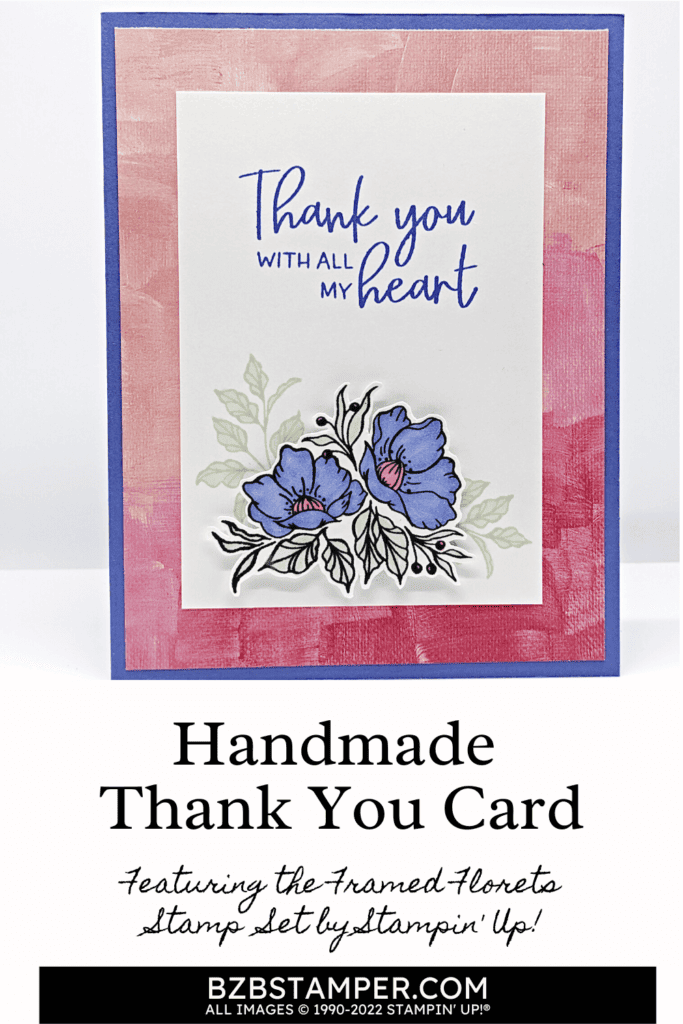
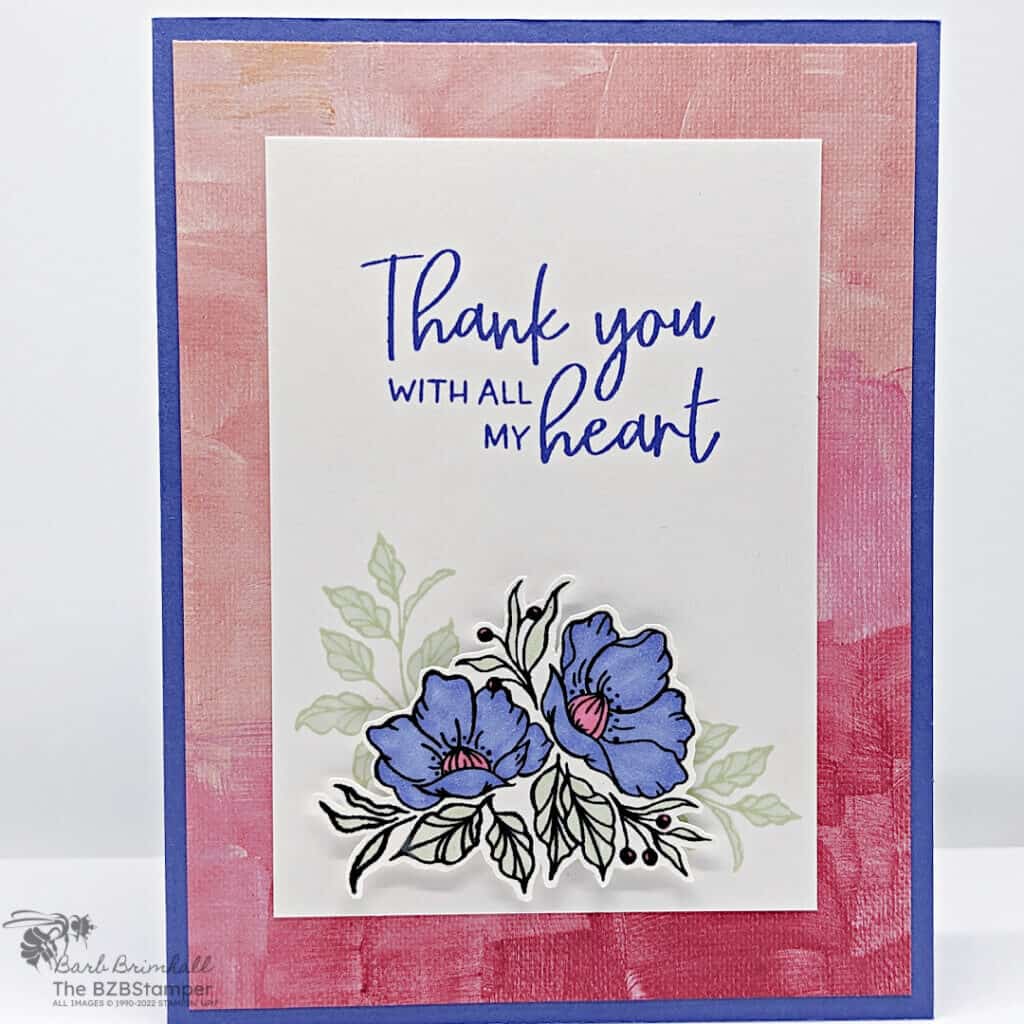
Add an unexpected touch to your next handcrafted Thank You Card with the Framed Florets Stamp Set by Stampin’ Up! The open-line art images can be custom colored using your favorite Stampin’ Up! coloring technique!
View more stamped samples & inspiration here
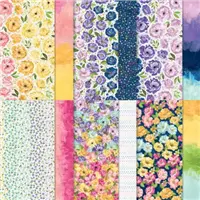
One of my favorite parts of this Thank You card is the color combination I used! I was sending this card to a friend who loves purple. I had a piece of the pretty Hues of Happiness paper in front of me and thought I’d give it a try – and it worked! If this is too bold a color choice for you, make sure you check out my Color Combination Library, where you’re sure to find something you like!
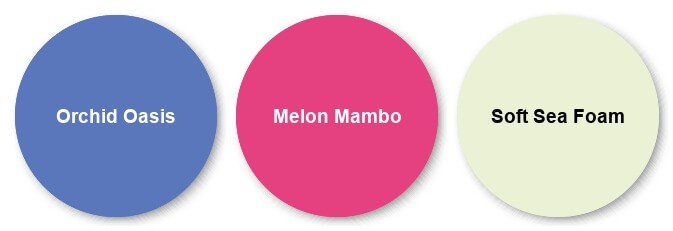
Project Measurements
- Orchid Oasis: 5-1/2″ x 8-1/2″, scored at 4-1/4″
- Hues of Happiness paper: 4″ x 5-1/4″
- Basic White:
- 4″ x 5-1/4″
- 3″ x 4-1/4″
- 2-1/2″ x 4-1/4″
Instructions
- Fold the Orchid Oasis cardstock in half at the score line and burnish it with your bone folder to create the base card.
- Adhere the 4″ x 5-1/4″ piece of Basic White cardstock inside the card.
- Adhere the Hues of Happiness paper to the front of the card
- Using the 3″ x 4-1/4″ piece of Basic White cardstock, stamp the sentiment towards the top of the cardstock using Orchid Oasis ink.
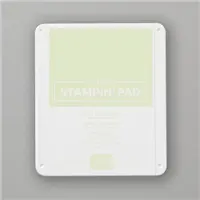
- Ink up the double floral image using the Soft Sea Foam ink pad. Tap off the ink 2 times and stamp towards the bottom of the cardstock. You want a very faint image to help you line up the next step.
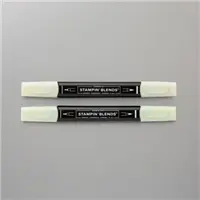
- Ink up the 9-leaf image using Soft Sea Foam ink and, using the image stamped in the previous step, stamp on the left side of that image, slightly overlapping. (See the image below for placement.) Re-ink your stamp and repeat on the right side. Color in the leaf images using the Light Soft Sea Foam Blend.
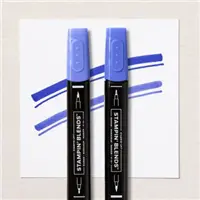
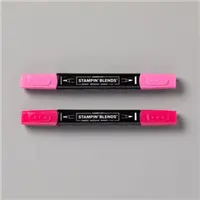
- On the 2-1/2″ x 4-1/4″ piece of Basic White Cardstock, stamp the double floral image (same image used in step #5) using Black Memento ink. Color in the flowers using the Light Orchid Oasis Blend, the centers using the Light Melon Mambo Blend, and the leaves using the Dark Soft Sea Foam Blend.
- Adhere the White cardstock to the front of the card.
- Fussy cut out the floral image using your Paper Snip scissors. Adhere over the other stamped image using Stampin’ Dimensionals to finish.
Supplies Used in this Project
Pin It!
Pin the image below to your board for all those handmade thank you card ideas you have saved, so when you have an opportunity for a fun cardmaking session, you will be able to get right to the creative part!
Thanks for stopping by for today’s card tutorial! My goal is to help you make quick & easy greeting cards for all occasions. If you’d like more detailed directions on how to make this card, feel free to email me. I hope you’ll join me again for more card-making ideas!


