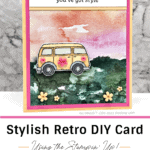
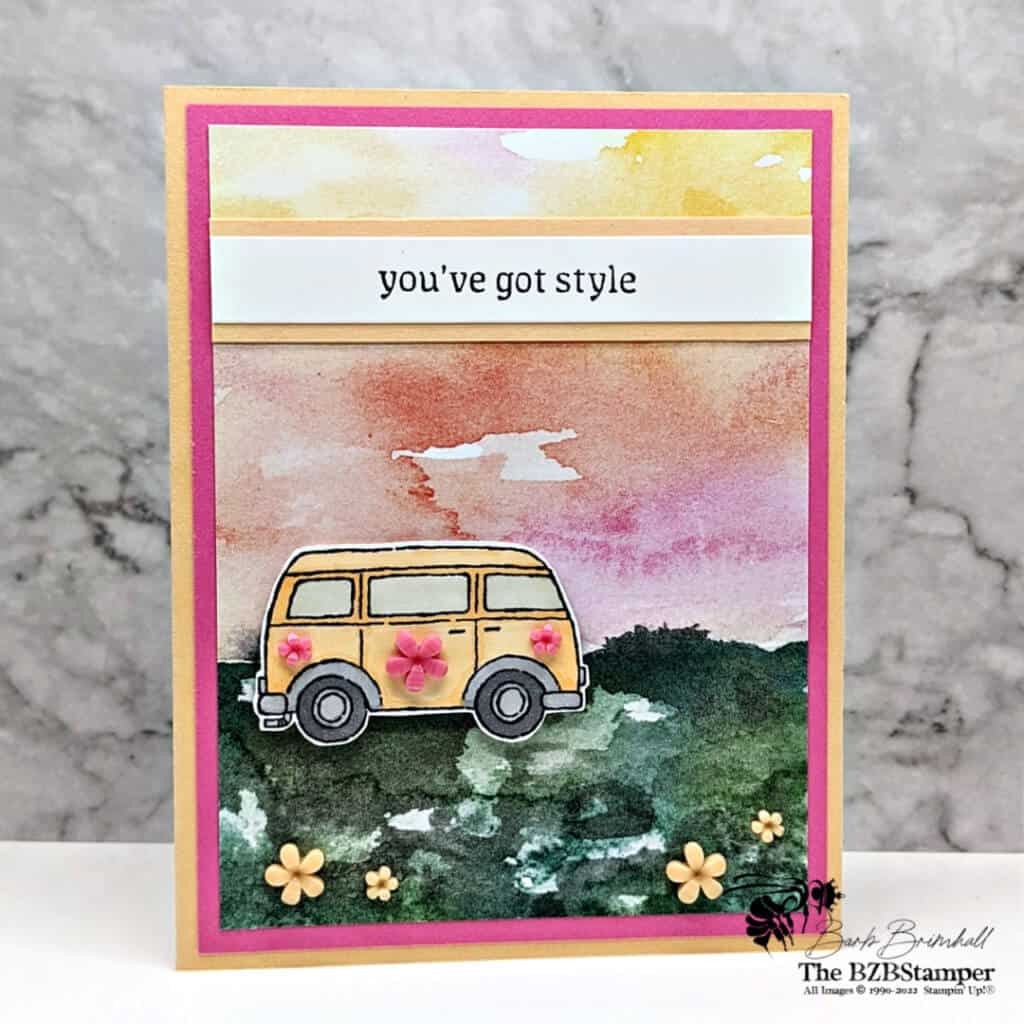
Flashback! This stylish Retro Greeting Card using the Driving By Stamp Set is sure to please anyone who remembers the 70’s!
View more stamped samples & inspiration here
If you remember the 70’s, you’re going to love this handmade card! It harkens back to a time of flower power and spur-of-the-moment road trips!
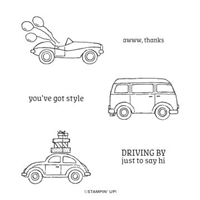
For this card, I used the Stampin’ Up! Sale-A-Bration stamp set, Driving By, which is only available until February 28, 2022. Better yet, it’s free with a $50 qualifying order!
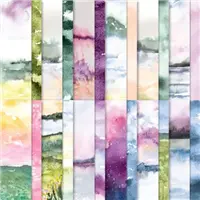
To create that super easy-peasy background, I used a piece of the New Horizons Designer Series Paper by Stampin’ Up! I love this paper and you’re going to see tons of samples with it over the next couple fo months.
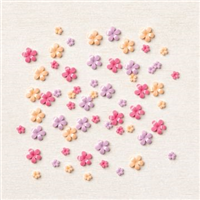
To finish off the “flower power” theme, I used some of the adorable Flower Flourishes Embellishments that up the cuteness factor on any card!
Don’t forget you an download the entire Tutorial on how to make this card using the EZ Download box below! Ok, let’s get started….
Project Measurements
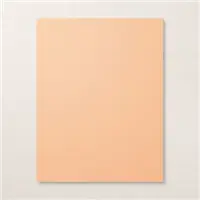
- Pale Papaya: 5 ½” x 8 ½” scored at 4 ¼” and 3/4” x 3-3/4”
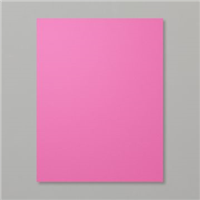
- Magenta Madness: 4” x 5-1/4”
- New Horizons Paper: 3-3/4” x 5”
- Basic White: 4” x 5-1/4” and 1/2” x 3-3/4” and 3” x 3” scrap for stamping
Project Instructions
1. Fold the 5-1/2” x 8-1/2” piece of Pale Papaya cardstock in half at the scoreline. Burnish well with your Bone Folder to create a crisp fold.
2. Adhere the 4” x 5-1/4” piece of Basic White cardstock inside your card.3. Adhere the New Horizons paper to the Magenta Madness cardstock and adhere to the front of the card base.
4. Using the 1/2” strip of Basic White cardstock, stamp the sentiment in the center of the strip using Black Memento ink. Adhere to the Pale Papaya 3/4” strip; adhere to the card base.
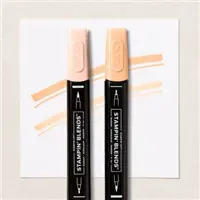
5. Using the 3” scrap of Basic White cardstock, stamp the Van using the Black Memento ink pad. Color in the body of the van using the Dark Pale Papaya Blend.
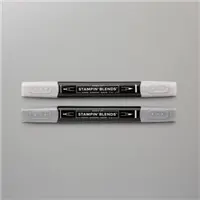
6. Color in the tires/bumpers of the Van using the Smoky Slate Blends.
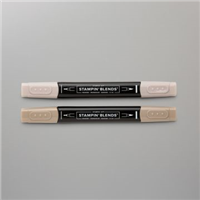
7. Color in the windows of the Van using the Light Crumb Cake Blend.
8. Fussy cut out the van using your Paper Snips and adhere to card base using Stampin’ Dimensionals.
9. Using Glue Dots, adhere 7 of the Flower Flourishes onto the card as desired to finish.

Supplies Used on this Project
Like It? Pin It!
Be sure to pin this project to your card making boards on Pinterest if you like this project
- Get a Free Tutorial Every Week!
- Shop 24/7 in your PJ’s
- Queen Bee Rewards – Earn FREE Stamps!
- View the 2024-2025 Annual Catalog
- View NEW Online Products
- Monthly Crafting Kit
Thank you so much for stopping by! I hope you are inspired to make simple handmade cards for friends this week! Give this papercrafting tutorial a try 🙂 Check back soon for more card-making ideas!


