Stampin Up Sentimental Swirls Hello Card
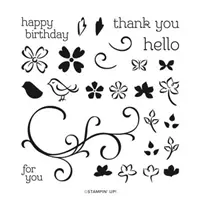
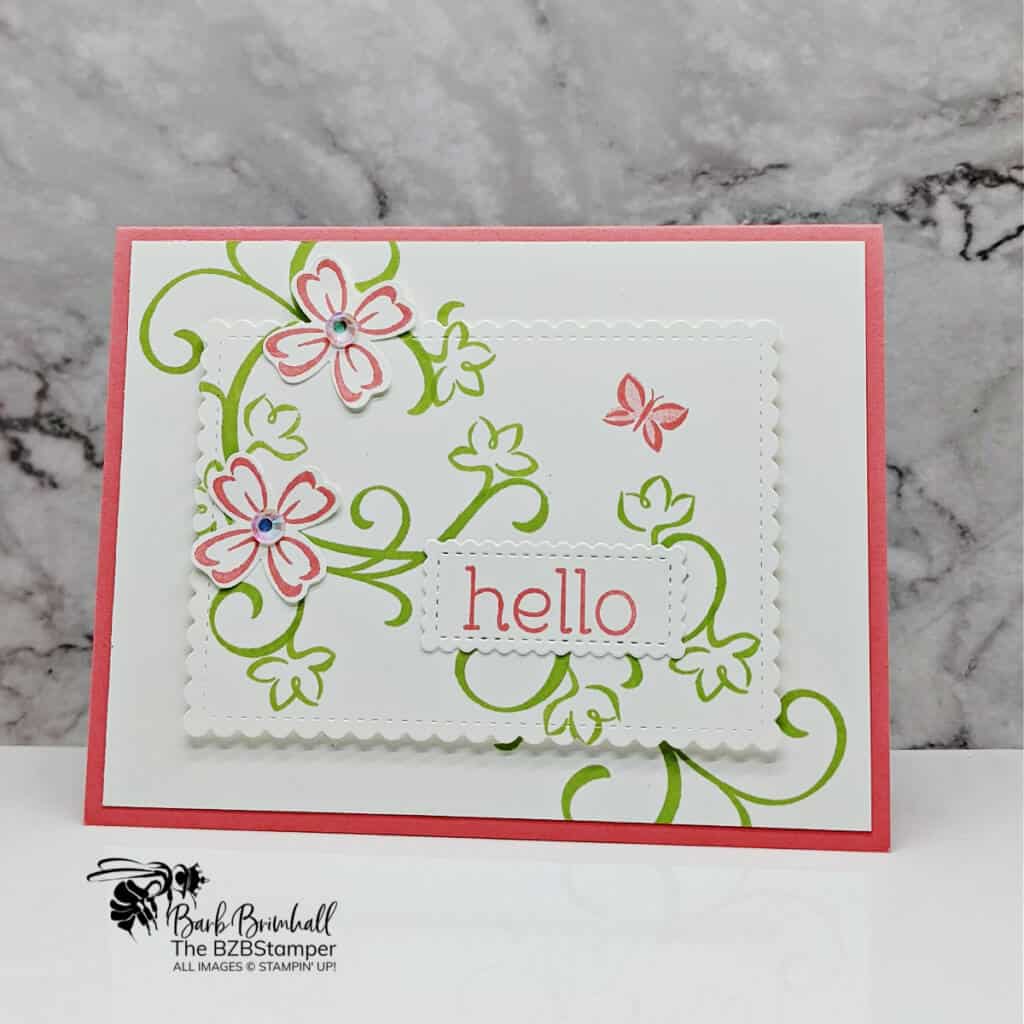
Make this fun Hello Card using the Stampin Up Sentimental Swirls stamp set. This stamp set includes a variety of all-occasion greetings and a large swirly flourish that can be decorated with the included flowers, birds, butterflies, and leaves images.
View more stamped samples & inspiration here
It’s so easy to make elegant cards using the Sentiment Swirls Stamp Set by Stampin’ Up! This Two-Step Stampin’ set allows you to layer two or more images to create one final image with extra texture and dimension in the colors you want. If you want a quick and easy card, stamp the outline images in just a few colors. When you’re feeling more artfully crafty, add more colors or layers like I did here to add dimension and texture.
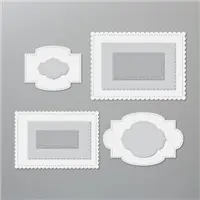
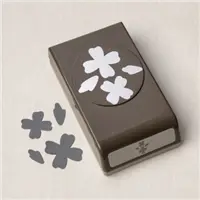
I love that this Stamp Set coordinates with the Stampin’ Up! Flowers & Leaves Punch – it made it so easy to cut out those flowers! If you don’t have a Cut & Emboss Machine to create the die-cut layers, no worries. Simply cut the larger Basic White cardstock at 3″ x 4″ and the sentiment label for the “hello” at 3/4″ x 1-3/4″ and you’ll get a similar effect.
Here’s how I made this card:
Project Measurements
- Flirty Flamingo: 5-1/2” x 8-1/2”, scored at 4-1/4”
- Basic White:
- 4” x 5-1/4” (2)
- 3-1/2” x 4-1/2”
- 3” x 5”
Project Instructions
1. Fold the Flirty Flamingo cardstock in half.
2. Adhere one of the 4” x 5-1/4” piece of Basic White Cardstock inside the base card.
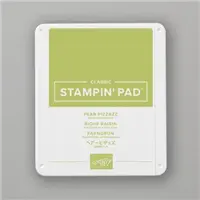
3. Using the other 4” x 5-1/4” piece of Basic White cardstock, stamp the large swirl in both the upper left and lower right corner using Pear Pizzazz ink.
4. Using the 3-1/2” x 4-1/2” piece of Basic White cardstock, run through the Cut & Emboss machine using the Stitched So Sweetly die that is approximately 3” x 4”. Stamp the floral vine image using Pear Pizzazz ink so that it goes from upper left to lower right corner.
5. Stamp the outline of the butterfly in the upper right corner using Flirty Flamingo Ink.
6. Ink the bold butterfly image with the same ink but tap off most of the ink on your scratch sheet; stamp inside the outline butterfly image from the previous step.
7. Adhere the die-cut stamped piece onto the base card using Stampin’ Dimensionals.
8. Using the 3” x 5” piece of Basic White cardstock, stamp the “hello” using Flirty Flamingo ink at one end of the cardstock. Using the Cut & Emboss Machine and Stitched So Sweetly die, cut out the stitched sentiment tag. Adhere to the base card using adhesive.
9. Using the remaining scrap of Basic White cardstock, stamp the large outline flower 2 times. Punch out using the Flowers & Leaves Punch.
10. Adhere the 2 flowers to the base card using a Stampin’ Dimensional on each flower.
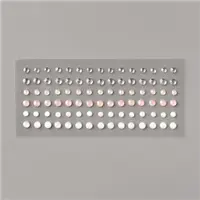
11. To finish, add a Faceted Gem in the center of each flower.

Supplies Used on this Project
Like It? Pin It!
Be sure to pin this project to your card making boards on Pinterest if you like this project
- Get a Free Tutorial Every Week!
- Shop 24/7 in your PJ’s
- Queen Bee Rewards – Earn FREE Stamps!
- View the 2024-2025 Annual Catalog
- View NEW Online Products
- Monthly Crafting Kit
Thank you so much for stopping by! I hope you are inspired to make simple handmade cards for friends this week! Give this papercrafting tutorial a try 🙂 Check back soon for more card-making ideas!


