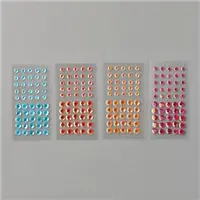
Stampin Up Rainbow Glimmer Paper
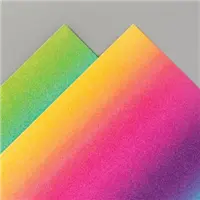
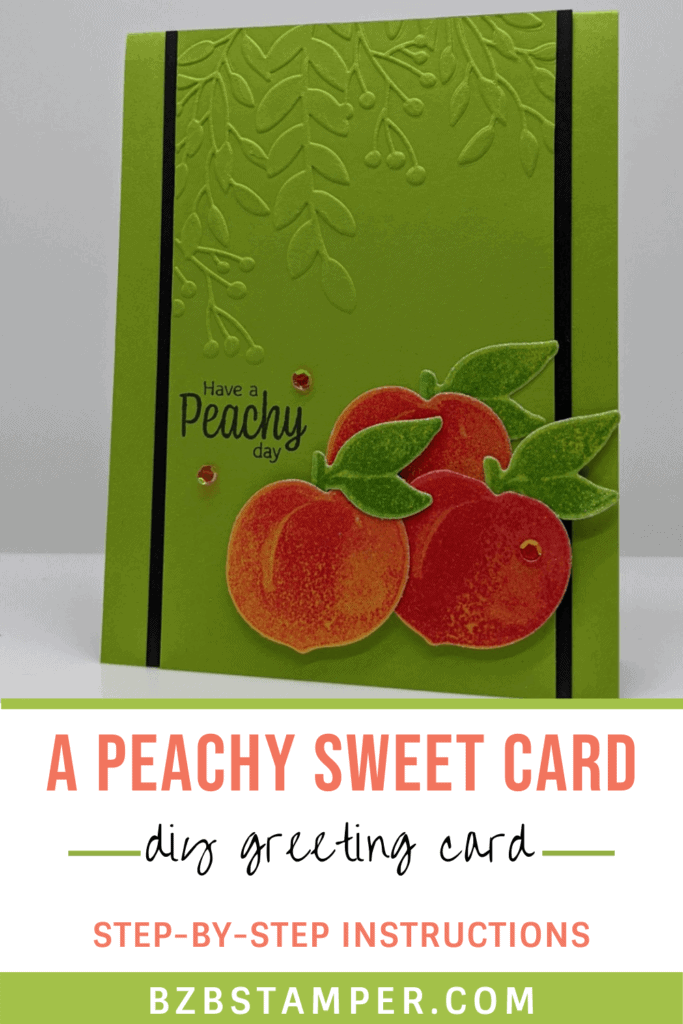
The Stampin Up Rainbow Glimmer Paper makes any project sparkle and shine but it really took the peaches on this card to another level! In person, those peaches look good enough to eat!
I’m in love with this card! I love the colors but I especially love how those peaches turned out – they look good enough to eat! (The picture just does not do these images justice!)
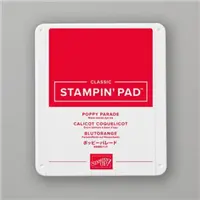
To create the card, I started with a simple card layout, Card Sketch #5 in my Card Sketch Library. I experimented with colors for the peaches and found that stamping Poppy Parade ink on the Mango Melody Glimmer Paper was the perfect combination for realistic peaches. The Glimmer Paper actually made those peaches look fuzzy!
Here’s how I made this card – don’t forget you can download the Tutorial below as well!
Supplies Used on this Project
Project Measurements
- Granny Apple Green 4-¼” x 11, scored at 5-½”
- Basic Black 3-½” x 5-½”
- Granny Apple Green 3-¼” x 5-½”
- Rainbow Glimmer Paper 4” x 6”(Mango Melody) and 2” x 4” (Granny Apply Green)
- Basic White 4” x 5-¼”
Project Instructions
- Fold the Granny Apple Green Cardstock in half to create your base card.
- Adhere the 4” x 5-¼” White Mat to the inside of your card.
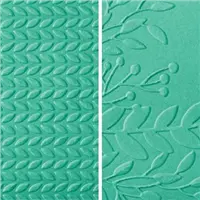
- Run the 3-¼” piece of Granny Apple Green using the Greenery Embossing Folder at the top of the card only.
- Stamp the sentiment using Black Memento ink on the left side, just under the embossing from the previous step. Adhere the Granny Apply Green cardstock to the Basic Black mat and adhere to card base.
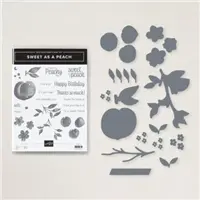
- Ink the Peach stamp using Poppy Parade Ink and stamp onto the Mango Melody Glimmer Paper, Repeat 2 more times.
- Ink the leaves using Granny Apple Green ink and stamp onto the Granny Apple Green Glimmer Paper. Repeat 2 more times.
- Die-cut the images from Steps 5 & 6 using the Peach Dies from the Bundle and the Cut & Emboss Machine.
- Layer the leaves to the Peaches, glueing the front of the stem to the back of the peach. Layer one of the peaches to the card using Liquid Adhesive. Adhere the other 2 peaches using Stampin’ Dimensionals.
- Adhere a few of the Artistry Sequins as desired.

Like It? Pin It!
Be sure to pin this project to your card making boards on Pinterest if you like this project
- Get a Free Tutorial Every Week!
- Shop 24/7 in your PJ’s
- Queen Bee Rewards – Earn FREE Stamps!
- View the 2024-2025 Annual Catalog
- View NEW Online Products
- Monthly Crafting Kit
Thanks for stopping by today, I hope you enjoyed this papercrafting tutorial. If you have a question or if I can help you with anything, please leave me a comment. I’d love to hear from you!


