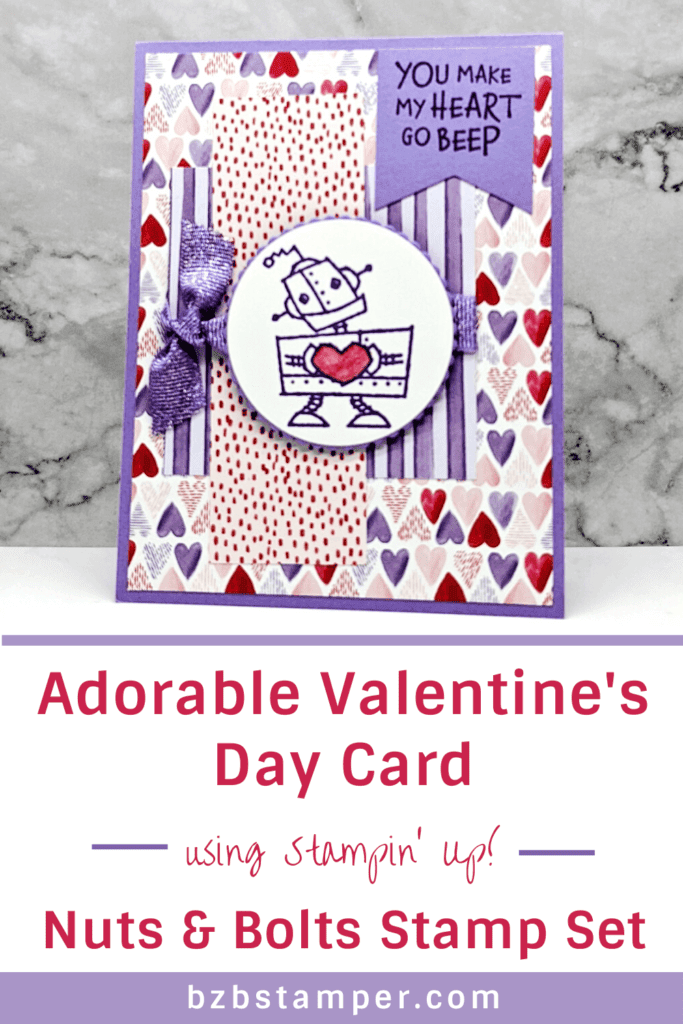
The adorable imagery and sentiments of this Stampin Up Nuts and Bolts Stamp Set will make anyone feel loved and appreciated. The playful artwork and cheerful sentiments will add a perfect touch to your handmade cards and crafts.
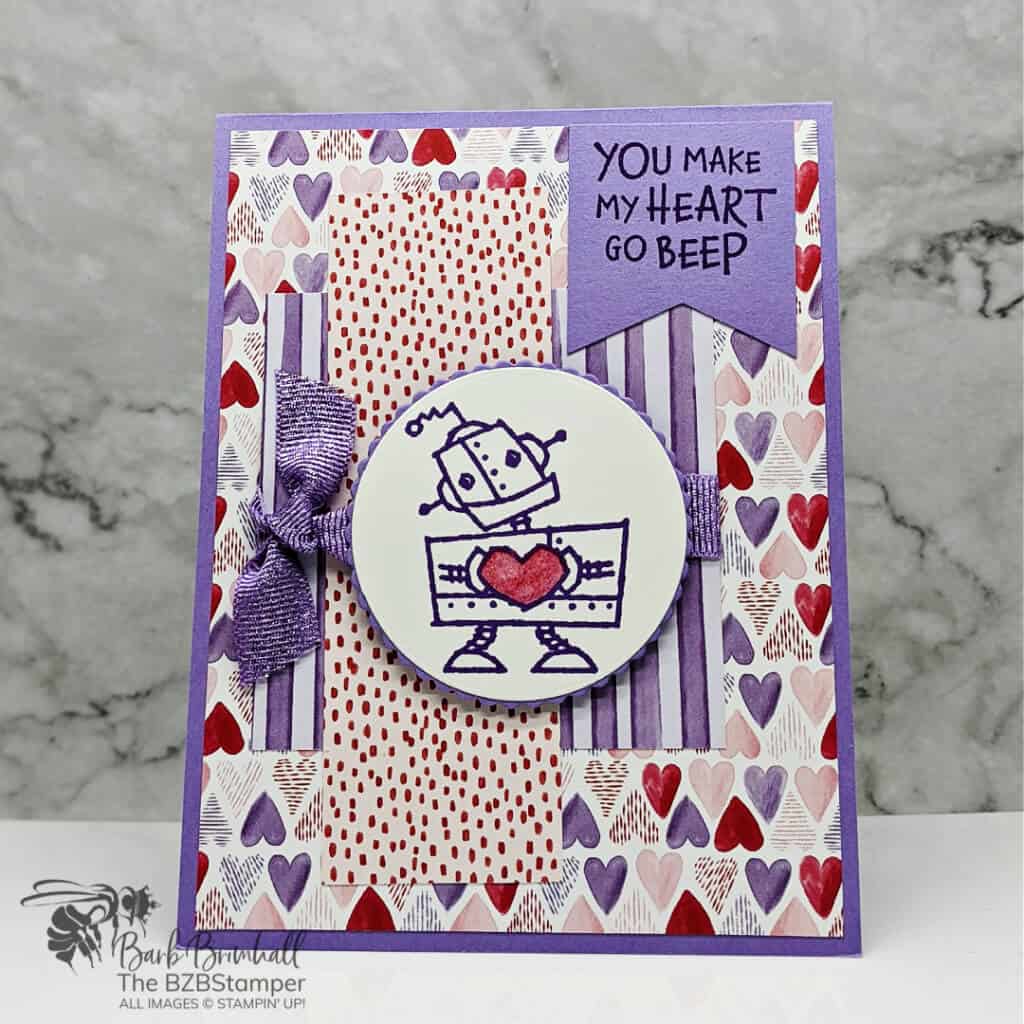
While this stamp set may be perfect for Valentine’s Day, you can also use it to show loved ones how much they mean to you all year long! This set also offers some great versatility: the robot images can be combined on a card or used individually on a tag, while the open line-art images allow you to customize the look with different coloring techniques.
Check out how I made this card below!
Supplies Used on this Project
Project Measurements
- Highland Heather: 4-1/4” x 11”, scored at 5-1/2”; 1-1/2” x 1-3/4”; 3” x 3”
- Basic White: 4” x 5-1/4” and 3” x 3” scrap
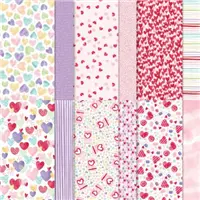
- Sweet Talk Paper:
- 4” x 5-1/4” Heart Design
- 3” x 3” Stripe Design
- 1-1/2” x 4-1/2” Red Dot Design
Project Instructions
1. Fold the Highland Heather cardstock in half at the score line and burnish well with your Bone Folder.
2. Adhere one of the 4” x 5-1/4” pieces of Basic White cardstock inside the base card.
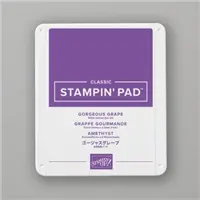
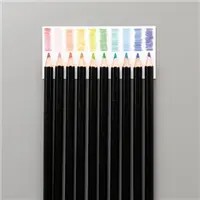
3. Using the other piece of White cardstock, stamp the Robot using Gorgeous Grape ink. Color in the heart using the Cherry Cobbler Watercolor Pencil and blend using the Wink of Stella Glitter Brush.
4. Using the Cut & Emboss Machine, cut out the Robot using the 2” Circle Die. Cut out the 2-1/8” Scalloped Circle Die from the 3” square of Gorgeous Grape cardstock. Adhere the White circle to the scallop circle and set aside.
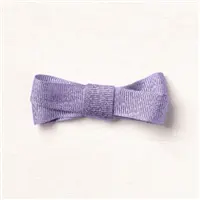
5. Adhere the 4-1/4” Heart Designer Paper to the card base. Wrap the Highland Heather Ribbon around the striped Designer Paper and tie into a knot; trim edges. Adhere to the card base about 1/2” from the left side of the heart paper. Adhere the 1-1/2” strip of the red dot Designer Paper so that it slips under the ribbon and is centered on the card base.
6. Using the robot piece from Step #4, adhere to the card using Stampin’ Dimensionals.
7. Using the 1-1/2” piece of Highland Heather cardstock, stamp the sentiment using Gorgeous Grape ink. Using your Snips, create a “flag notch” at the bottom. Adhere to the top of the card, lining up with the top of the Designer Paper to finish.

Pin This
Pin the image below to your board for all those handmade Valentine’s Day cards ideas you have saved so when you have an opportunity for a delicious cardmaking session you will be able to get right to the fun part!
- Get a Free Tutorial Every Week!
- Shop 24/7 in your PJ’s
- Queen Bee Rewards – Earn FREE Stamps!
- View the 2024-2025 Annual Catalog
- View NEW Online Products
- Monthly Crafting Kit
Thanks for stopping by today, I hope you enjoyed this papercrafting tutorial. If you have a question or if I can help you with anything, please leave me a comment. I’d love to hear from you!


