Frightfully Cute Halloween Card
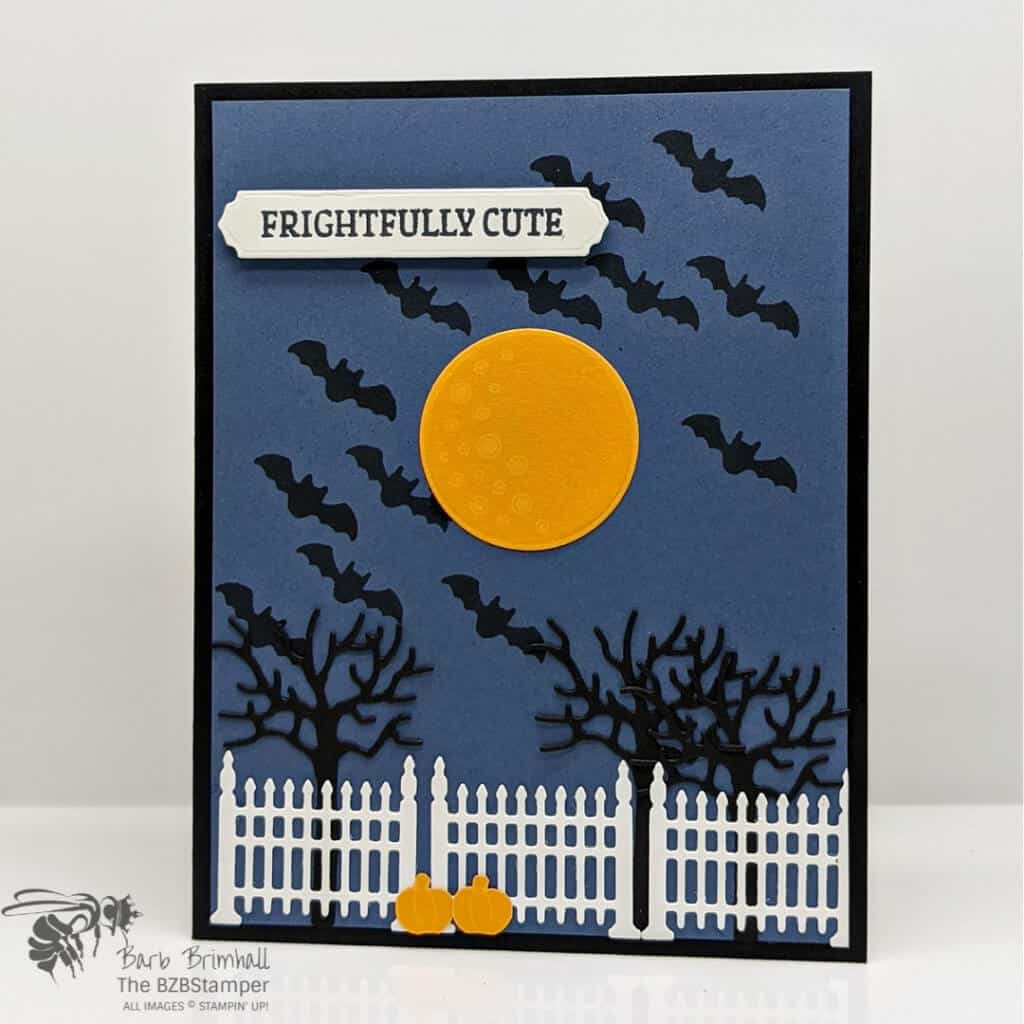
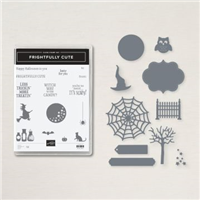
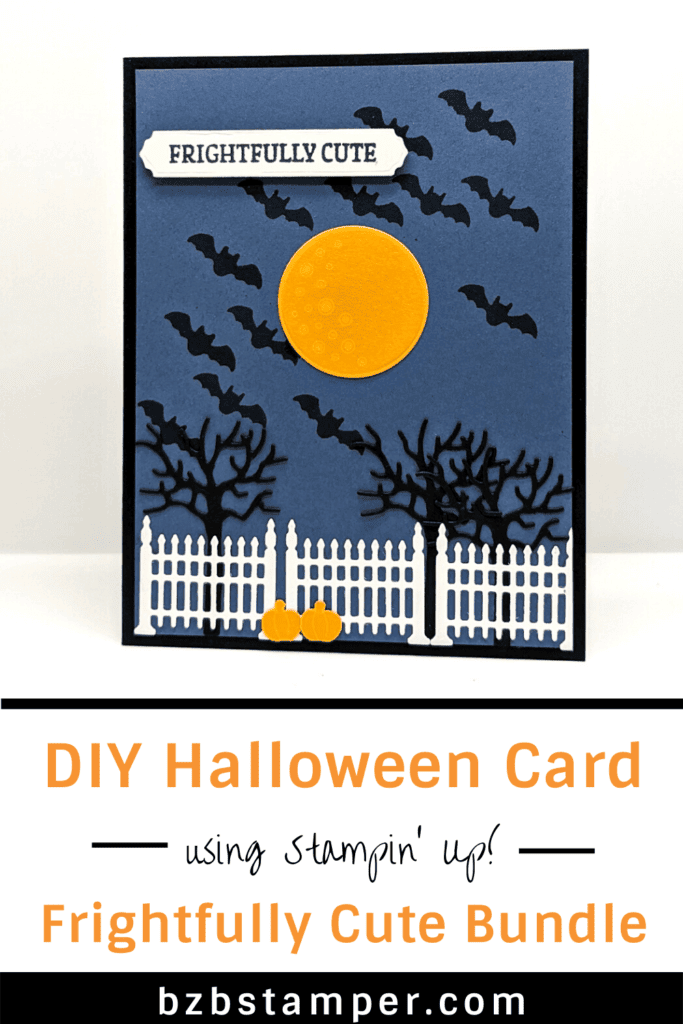
Need a Frightfully Cute Halloween Card? Then check out this cute card using the Frightfully Cute Bundle by Stampin’ Up! It has all you need to create that perfect DIY Halloween Greeting Card.
There’s so much to love about this card, but for me, the very best parts are the addition of the Frightful Tags Dies. The fence and trees could be used to create any scene, but used in these colors, it makes the perfect Halloween landscape!
Want to see other projects made with this Bundle? You can check them out here. Here’s how I made this project:
Supplies Used on this Project
Project Measurements
- Basic Black: 5-1/2” x 8-1/2” scored at 4-1/4” and 4” x 4” scrap for die-cutting
- Basic White: 4” x 5-1/4” (2)
- Misty Moonlight: 4” x 5-1/4”
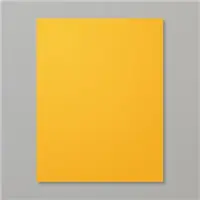
- Mango Melody: 3” x 3” for die-cutting
Project Instructions
Fold the Basic Black cardstock in half at the score line and burnish well with your Bone Folder.
2. Adhere one of the 4” x 5-1/4” pieces of Basic White cardstock to the inside of your card.
3. Using the Cut & Emboss Machine and the Frightful Tags Dies from the Bundle, cut out 3 of the picket fence die as well as the longer Sentiment Tag Die from the other piece of Basic White cardstock.
4. Use the sentiment onto the sentiment tag and set aside.
5. Using the 4” scrap of Basic Black cardstock, use the same dies to cut out 3 of the trees.
6. Using the 3” scrap of Mango Melody cardstock, stamp the moon and 2 of the pumpkins onto the cardstock using the Daffodil Delight ink pad. Run the cardstock and cut out the moon using the Frightful Tags die. Use your Paper Snips to cut out the 2 pumpkins.
7. Using the Black Memento ink pad, stamp the bats onto the top of the Misty Moonlight cardstock as desired.
8. Adhere the trees to the bottom of the Misty Moonlight cardstock using the Glue Dots or Adhesive.
9. Adhere the pick fences over the trees using Glue Dots or Adhesive. Tip: start with the fence in the center, then place the other 2 on either side, trimming the edge as necessary.
10. Adhere the Misty Moonlight mat onto the base card.
11. Adhere the 2 pumpkins onto the fence using Glue Dots.
12. Adhere the moon onto the center of card using Adhesive.
13. Add the sentiment tag from Step #4 onto the card using Stampin’ Dimensionals to finish.

Pin This
Pin the image below to your board for all those handmade Halloween cards ideas you have saved so when you have an opportunity for a quiet cardmaking session you will be able to get right to the fun part!
- Get a Free Tutorial Every Week!
- Shop 24/7 in your PJ’s
- Queen Bee Rewards – Earn FREE Stamps!
- View the 2024-2025 Annual Catalog
- View NEW Online Products
- Monthly Crafting Kit
Thanks for stopping by today, I hope you enjoyed this papercrafting tutorial. If you have a question or if I can help you with anything, please leave me a comment. I’d love to hear from you!


