Gorgeous Butterfly Card using Ombre Specialty Paper
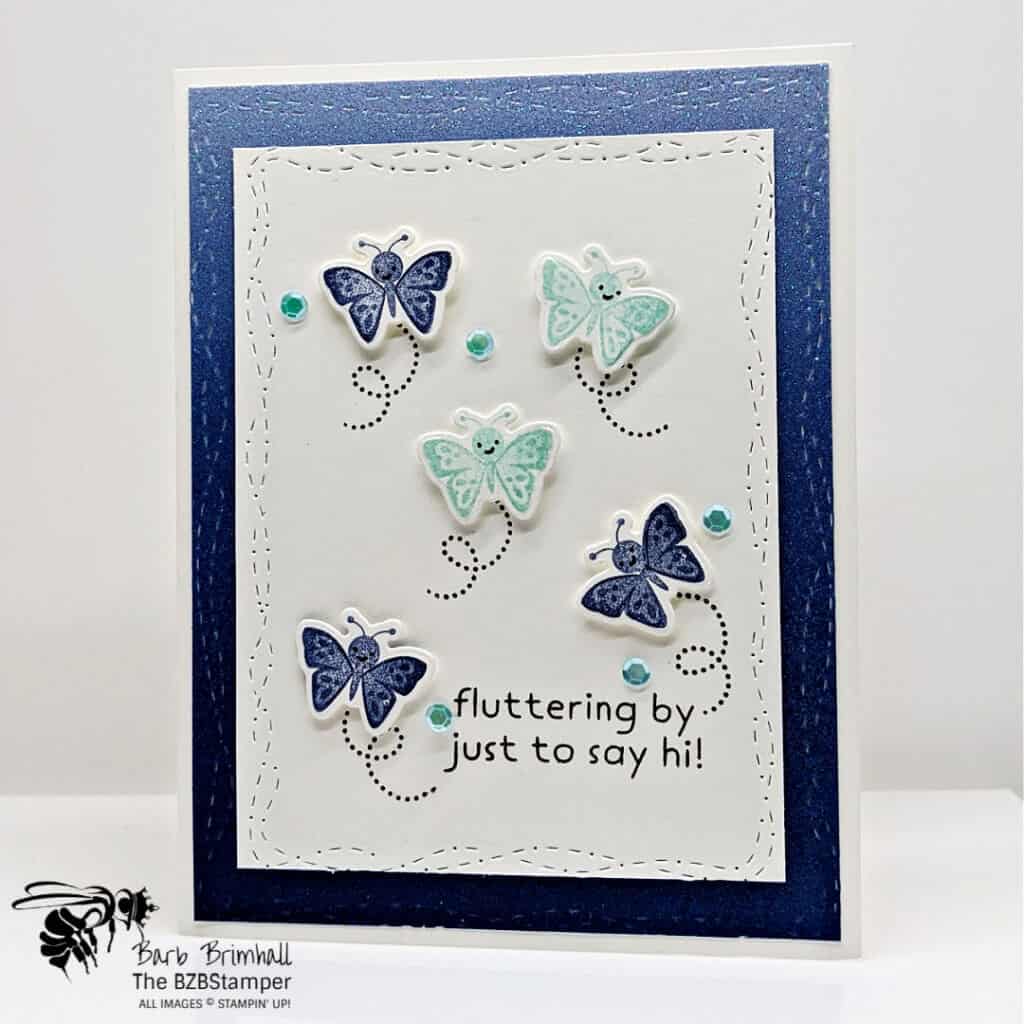
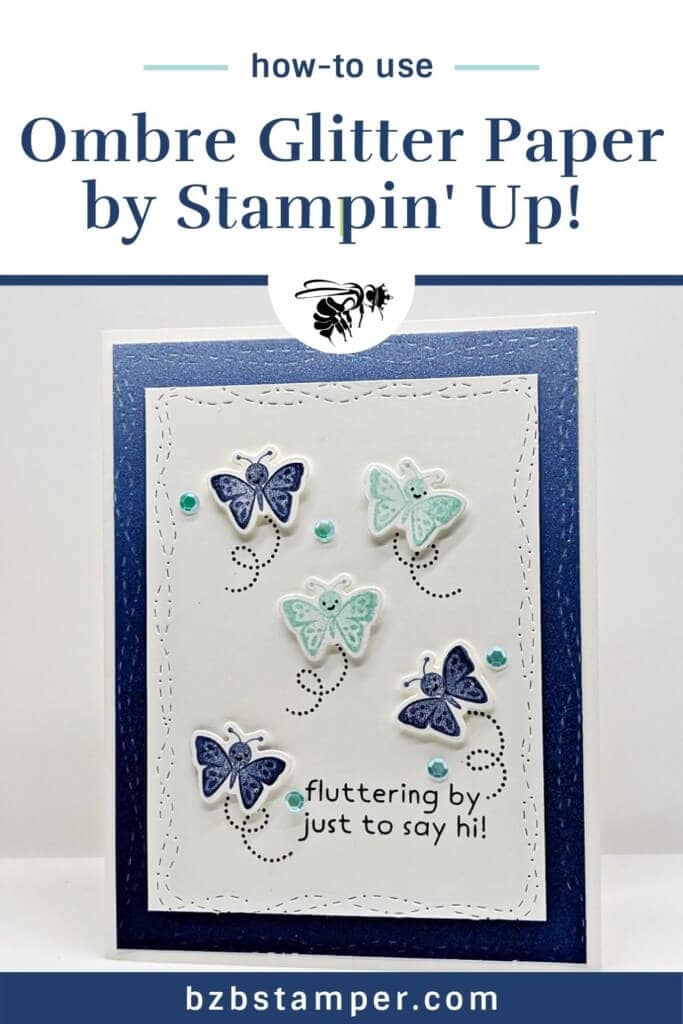
This gorgeous butterfly card sparkles brightly thanks to the Night of Navy Ombre Specialty Paper by Stampin’ Up! Not only do these specialty papers glimmer in fun bright colors, they also have an ombre effect (the colors gently blend from light to dark) so be sure to show off the cascading tones of color in your projects!
If you like sparkle (and who doesn’t?!!?) I wish I could get you a better picture of this gorgeous new Ombre Specialty paper. It sparkles beautifully!
This paper will add pizzazz to any project. Not only do these specialty papers glimmer in fun bright colors, they also have an ombre effect (the colors gently blend from light to dark) so be sure to show off the cascading tones of color in your projects by using larger pieces as I did in this card.

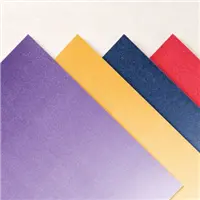
You’ll get four 12″ x 12″ sheets, 1 of each color in Gorgeous Grape, Mango Melody, Night of Navy, Poppy Parade. Yummy! I had no issues cutting this Paper with my Stampin’ Trimmer and didn’t experience any “glitter shedding”. 😊
Here’s how I made this fun sparkly card:
Supplies Used on this Project
Card Measurements
- Basic White Cardstock: 5-½” x 8-½” and 3-⅜” x 4-½” and scraps for the butterfly die-cutting
- 4” x 5-¼” Night of Navy Ombre Specialty Paper
Project Instructions
- Cut a piece of Basic White Cardstock to 5-1/2” x 8-1/2”, score at 4-1/4” and fold at score line to create your base card.
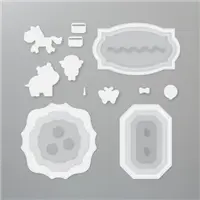
- Cut a piece of 4” x 5-1/4” Night of Navy Ombre Specialty Paper. Tip: since this is an ombre paper, make sure your paper is going from light to dark before cutting. Use the Cut & Emboss Machine and 4” Stitched Whimsey die to add the stitching to the edges of the paper. Adhere to base card.
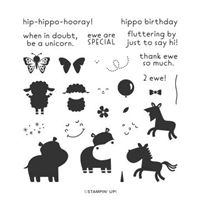
- Using a scrap of White cardstock, stamp the butterfly 3 times in Night of Navy ink and 2 times using Pool Party ink. Cut out using the Hippo & Friends die and set aside.
- Cut a 3-3/8” x 4-1/2” piece of Basic White cardstock. Run the Stitched Whimsey die through the Cut & Emboss Machine to add the stitching. Stamp the sentiment using Memento ink in the lower right corner. Add the butterfly “trails” using Memento Black ink. Add each of the butterflies above the trail” using Stampin’ Dimensionals.
- Add the White mat with the butterflies to the main card using Liquid Adhesive to create a strong bond with the glimmer paper.
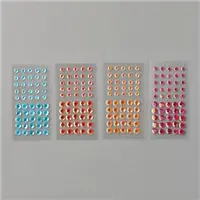
- To finish, add 5 of the blue Artistry Blooms Adhesive-Backed Sequins.

Pin It For Later
Don’t forget to pin this image below to your Pinterest boards.
- Get a Free Tutorial Every Week!
- Shop 24/7 in your PJ’s
- Queen Bee Rewards – Earn FREE Stamps!
- View the 2024-2025 Annual Catalog
- View NEW Online Products
- Monthly Crafting Kit
Thank you so much for stopping by today. I hope you are inspired to create today, whether it is this simple and cute handmade card or another cardmaking project. My goal is to help you enjoy some creative joy! Keep checking back for more projects.


