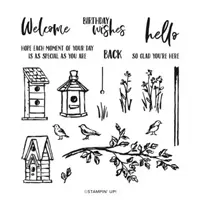
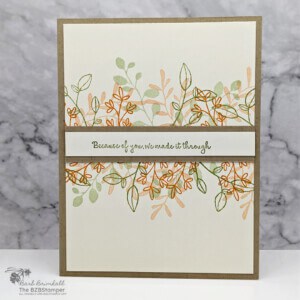
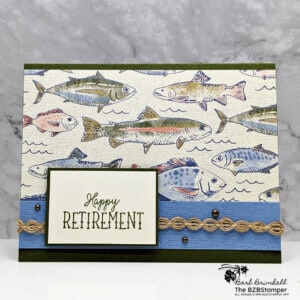
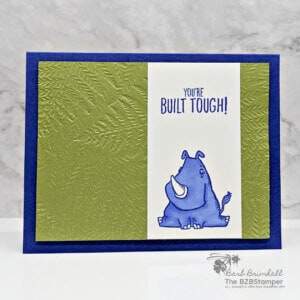
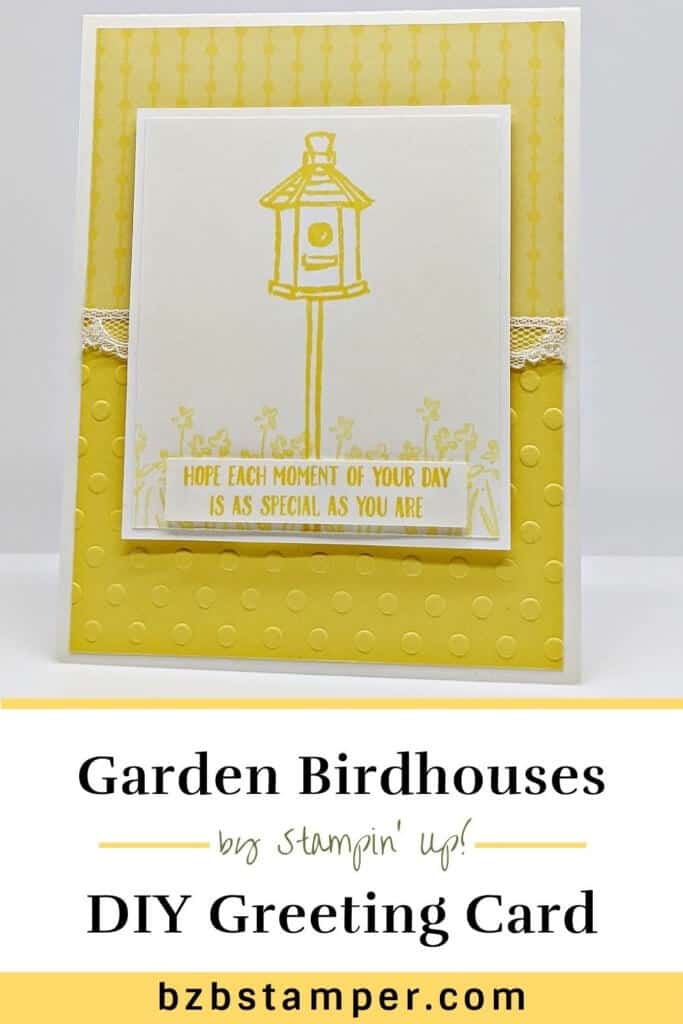
Build beautiful birdhouses with the Garden Birdhouses Stamp Set! This set if perfect for making a Monocromatic DIY Greeting Card. Not only are there multiple birdhouse styles to choose from, but the foliage stamps included make a beautiful garden scene when stamped clustered multiple times.
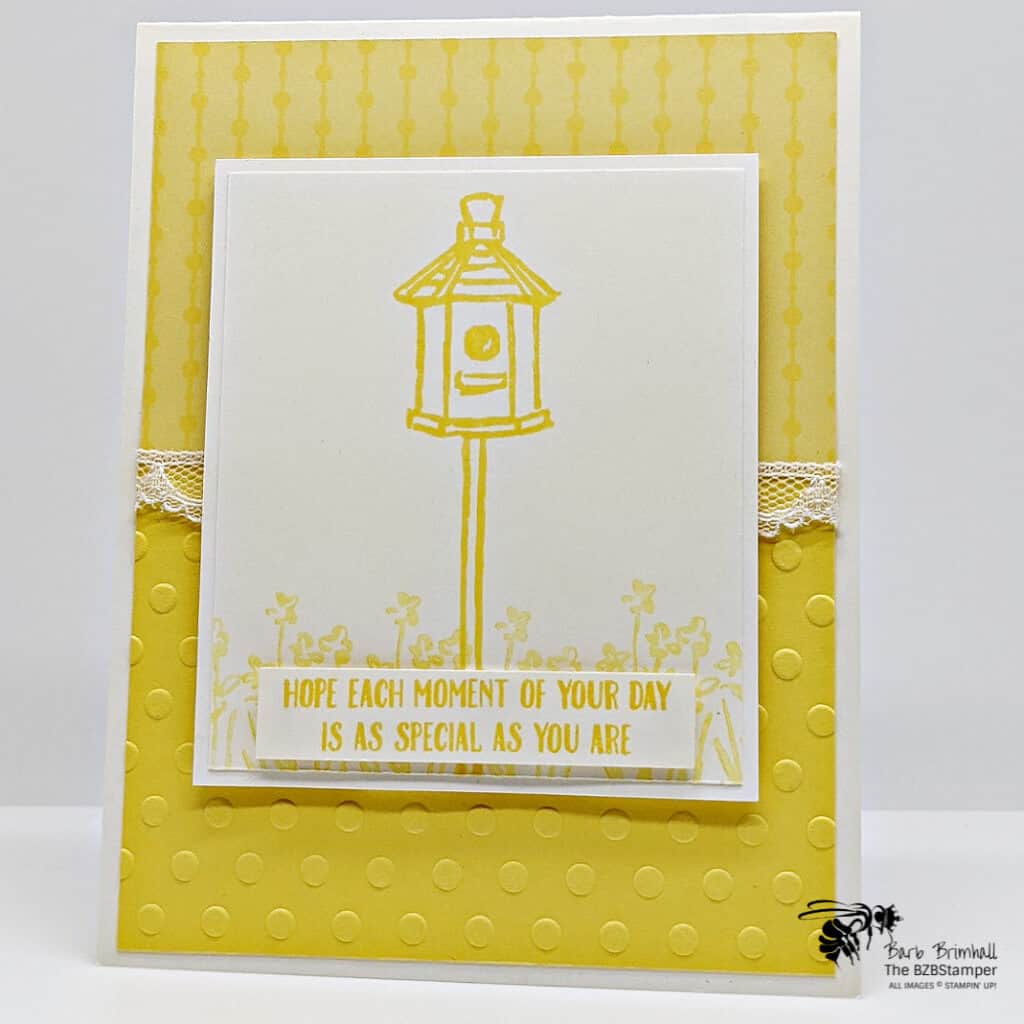
For this card, I decided to go with Daffodil Delight as my monocromatic color, and Very Vanilla for the neutral color to balance it off. I love monocromatic cards as they’re so easy to put together – just pick your favorite color, add a neutral color to balance it, and away you go! You can see other Monocomatic cards here.
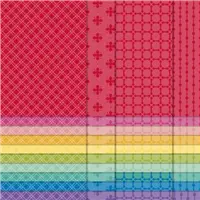
That’s one of my favorite things about Stampin’ Up! – everything coordinates! So for the Daffodil Delight base color, I used Daffodil Delight cardstock, ink and pretty paper. Then for the Very Vanilla neutral cardstock, I paired it with some Very Vanilla ribbon. No decision making required! Here’s how I made this simple card:
Supplies Used On This Project
Project Measurements
- Very Vanilla:
- 4” x 11” scored at 5-1/2”
- 3 x 3-1/2”
- 3-1/8” x 3-5/8”
- 1/2” x 2-1/2”
- Daffodil Delight Designer Paper: 3” x 4”
- Daffodil Delight: 2-3/4” x 4”
Project Instructions
1. Fold the Very Vanilla Cardstock in half at the score line and burnish well with your Bone Folder.
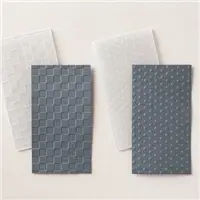
2. Using the Cut & Emboss Machine, run the Daffodil Delight Designer Paper through using the Dots Embossing Folder.
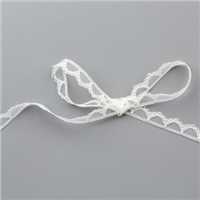
3. Adhere the Daffodil Delight Designer Paper to the embossed Daffodil Delight cardstock so that it measures 4” x 5-1/4”. Run a 5” piece of the Very Vanilla Lace Trim around the seam and adhere to the back. Layer this piece onto the base card.
4. Using the 3” Very Vanilla piece, stamp the birdhouse using Daffodil Delight ink. Ink up the flowers image using Daffodil Delight ink, tap off once on your scrap paper and stamp at the bottom of the Bird House. Repeat this process until the flowers are all across the bottom of the Very Vanilla cardstock.
5. Layer the 3” Vanilla piece to the 3-1/8” Very Vanilla piece and adhere to the base card using Stampin’ Dimensionals.
6. Stamp the sentiment onto the 1/2” strip of Very Vanilla Cardstock and adhere to the card using Stampin’ Dimensionals to finish.

Like It? Pin It!
Be sure to pin this project to your card making boards on Pinterest if you like this project
- Get a Free Tutorial Every Week!
- Shop 24/7 in your PJ’s
- Queen Bee Rewards – Earn FREE Stamps!
- View the 2024-2025 Annual Catalog
- View NEW Online Products
- Monthly Crafting Kit
Thank you so much for stopping by and checking out this papercrafting tutorial. I hope you are inspired to create and send cards. I love sharing how to make cards here on the BZBStamper blog and I can’t thank you enough for all of your support!


