Make this Easy Mother’s Day Greeting Card
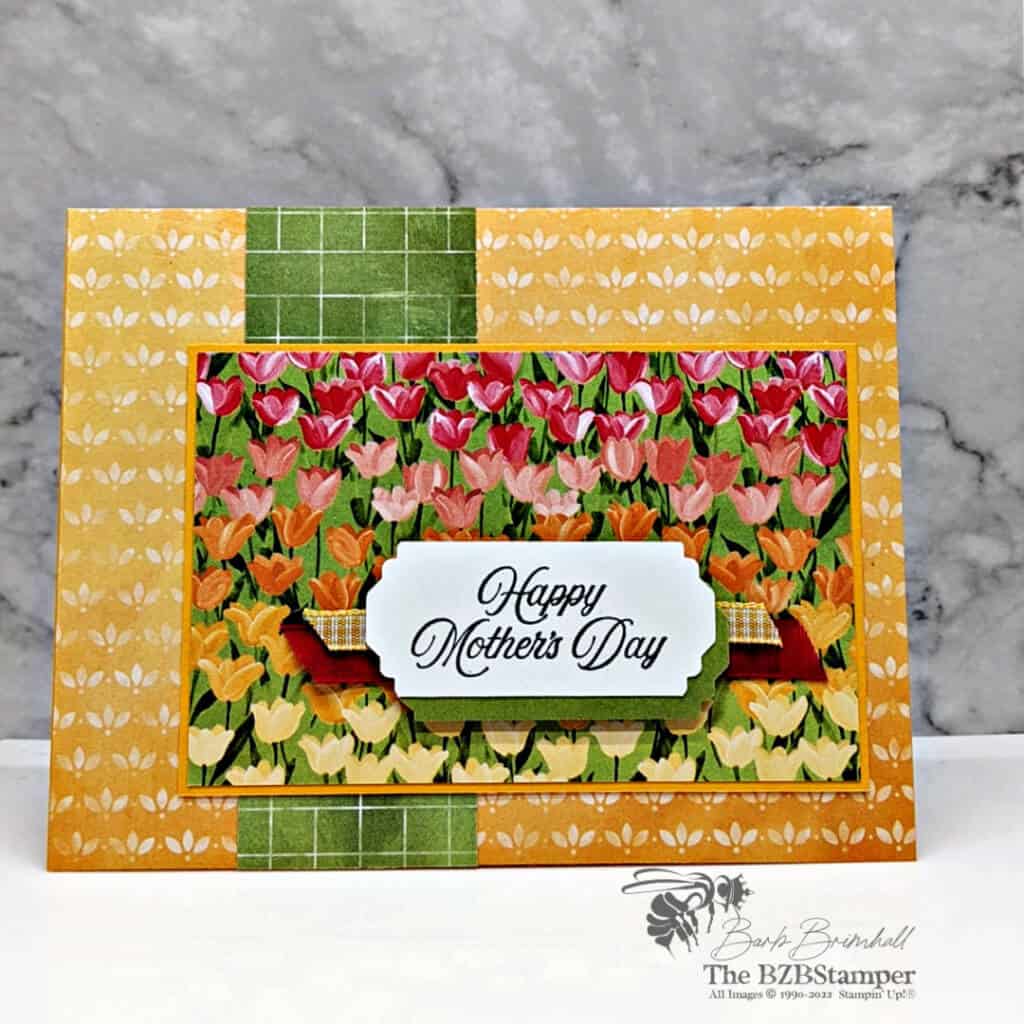
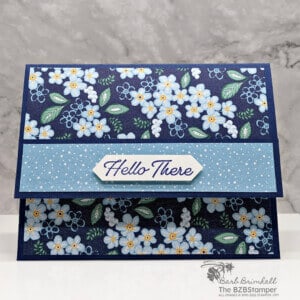
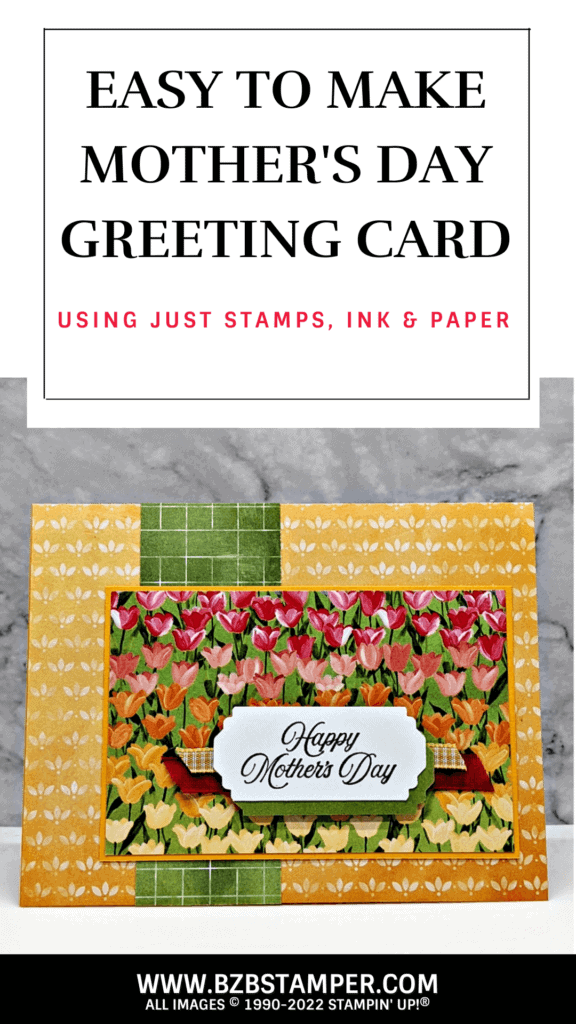
You can quickly make this easy Mother’s Day Greeting Card thanks to some gorgeous pretty paper. Let me show you how!
View more stamped samples & inspiration here
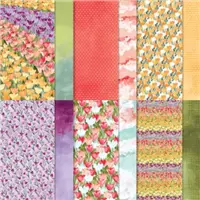
I love how easily this card came together, thanks to the beautiful Flowering Fields Designer Paper! Most of the interest on this card was done by using the paper as the heavy-lifter. Just add a sentiment and your card is almost done! Don’t forget to download the Tutorial below so you’ll have all the measurements at your fingertips!
Project Measurements
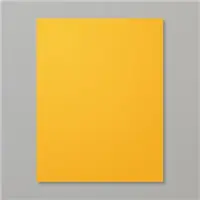
- Mango Melody: 5-1/2” x 8-1/2”, scored at 4-1/4”
- Basic White: 4” x 5-1/4” and 1” x 3” scrap
- Mango Melody: 2-7/8” x 4-3/8”
- Flowering Fields Designer Paper:
- 4-1/4” x 5-1/2” (neutral pattern – mango)
- 1-1/2” x 4-1/4” (neutral pattern – green)
- 2-3/4” x 4-1/4” (tulip pattern)
- 1” x 3” (neutral green pattern)
Project Instructions
1. Fold the Mango Melody cardstock in half at the score line and burnish well with your Bone Folder.
2. Adhere the 4” x 5-1/4” piece of Basic White cardstock inside the base card.
3. Adhere the 4-1/4” x 5-1/2” piece of Designer Paper to the front of the card base.
4. Adhere the 1-1/2” x 4-1/4” piece of Designer Paper to the front of the card base as shown in the sample.
5. Adhere the 2-3/4” Designer Paper to the Mango Melody cardstock and adhere to the base card using Adhesive.
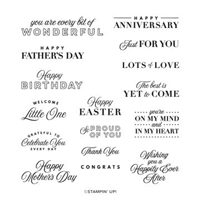
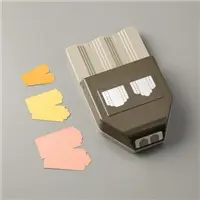
6. Using the 1” strip of Basic White cardstock, stamp the sentiment onto the center of the cardstock using Black Memento ink. Punch both ends using the Lovely Labels Punch.
7. Using the White punched cardstock as your guide, punch both ends of the 1” strip of remaining Designer Paper.
8. Adhere the Designer Paper tag the the back of the White tag so that it shows on the bottom and right of the White tag.
9. Cut a 3-1/2” piece of the Real Red ribbon, angling both ends with your Paper Snips.
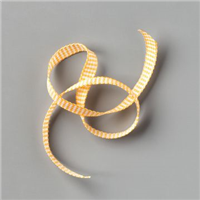
10. Cut a 3” piece of Bumblebee Gingham ribbon, angling both ends with your paper snips. Layer both onto the base card, slightly overlapping them, using glue just in the center (where it will be covered with the tag.)
11. Adhere the tag onto the ribbon using Stampin’ Dimensionals to finish.

Supplies Used on this Project
Save This
Save this to your Pinterest board where you save those quick and easy cards.
- Get a Free Tutorial Every Week!
- Shop 24/7 in your PJ’s
- Queen Bee Rewards – Earn FREE Stamps!
- View the 2024-2025 Annual Catalog
- View NEW Online Products
- Monthly Crafting Kit
Thanks for stopping by for today’s card tutorial! My goal is to help you make quick & easy greeting cards for all occasions. I hope you’ll join me again for more card-making ideas!


