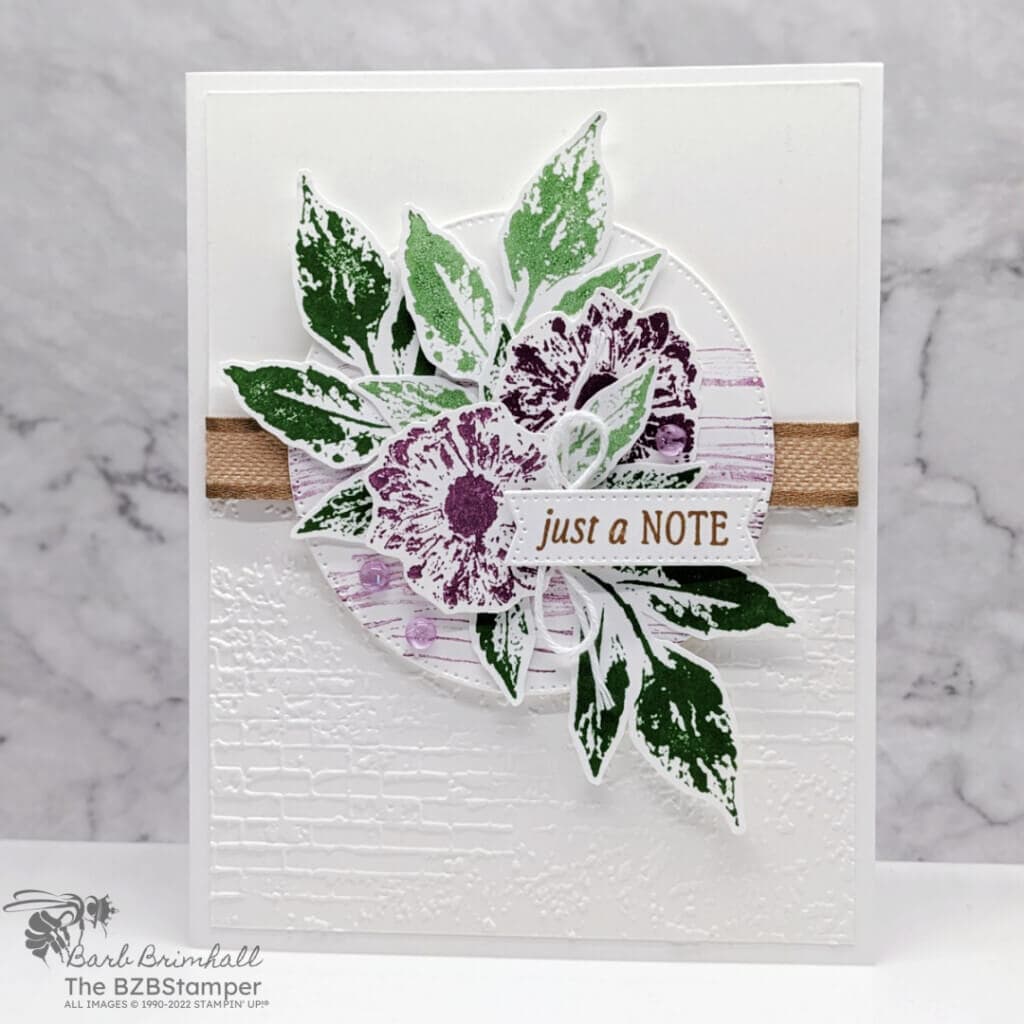
Looking for card-making inspiration? Dive into the world of handmade cards with this Inked and Tiled Stamp Set Tutorial. From birthdays to anniversaries, this tutorial will showcase different design ideas using these stunning botanical images. Whether you prefer a classic or contemporary style, you’ll find inspiration to create heartfelt cards that leave a lasting impression. Join us and start crafting today!
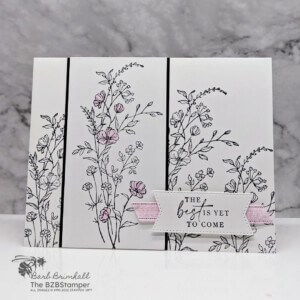
View more stamped samples & inspiration here
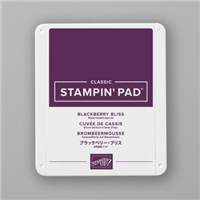
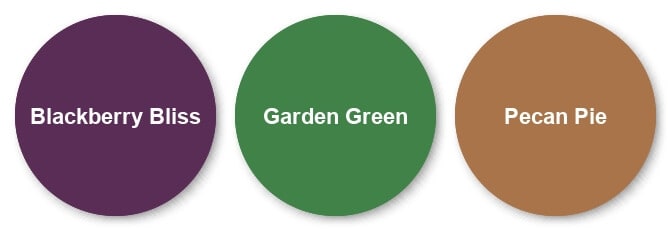
I wanted a rich, deep color combination for this card, so using Blackberry Bliss was a must! However, if you’d like something a bit softer, make sure you check out my Color Combination Library where you’re sure to find a different combination you’ll love!
Project Measurements
- Basic White: 5-1/2” x 8-1/2”, scored at 4-1/4”
- Basic White: 5-1/2” x 8-1/2” (not scored)
- Basic White: 4” x 5-1/4”
Instructions
- Fold the scored Basic White Cardstock in half to create your base card.
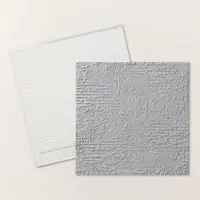
- Run the 4” x 5-1/4” piece of Basic White cardstock through the Cut & Emboss Machine using the Exposed Brick 3D Embossing folder, embossing only the bottom half of the cardstock.
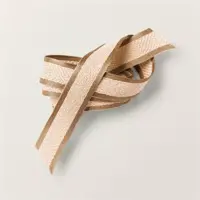
- Cut 5” of the Pecan Pie Ribbon and adhere ends to the back of the embossed Basic White cardstock. Adhere cardstock to the front of the card.
- Using the other 5-1/2” x 8-1/2” piece of Basic White Cardstock, die-cut the 3” circle and the small sentiment die from the Stylish Shapes dies. Set aside.
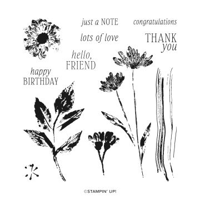
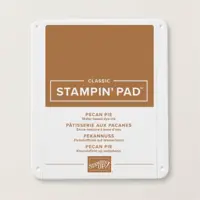
- On the remaining Basic White cardstock, stamp the large leaf 2 times using Garden Green ink and stamp again without reinking. Stamp the small flower using Blackberry Bliss ink and stamp again without reinking. Stamp the “just a note” using Pecan Pie ink. Fussy cut the 5 images out using the Paper Snips scissors and set aside.
- Using the die-cut circle from Step #4, ink up the “line” stamp and ink it with Blackberry Bliss ink. Tap off 2 times onto your scrap paper and stamp onto the center of the die-cut circle. Stamp 2 more times above & below the first stamped image without reinking your stamp.
- Layer the leaves and then flowers onto the circle using a combination of adhesive and Stampin’ Dimensionals. (See sample for placement.)
- Stamp the “just a note” sentiment onto the small die-cut sentiment strip using Pecan Pie ink.
- Tie a bow using the White Baker’s Twine and adhere it to the back of the sentiment strip. Adhere the sentiment strip to the card as shown in the sample using Stampin’ Dimensionals.
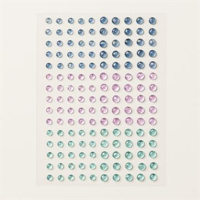
- To finish, add 3 of the Fresh Freesia Tinsel Gems as desired onto the die-cut circle.
Supplies Used in this Project
Pin It!
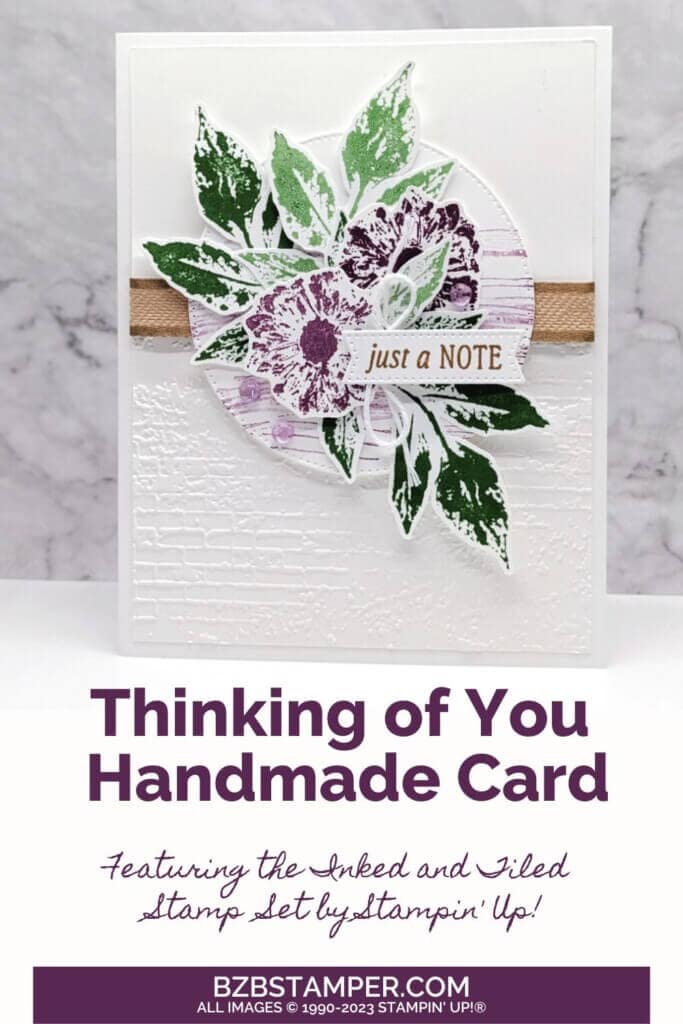
Go ahead and pin this image in your “favorites” board so you can find this when you need it!
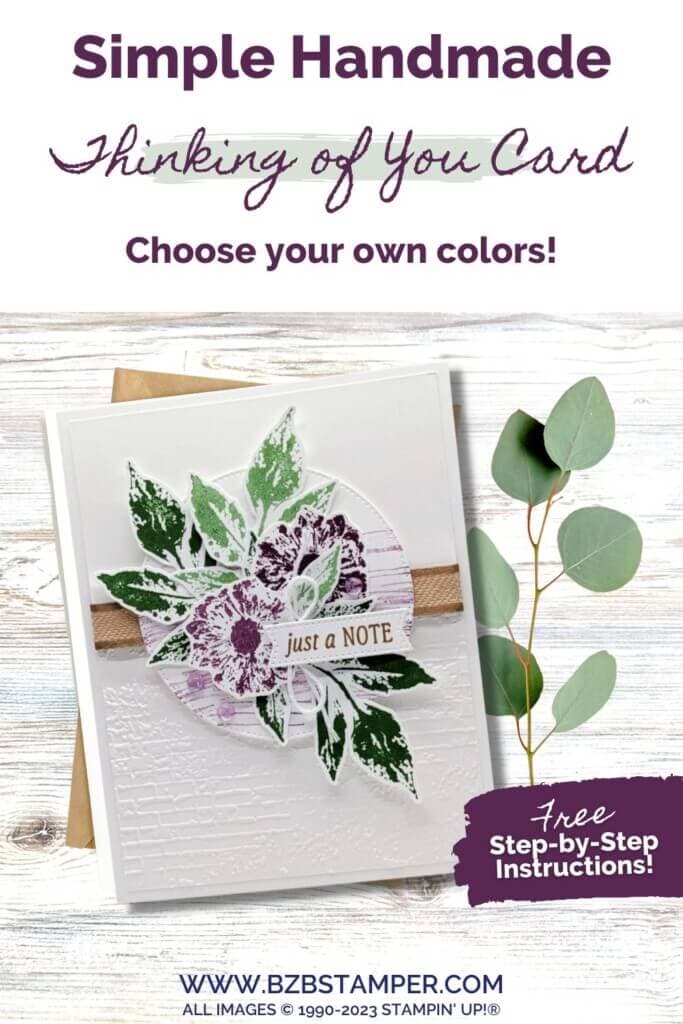
Thank you so much for stopping by and checking out this papercrafting tutorial. I hope you are inspired to create and send cards. If you’d like more detailed directions on how to make this card, feel free to email me. I love sharing how to make cards here on the BZBStamper blog, and I can’t thank you enough for all of your support!


