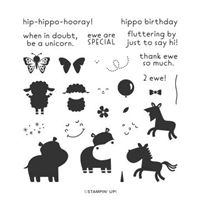
Who wouldn’t love this hippo hooray handmade birthday card featuring the Hippo Happiness Stamp set from Stampin’ Up? What a great way to wish someone a “Hippo” birthday!
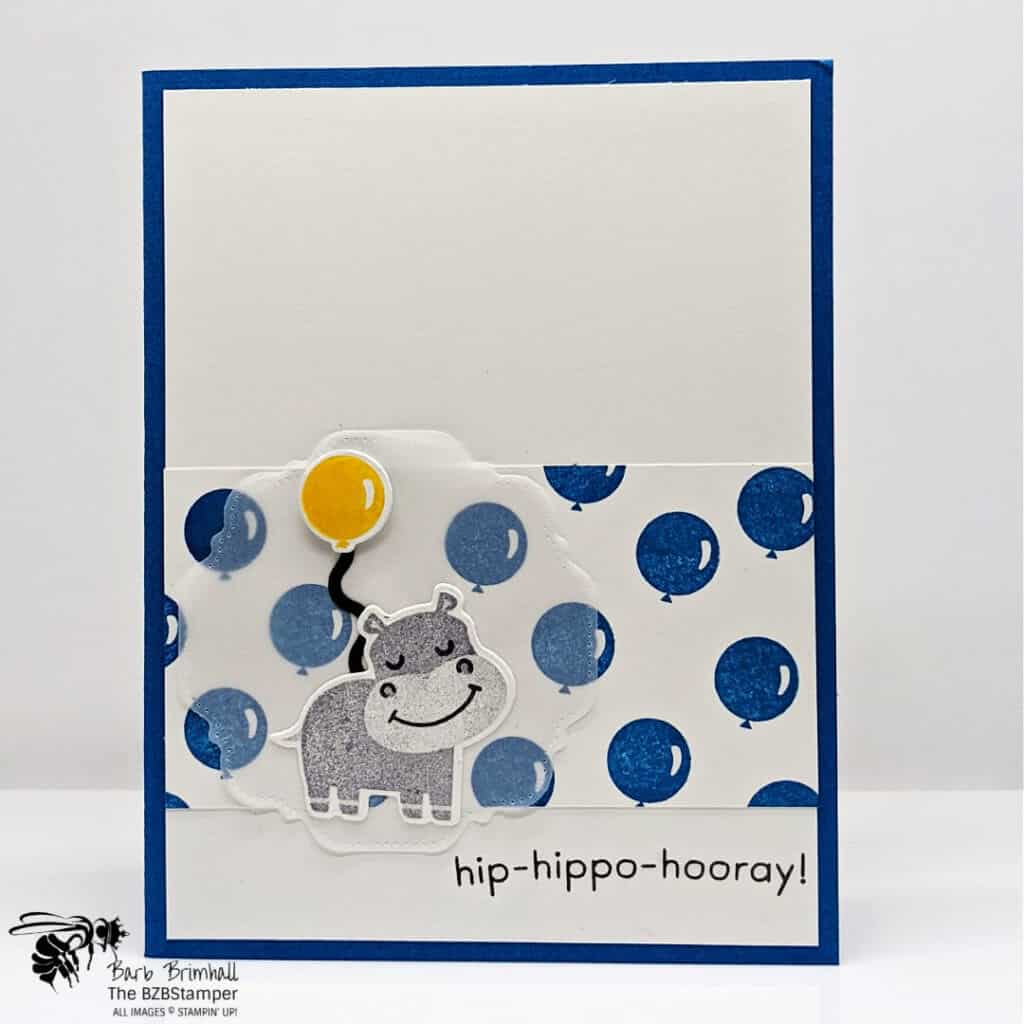
I just love the Hippo Happiness Stamp set – it makes me happy! And this adorable birthday card has so much depth – the blue balloons with a pop of yellow, the vellum tag that softens those blue balloons a bit, and finally, that cute hippo! Who wouldn’t love this card!
I wanted to Hippo to be the main focal point of this card, but I knew that I wanted him done in gray so I needed to brighten him up a bit with colors. I decided to go with this color combination so that it would work for any gender:
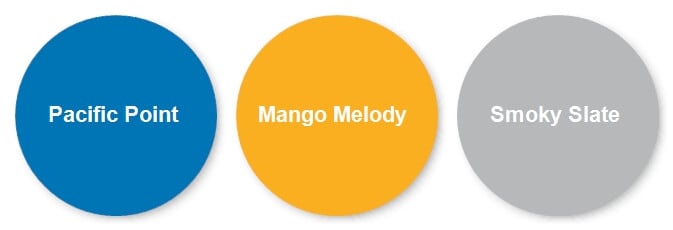
I ended up stamping the sentiment in Basic Black so that it popped a bit – I think it really helped the overall color combination. Here’s how I made this card:
Supplies Used on this Card
Card Measurements
- Basic White Cardstock:
- 5-½” x 8-½”
- 4” x 5-¼” (2)
- 2” x 4”
- 3” x 3”
- Basic Black Cardstock: 1” x 3”
- Vellum Cardstock: 3” x 3”
Project Instructions
- Cut a piece of Basic White cardstock to 5-1/2” x 8-1/2” and score at 4-1/4”; fold at score line to
create your base card. - Cut 2 pieces of 4” x 5-1/4” Basic White cardstock. Adhere 1 piece inside card. With other piece,
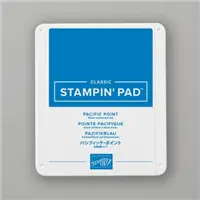
stamp sentiment in the lower right corner using Black Memento ink pad and adhere to card base. - Cut a 2” x 4” piece of Basic White cardstock. Randomly stamp the balloons using Pacific Point
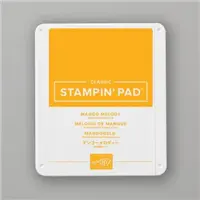
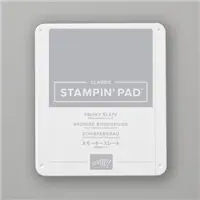
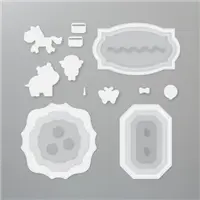
ink. Adhere to the base card, just above the stamped sentiment. - Using a 3” scrap of Basic White cardstock, stamp the bold hippo using Smoky Slate ink. Ink up
the more detailed Hippo and stamp over the first one. Stamp the balloon using Mango Melody ink. - Using the Cut & Emboss Machine and the Hippo & Friends dies, cut out the balloon and the hippo.
Using a 1” x 3” scrap of Basic Black cardstock, cut out the balloon “string”. Using a 3” scrap of
Vellum cardstock, cut out the middle-sized tag. Adhere to base card using glue only where it will
be hid by Hippo. - Adhere the bottom of the balloon string the back of the Hippo. Trim the balloon string as necessary
and adhere to the balloon using a Stampin’ Dimensional Adhere Hippo/Balloon to the Vellum using
adhesive to finish.

Pin It For Later
Don’t forget to pin this image below to your Pinterest boards.
- Get a Free Tutorial Every Week!
- Shop 24/7 in your PJ’s
- Queen Bee Rewards – Earn FREE Stamps!
- View the 2024-2025 Annual Catalog
- View NEW Online Products
- Monthly Crafting Kit
Try this card sketch idea with different sentiments and colors and you’ll have a card in minutes! Leave me a comment and let me know how you’d tweak this card.


