Tailor Made Tag Dies from Stampin’ Up!
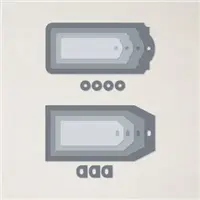
Easily add die-cut tags to your next papercrafting project with these Tailor Made Tags Dies from Stampin’ Up!
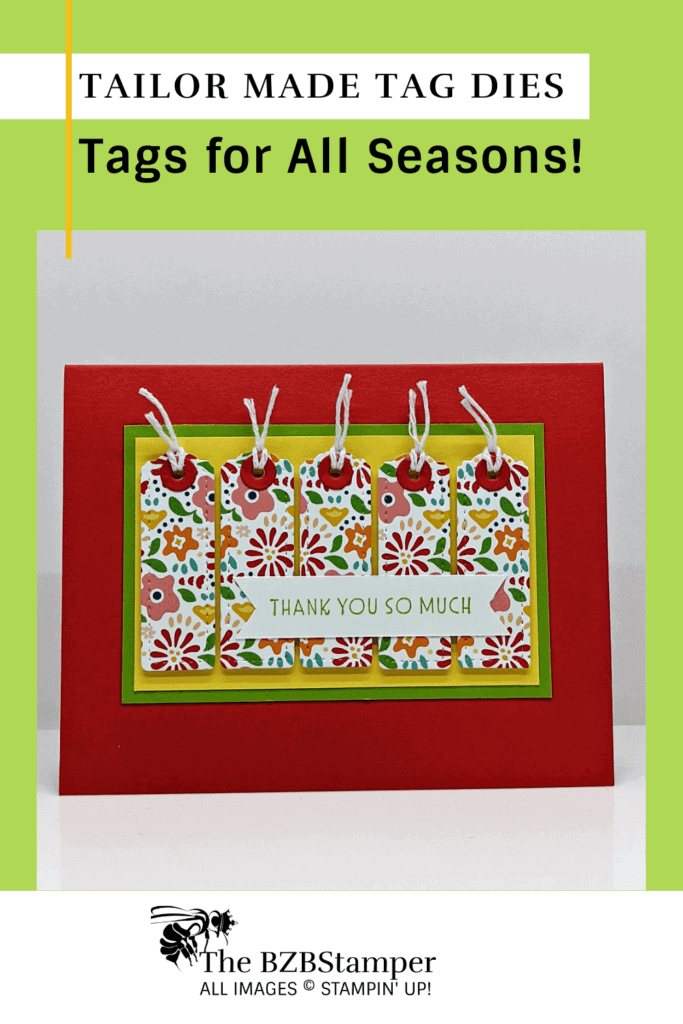
I love these Tailor Made Tag Dies from Stampin’ Up! It’s so easy to mix, match, and layer tags in different sizes and colors. Create tags for any occasion you need: birthday cards, goodie bags, gift packages. Stamp sentiments from your favorite stamp sets, then cut out. It’s that easy to create custom tags!
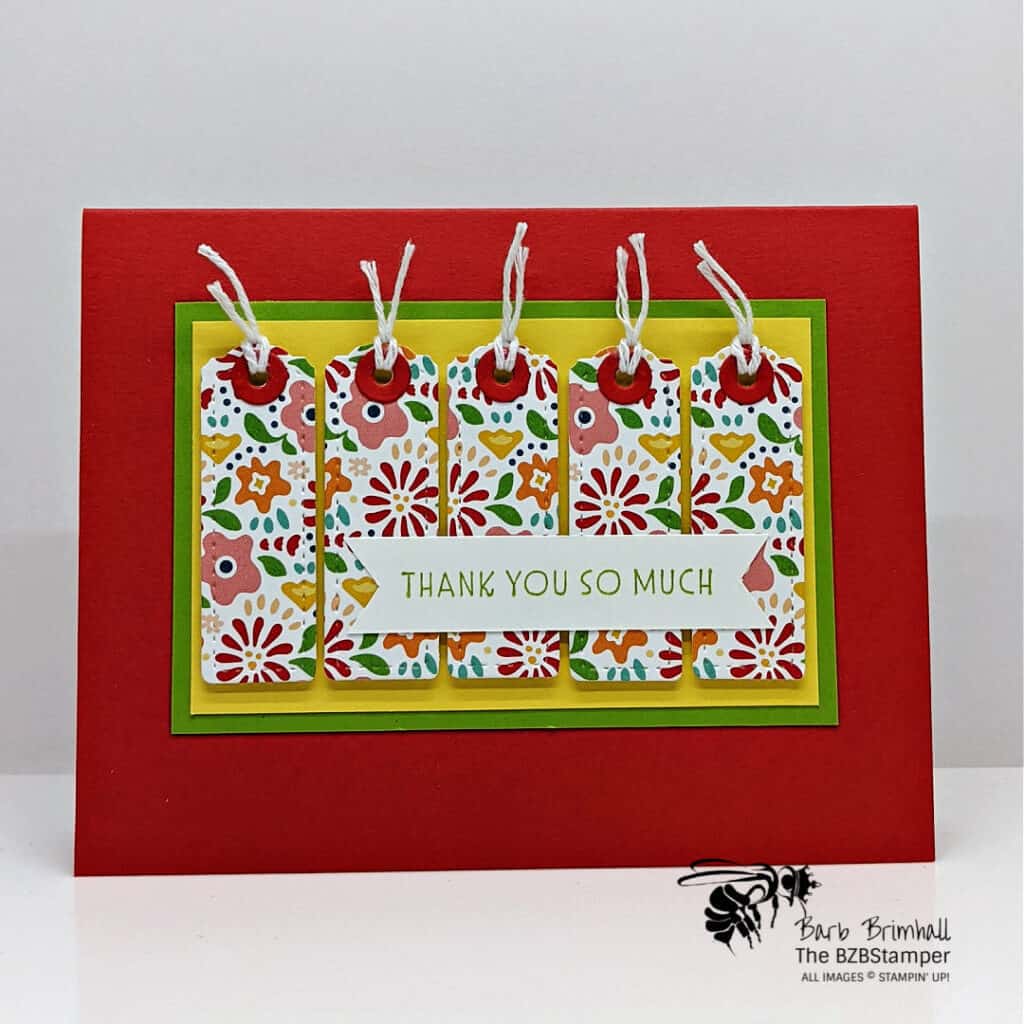
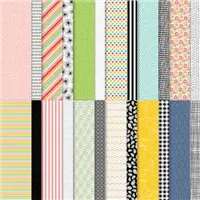
I needed a fun Thank You card for the summer, so I decided to use the fun Pattern Party Designer Paper that’s only available to those who either host a Stampin’ Up! event OR place a $150 single order. Tip: you can also gather 2-3 of your friends together, put your orders together and then split this Pattern Party Paper.
The reason I love this paper so much is that you 4 each of 12 double-sided designs, which is like receiving a double package of Designer Paper! Valued at $30, those that qualify get it for just $18. Talk about a deal!
I pulled my 3 favorite summer colors out of the paper I used: Poppy Parade, Granny Apple Green and Daffodil Delight. Such a FUN color combo for any time of year, but especially for summer cards!
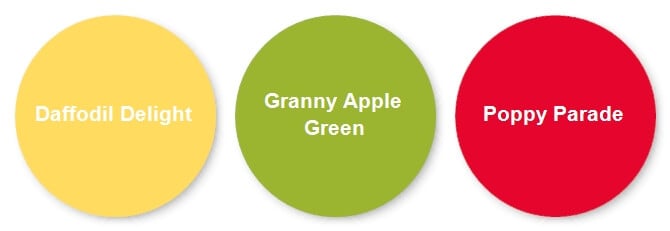
What do you think? Is this a color combination you’d try?
Supplies Used on this Card:
Card Measurements
- Poppy Parade: 5-1/2” x 8-1/2”, scored and folded at 4-1/4” to create card base; scraps for die-cutting
- Basic White: 4” x 5-1/4” and 1/2” x 2-3/4”
- Granny Apple Green: 2-3/4” x 4-1/4”
- Daffodil Delight: 2-1/2” x 4”
- Pattern Party Designer Series Paper: 2-1/2” x 4-1/2”
Project Instructions
- Adhere the 4” x 5-1/4” piece of Basic White Cardstock on the inside of our base card.
- Adhere the Daffodil Delight cardstock to the Granny Apple Green cardstock and adhere to the front of your base card.
- Using the Cut & Emboss Machine and the Tailored Made Tags Die, cut out 5 of the smallest rounded top tag from the Pattern Party Designer Series Paper. Using the circle from the same die and the scrap of Poppy Parade cardstock, cut out 5 circles. Adhere the circles to the tags using the Multipurpose Liquid Glue. When dry, tie 2”-3” of White Baker’s Twine to each tag; trim as needed.
- Adhere each of the tags to the Daffodil Delight Cardstock using Stampin’ Dimensionals. Tip: work from the center out.
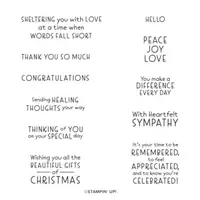
- Stamp the sentiment using Granny Apple Green ink onto the ½” strip of Basic White Cardstock. Using your Paper Snips, “flag notch” each end and adhere to the tags to finish.

Pin It
Like this project? Be sure to pin it so you can easily find it again. It will take you right back here to all the details of the card.
- Get a Free Tutorial Every Week!
- Shop 24/7 in your PJ’s
- Queen Bee Rewards – Earn FREE Stamps!
- View the 2024-2025 Annual Catalog
- View NEW Online Products
- Monthly Crafting Kit
Thank You
Thank you so much for stopping by and checking out this papercrafting tutorial. I hope you are inspired to create and send cards. I love sharing how to make cards here on the BZBStamper blog and I can’t thank you enough for all of your support!


