Friendly Gnomes Happy Birthday Card
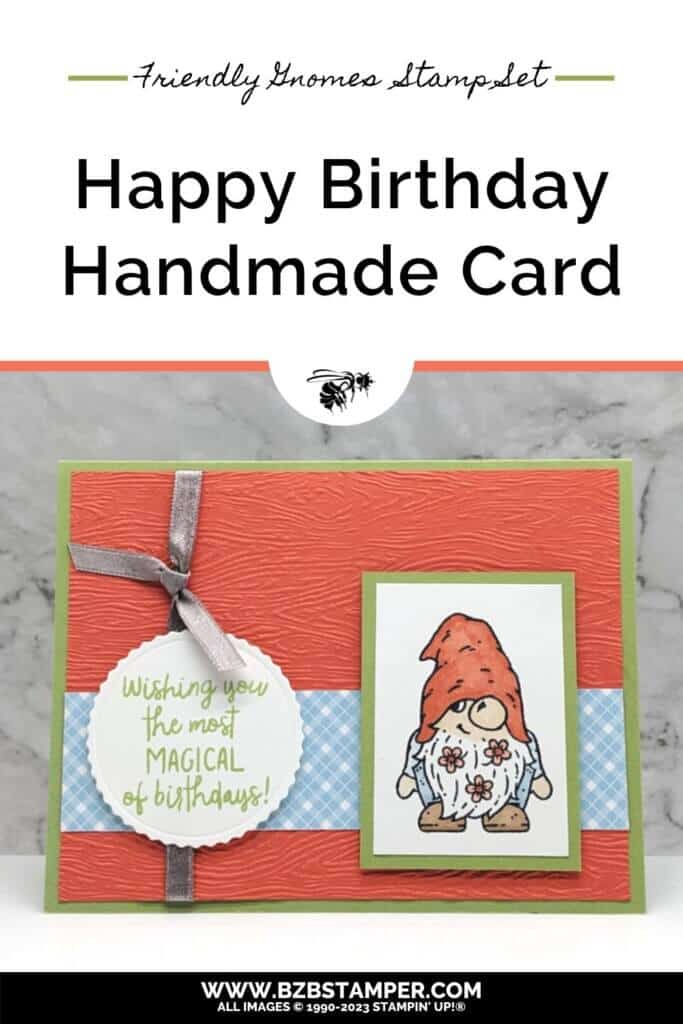
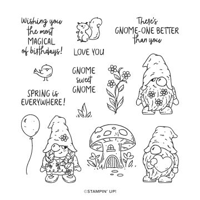
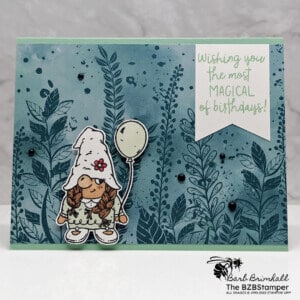
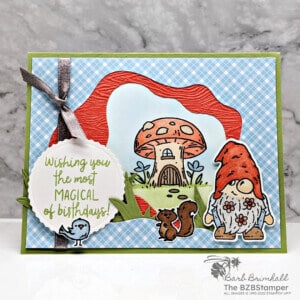
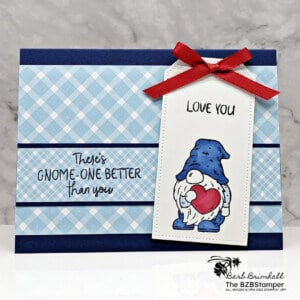
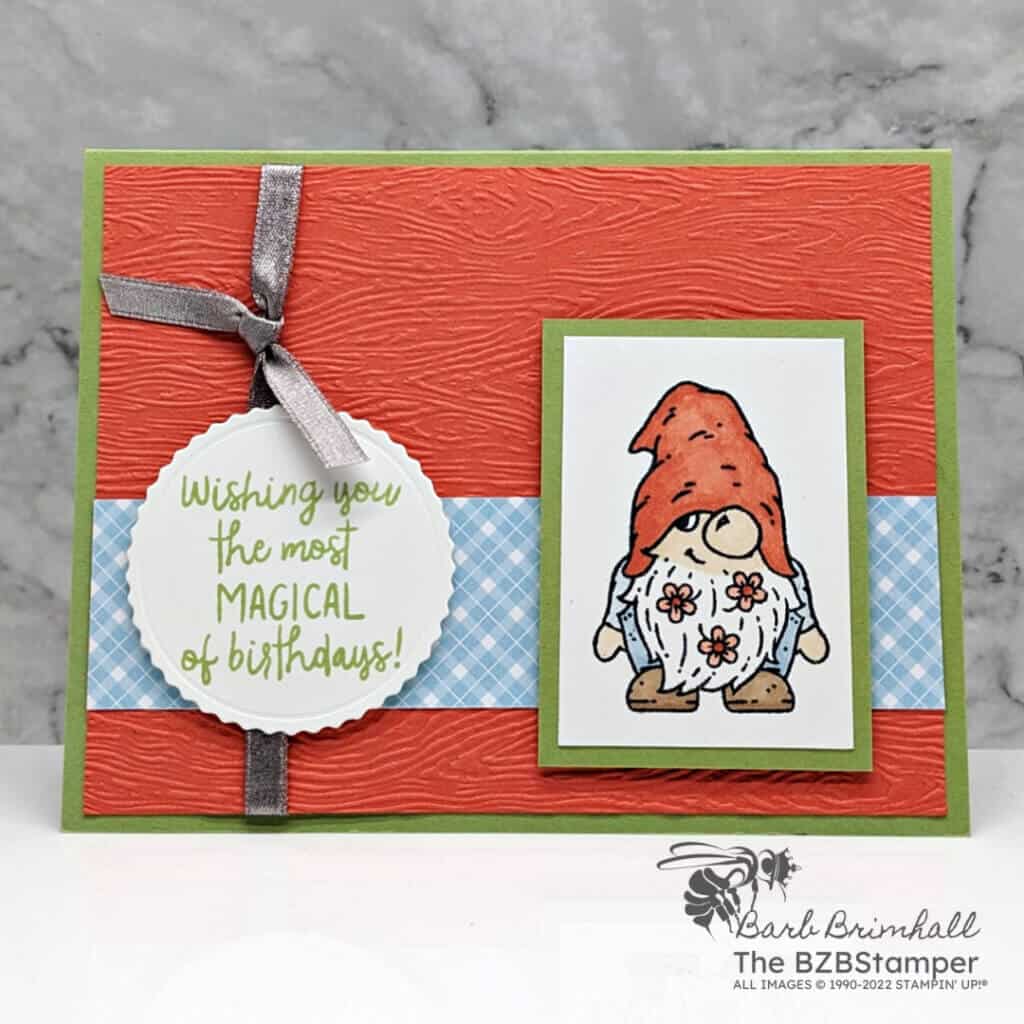
This friendly gnomes Happy Birthday Card uses the Friendly Gnomes Stamp Set by Stampin’ Up! to build the cutest scene for this magical birthday card! This set is perfect for creating a card for any occasion of your choice. For example, you can mix and match the different gnomes, add a mushroom cottage to complete the scene, and top if off with an adorable greeting. How fun is that!
View more stamped samples & inspiration here
I love all the little touches on this card – the woodgrain embossed background, the die-cut label, and the pretty paper! But every now and then, you just need a quick, simple card that doesn’t take a lot of work, time or energy, am I right? That was the case for me, so I took this card and stepped it down just a bit. You can see the simplified version of this card here.
Project Measurements
- Pear Pizzazz: 5-1/2″ x 8-1/2″, scored at 4-1/4″
- Calypso Coral: 4″ x 5-1/4″
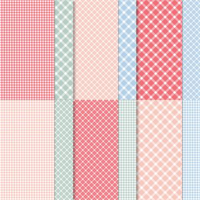
- Country Gingham Balmy Blue paper: 1-1/4″ x 5-1/4″
- Pear Pizzazz: 2″ x 2-3/4″
- Basic White:
- 4″ x 5-1/4″
- 1-3/4″ x 2-1/2″
- 3″ x 3″ (for die-cutting)
Instructions
- Fold the Pear Pizzazz cardstock in half at the score line.
- Adhere the 4″ x 5-1/4″ piece of Basic White cardstock inside the card.
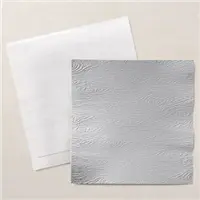
- Run the Calypso Coral cardstock through the Cut & Emboss Machine using the Timber Embossing Folder.
- Adhere the strip of Country Gingham paper onto the embossed Calypso Coral cardstock about 1/2″ up from the bottom of the mat.
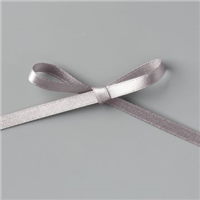
- Cut about 18″ of Gray Granite Shimmer Ribbon, wrap around the left side of Calypso Coral cardstock and tie into a knot or bow. Adhere the cardstock to the front of the card.
- Using the 1-3/4″ x 2-1/2″ piece of Basic White cardstock, stamp the Gnome using Black Memento Ink.
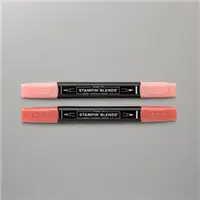
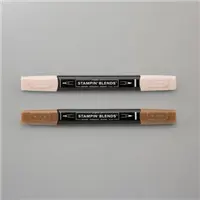
- Color in the Hat and flowers in his beard using the Calypso Coral Blends.
- Color in his face and hands using the Ivory Blend. Color in his shoes using the Bronze Blend.
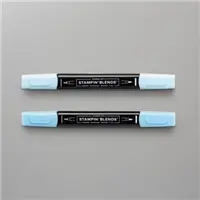
- Color in his clothes using the Balmy Blue Blends.
- Adhere the stamped White cardstock into the Pear Pizzazz mat. Adhere to the right side of the card using Stampin’ Dimensionals.
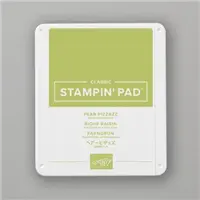
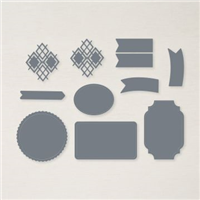
- Stamp the sentiment using Pear Pizzazz ink onto the 3″ scrap of Basic White cardstock. Run through the Cut & Emboss Machine using the All That Dies to cut out the 2″ scalloped circle.
- Adhere the die-cut circle onto the left side of the card, over the ribbon, using Stampin’ Dimensionals.
Supplies Used in this Project
Pin It!
Pin this image below to your board for all those handmade birthday card ideas you have saved, so when you have an opportunity for a fun cardmaking session, you will be able to get right to the creative part!
Thanks for stopping by for today’s card tutorial! My goal is to help you make quick & easy greeting cards for all occasions. If you’d like more detailed directions on how to make this card, feel free to email me. I hope you’ll join me again for more card-making ideas!


