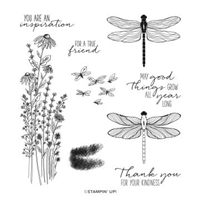
Garden Wishes Stamp Set by Stampin’ Up!
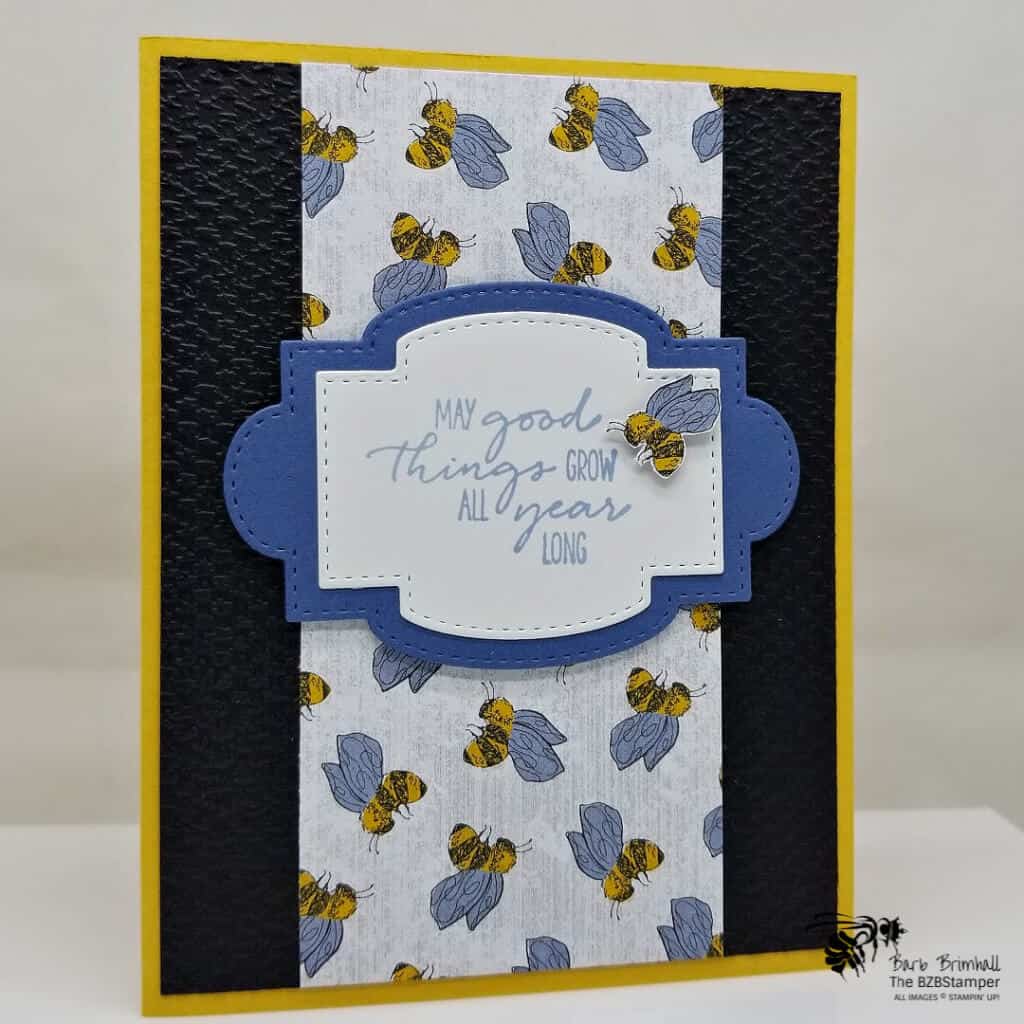
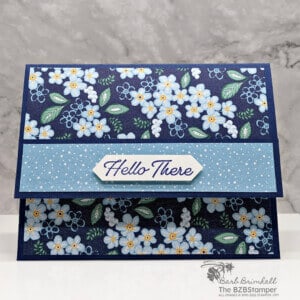
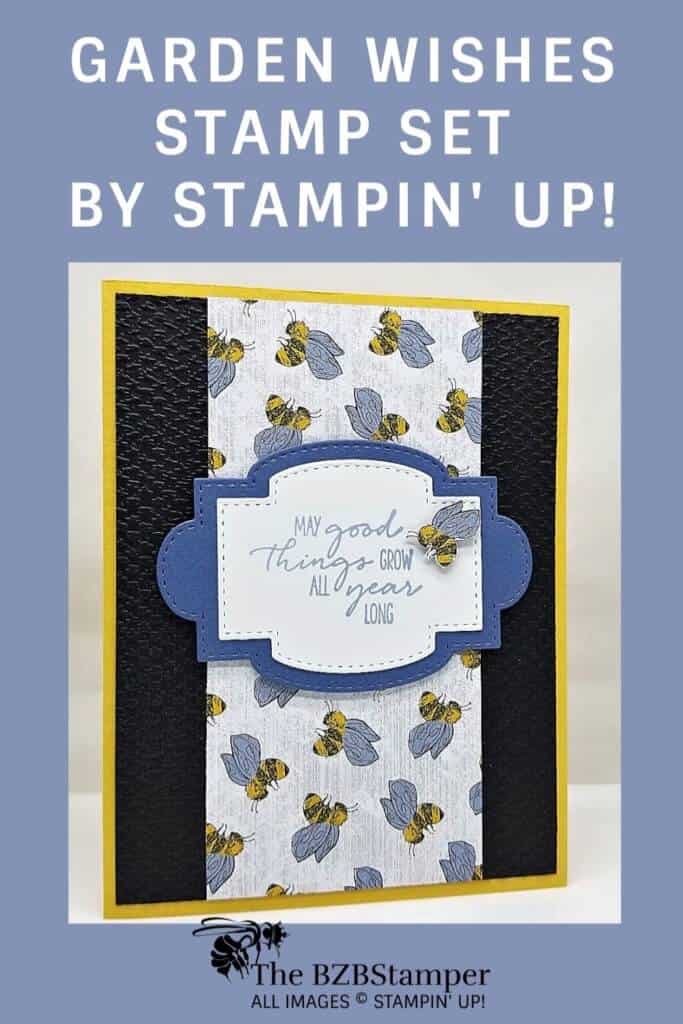
It’s no wonder I love this card featuring the adorable bee from the Garden Wishes Stamp Set by Stampin’ Up! This cute bee can accompany your greetings of support and friendship any all-occasion card you make.
If you’ve been following me for awhile, you know I love all things bee’s. My initials are “BZB” and I was born in Beeville, Texas — so bee’s have always played a predominant in my life. Too bad I’m actually allergic to bee stings!
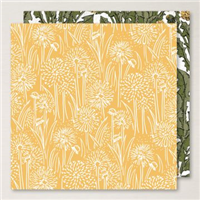
The main design of this card used one of my favorite card sketches and came together quickly thanks to this gorgeous Dandy Garden Designer Paper! A few rolls through the Cut & Emboss Machine and this card was practically done! All I had left was to stamp the sentiment and cut a small bee out of the patterned paper and I was done! Here’s the complete tutorial on how to make this card:
Supplies Used on this Project
Cardstock Measurements
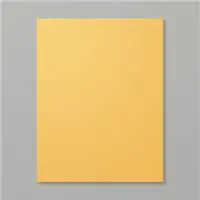
- Bumblebee Cardstock: 5-½” x 8-½”
- Basic Black Cardstock: 4” x 5-¼”
- Basic White Cardstock: 4” x 5-¼” and 3” x 3” scrap for die-cutting
- Dandy Garden Designer Paper: 2-½” x 5-¼” plus scrap for cutting out bee
- Misty Moonlight Cardstock: 3” x 4” scrap for die-cutting
Project Instructions
- Cut a piece of Bumblebee Cardstock to 5-1/2” x 8-1/2”, score at 4-1/4” and fold at score line to create your base card.
- Cut a 4” x 5-1/4” piece of Basic White cardstock and adhere inside your folded card base.
- Cut a 4” x 5-1/4” piece of Basic Black cardstock and run through the Cut & Emboss Machine using the 3D Tasteful Textile 3D Embossing Folder. Layer onto the card base.
- Cut a 2-1/2” x 5-1/4” piece of Bumblebee Dandy Garden Designer Paper and layer onto the center of the base card.
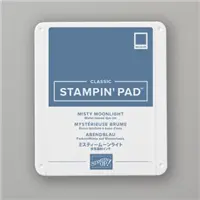
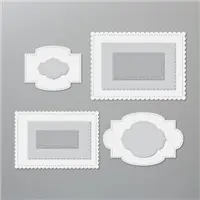
- Using the Cut & Emboss Machine and Stitched So Sweetly Dies, cut the small die piece from a scrap of Basic White cardstock and the slightly larger die using a scrap of Misty Moonlight cardstock. Stamp the sentiment onto the White die cut using Misty Moonlight ink and layer onto the Misty Moonlight die cut. Adhere to card base.
- Using a scrap of the Bumblee Dandy Garden Designer Paper, cut out a bee using your Paper Snip scissors and adhere to card using Stampin’ Dimensionals to finish.

Pin It
Like this project? Be sure to pin it so you can easily find it again. It will take you right back here to all the details of the card
- Get a Free Tutorial Every Week!
- Shop 24/7 in your PJ’s
- Queen Bee Rewards – Earn FREE Stamps!
- View the 2024-2025 Annual Catalog
- View NEW Online Products
- Monthly Crafting Kit
Thank you so much for stopping by and checking out this papercrafting tutorial. I hope you are inspired to create and send cards. I love sharing how to make cards here on the BZBStamper blog and I can’t thank you enough for all of your support!


