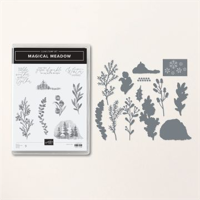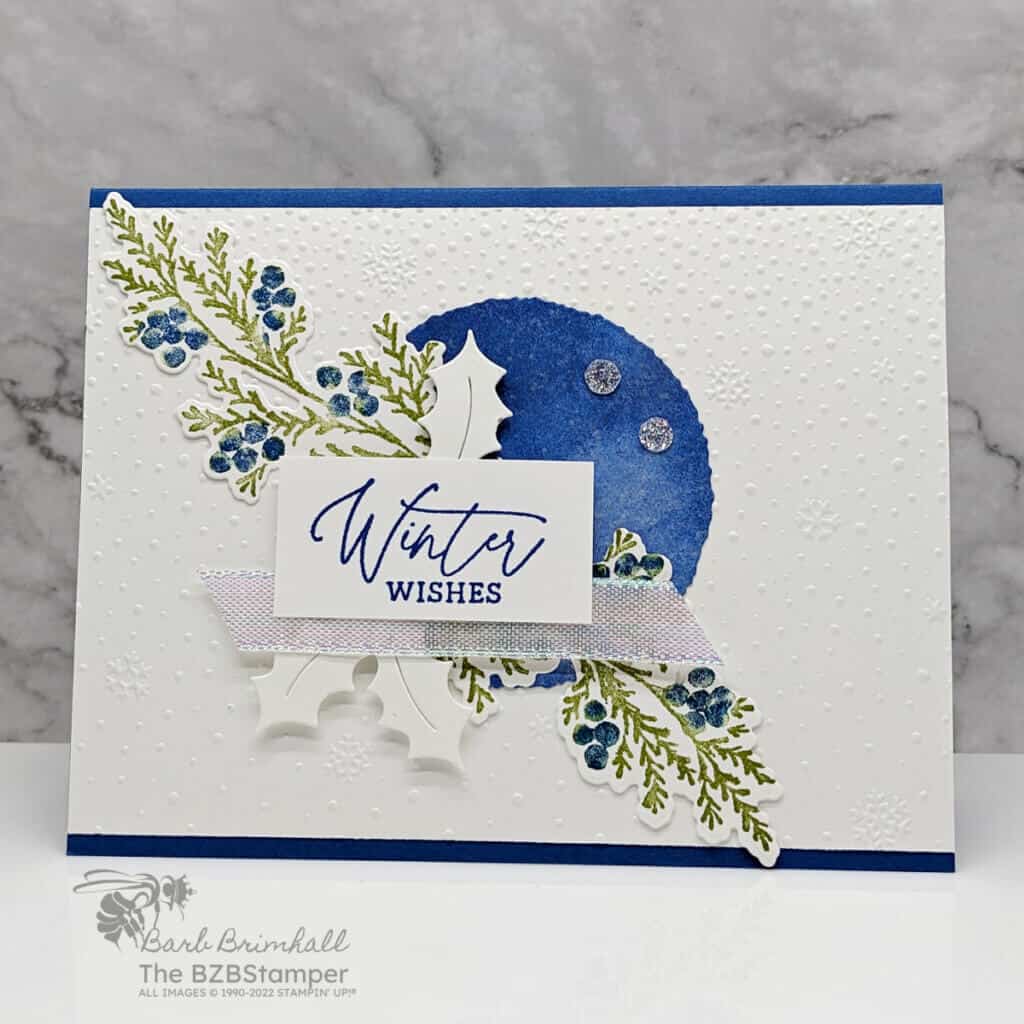
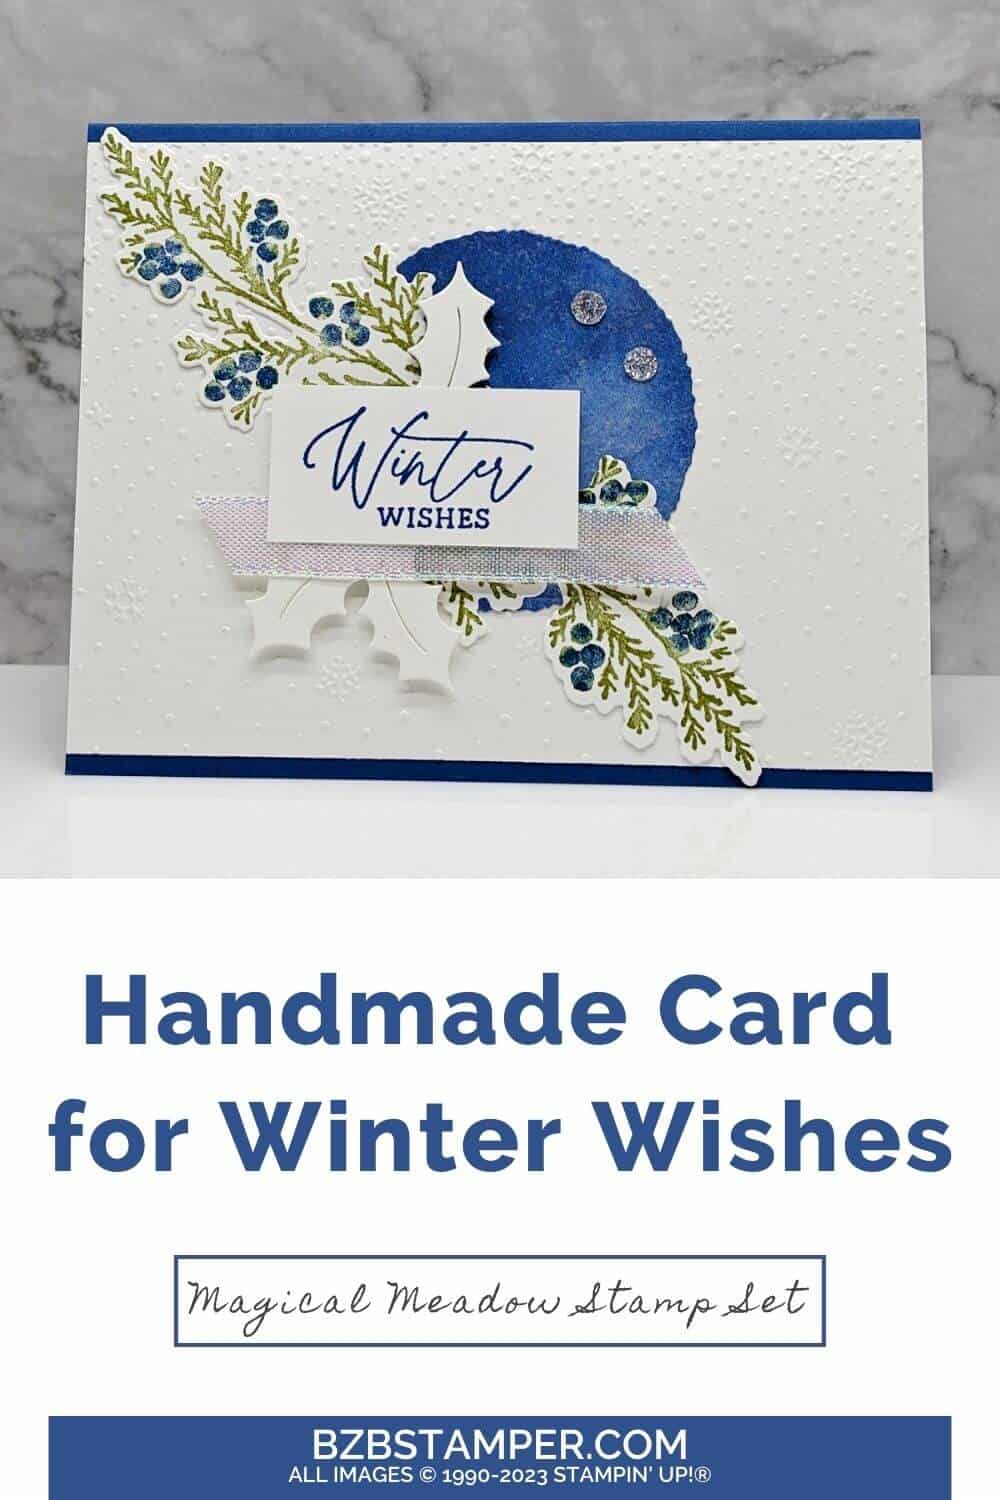
This elegant handmade card idea is perfect for Winter greetings and was made using the Magical Meadows Bundle by Stampin’ Up! This stamp set, brimming with intricate sentiments and delicate imagery, opens up a treasure trove of crafting opportunities. Let’s embrace the season by crafting heartwarming greeting cards that embody the pristine beauty of winter!
How To Make This Card
Project Skill Level: Worker Bee
Worker Bee projects are designed for the crafter who has a bit more time and enjoys creating a handmade card that features a technique or tool. In many cases, a Stampin’ Cut & Emboss Machine is required for die-cutting and/or embossing.
Cardstock Measurements:
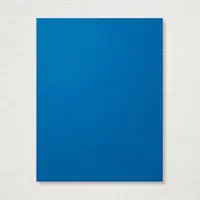
- Blueberry Bushel Cardstock: 5-1/2″ x 8-1/2″, scored at 4-1/4″
- Basic White Cardstock: 4″ x 5-1/4″
- Basic White Cardstock: 4″ x 5-1/2″ (2 pieces)
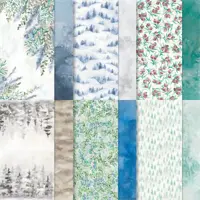
- Winter Meadow Designer Paper: 3″ x 3″
- Basic White Cardstock: 1″ x 2″


Grab your Free copy
Get 5 Bee-utiful Exclusive
Card Sketches in Your Inbox
Join our newsletter and receive a honey of a package of five quick & simple cards guaranteed to make your creativity buzz! Sign up now and let the goodness flow straight to your inbox!
Step-by-Step Instructions:
- Fold the 5-1/2” x 8-1/2” piece of Blueberry Bushel cardstock in half at the 4-1/4” score line.
- Adhere the 4” x 5-1/4” piece of Basic White cardstock inside the card.
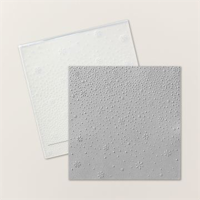
- Using one of the 4” x 5-1/2” pieces of Basic White cardstock, run through the Cut & Emboss Machine using the Snowflake Sky 3D Embossing Folder. Adhere to the front of the card.
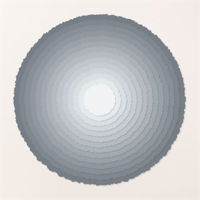
- Using the 3″ square of blue Winter Meadow Designer Paper, cut out a 2-1/4” Deckled Circle using the Cut & Emboss Machine and Deckled Circles Dies. Adhere the circle to the center of the card, slightly to the right side.
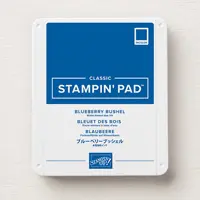
- Ink up the long stem image using Old Olive ink. Using a sponge dauber and Blueberry Bushel ink, dab ink onto the berry images on the image. (tip: if you don’t have enough control, use a Q-Tip.) Huff on the stamp to remoisten the ink and stamp onto the other piece of 4″ x 5-1/2″ Basic White Cardstock. Clean the stamp and repeat the process.
- Die-cut both images and 3 White leaves using the Magical Meadow dies that come in the Bundle.
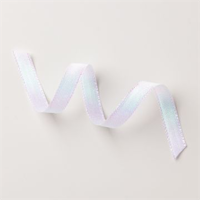
- Using the 1” x 2” piece of Basic White Cardstock, stamp the sentiment onto the cardstock using Blueberry Bushel ink. Cut a 3” piece of the ribbon and adhere to the bottom of the sentiment tag, angling both ends with your scissors.
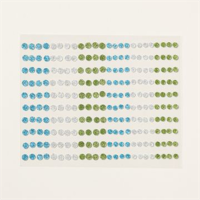
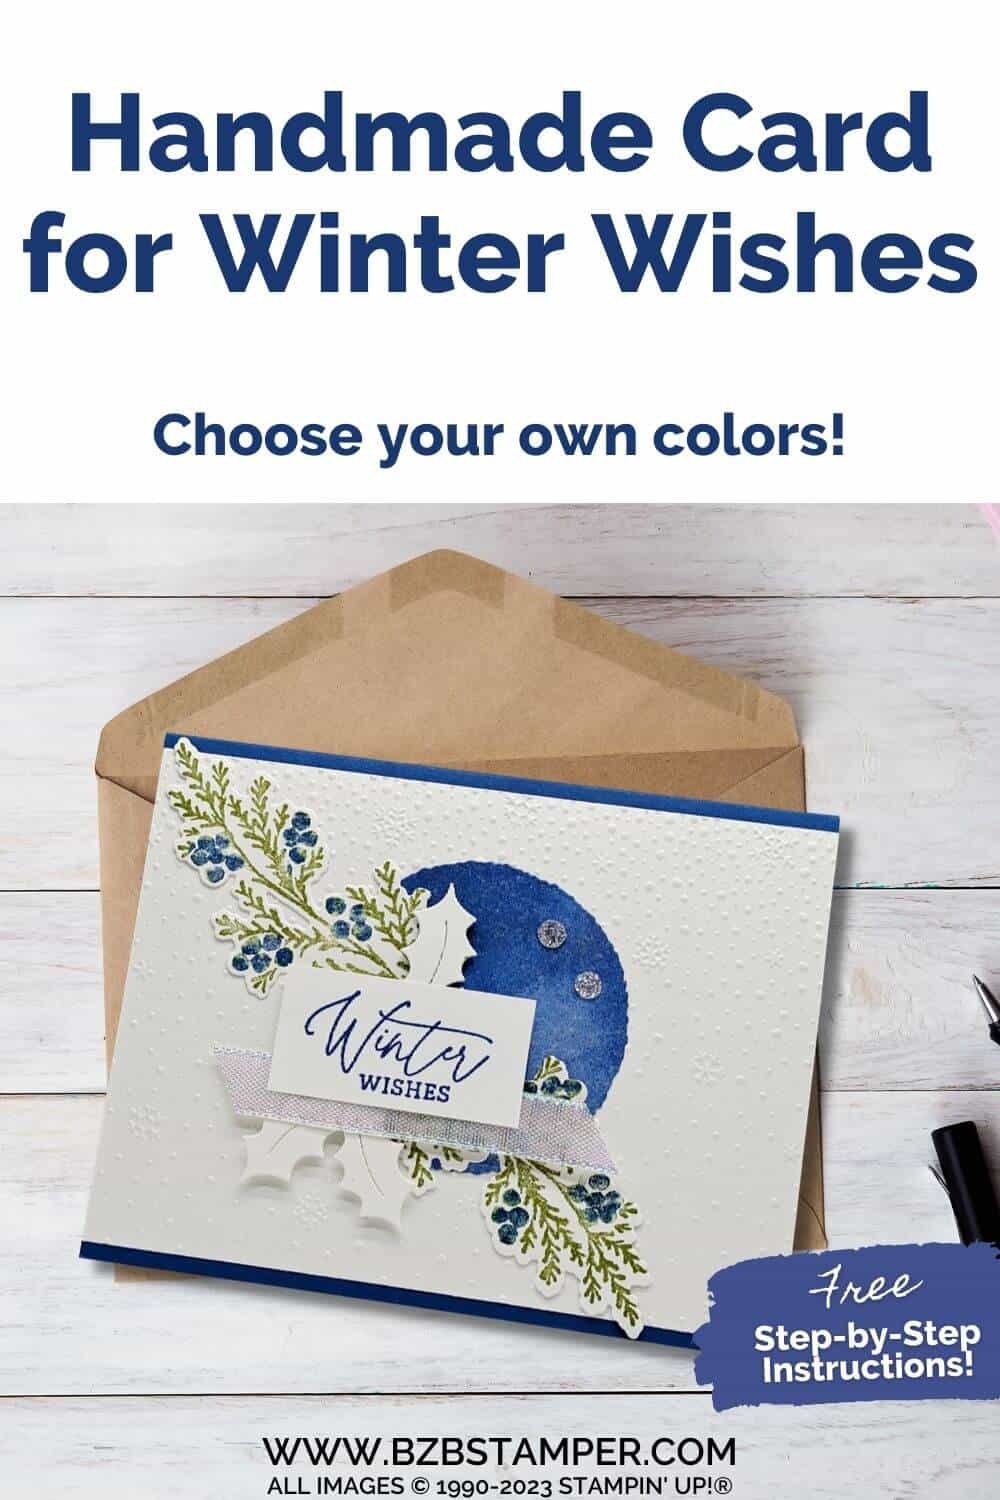
- Adhere the leaf images to the cardstock as shown in the sample. Adhere the Holly Leaves and sentiment using Stampin’ Dimensionals. To finish, add 3 of the clear Glitter Sequins as desired.
A Tip from Barb
This card takes a few sessions on your Cut & Emboss Machine but it’s so worth it!
As I mentioned in the directions, if you don’t feel that you have enough control adding the Blueberry Bushel color to the berries on the stem stamp, try dipping a Q-tip into your ink pad (you’ll need quite a bit of ink) and “dab” the color onto the berries.
Make sure you “huff” onto the stamp before stamping onto the cardstock to reactivate the ink. I call this the “Darth Vader technique” – the moistness of your breath will add that shot of moisture to reactivate the ink!
Don’t forget to pin this project for later!
Thanks for stopping by for today’s card tutorial! My goal is to help you make greeting cards for all occasions. If you’d like more detailed directions on how to make this card, feel free to email me. I hope you’ll join me again for more card-making ideas!


