Magical Meadow Stamp Set by Stampin’ Up!
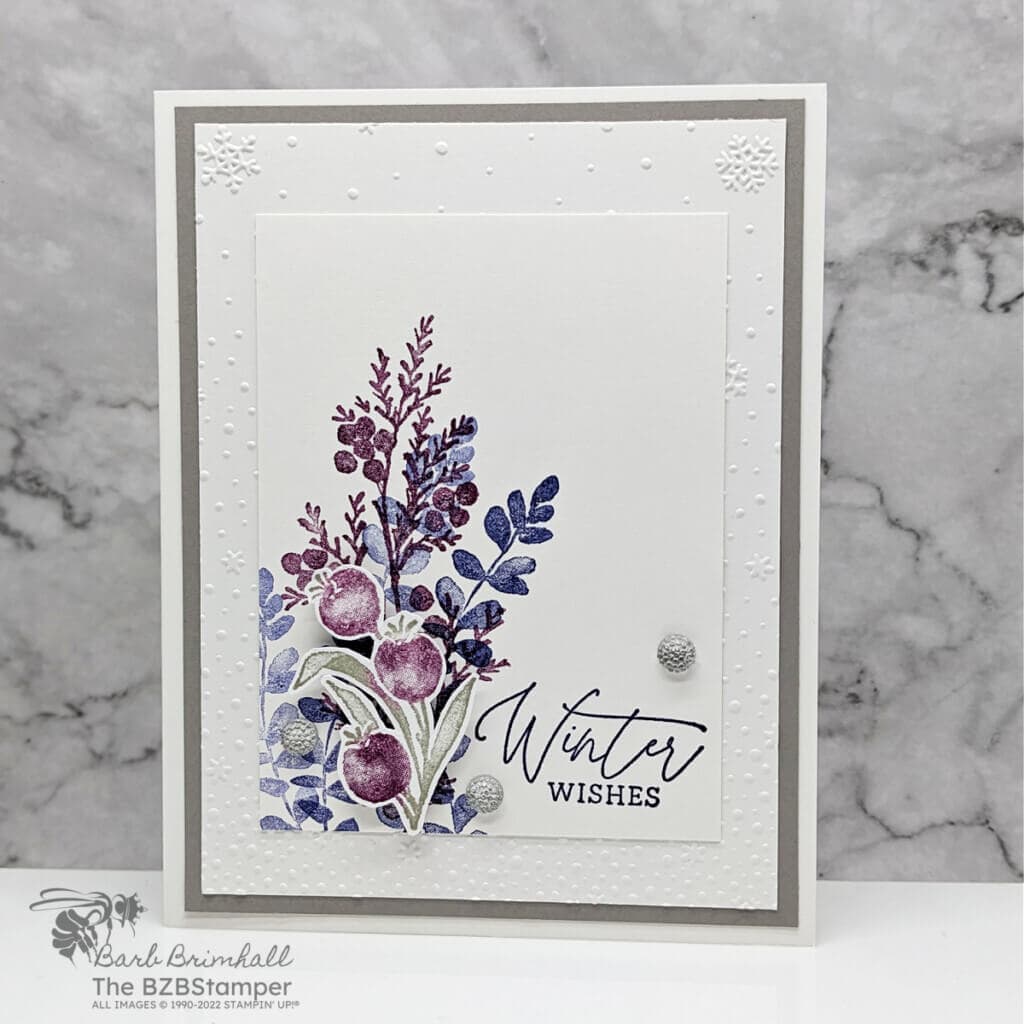
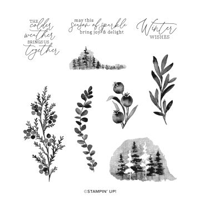
The Magical Meadow Stamp Set by Stampin’ Up! is the perfect stamp set to start creating your winter and holiday cards – even if it still feels like summer! With the different trees, sprigs, and berry images, combined wih the elegant sentiments, there is something for almost every winter occasion!
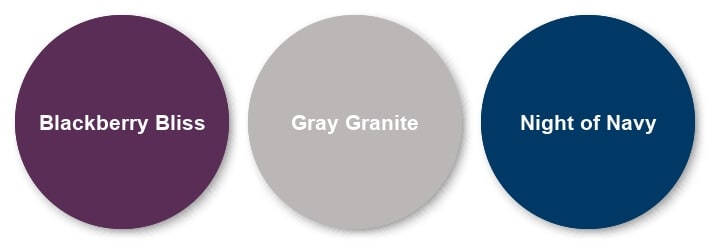
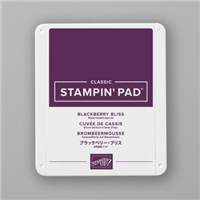
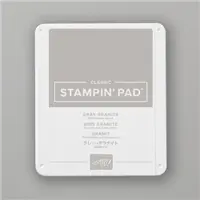
For the color palette on this card, I’ve gone with the rich yet soothing colors of Gray Granite, Night of Navy, and Blackberry Bliss. If this color combination isn’t your style, then be sure to visit my Color Combination Library where you’ll find many different combinations to inspire you!
How To Make This Card
Project Skill Level: Worker Bee
Worker Bee projects are designed for the crafter who has a bit more time and enjoys creating a handmade card that features a technique or tool. In many cases, a Stampin’ Cut & Emboss Machine is required for die-cutting and/or embossing.
Cardstock Measurements:
- Basic White Cardstock: 5-1/2” x 8-1/2”, scored at 4-1/4”
- Gray Granite Cardstock: 4” x 5-1/4”
- Basic White Cardstock: 3-3/4” x 5”
- Basic White Cardstock: 3” x 4”
- Basic White Cardstock: 2” x 2”

Grab your Free copy
Get 5 Bee-utiful Exclusive
Card Sketches in Your Inbox
Join our newsletter and receive a honey of a package of five quick & simple cards guaranteed to make your creativity buzz! Sign up now and let the goodness flow straight to your inbox!
Step-by-Step Instructions:
- Fold Basic White Cardstock in half to create your base card.
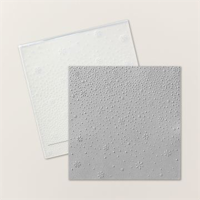
- Run the 3-3/4” x 5” piece of Basic White cardstock through the Cut & Emboss Machine using the Snowflake Sky Embossing Folder. Adhere to the Gray Granite cardstock and adhere to front of the card.
- Using the 3” x 4” piece of Basic White cardstock, stamp the sentiment in Night of Navy ink in the bottom right corner.
- Using Night of Navy ink, stamp longer leaf image once using Night of Navy ink, stamp 3-4 more times without inking.
- Stamp other leaf image using Blackberry Bliss ink; stamp again without reinking.
- Ink up the 3-berry images using Gray Granite ink. Use a sponge dauber to apply Blackberry Bliss ink over the berries. Huff on the stamp to remoisten the ink and stamp onto the 2” scrap of Basic White Cardstock.
- Cut out the image from the previous step using your Paper Snips and adhere over the stamps leaf images using Stampin’ Dimensionals.
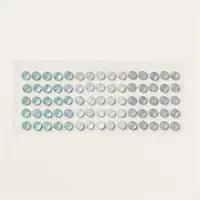
- Add 3 of the clear Faceted gems as desired to finish.
A Tip from Barb
Don’t have a Cut & Emboss Machine for the Snowflake Sky 3D Embossing Folder? Don’t let that hold you back from making this card? Just leave the Embossing off and the card is still gorgeous! Prefer some texture? Before adhering the White cardstock to the card base, crumple it up in your hand and then smooth it out and adhere to the cardstock. It’ll add some subtle texture for a fun look!
Thanks for stopping by for today’s card tutorial! My goal is to help you make quick & easy greeting cards for all occasions. If you’d like more detailed directions on how to make this card, feel free to email me. I hope you’ll join me again for more card-making ideas!

Don’t forget to pin this for later!








Such an elegant card Barb! Love it.
This is a lovely winter card with a unique color palette! Thank you!
Lynne, thank you so much for your comment – I so appreciate your feedback! Have a creative week!
I used embossed vellum instead of white card stock. Both look very nice
Susan! This is a fabulous idea – I’m going to have to try that! Thank you so much for sharing.