So Sincere Thinking of You Card
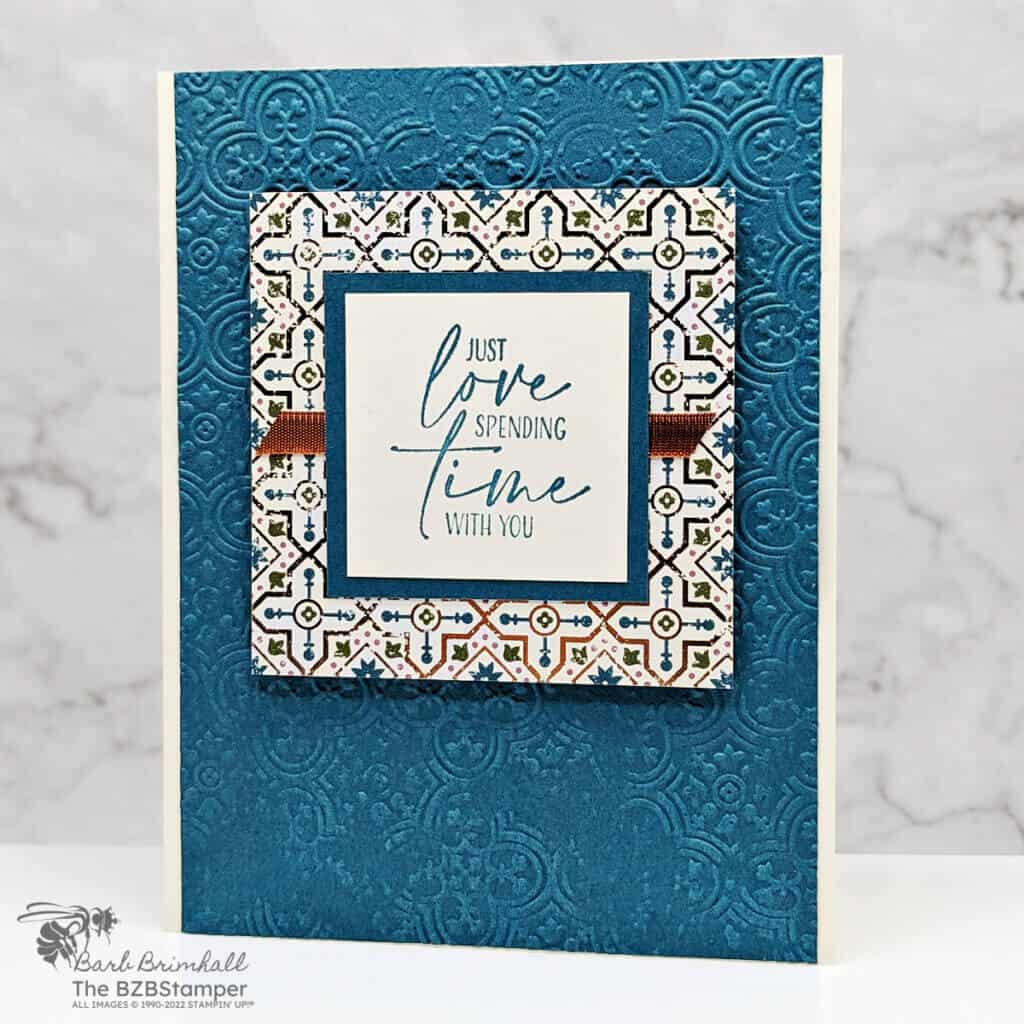
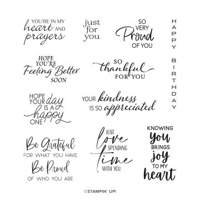
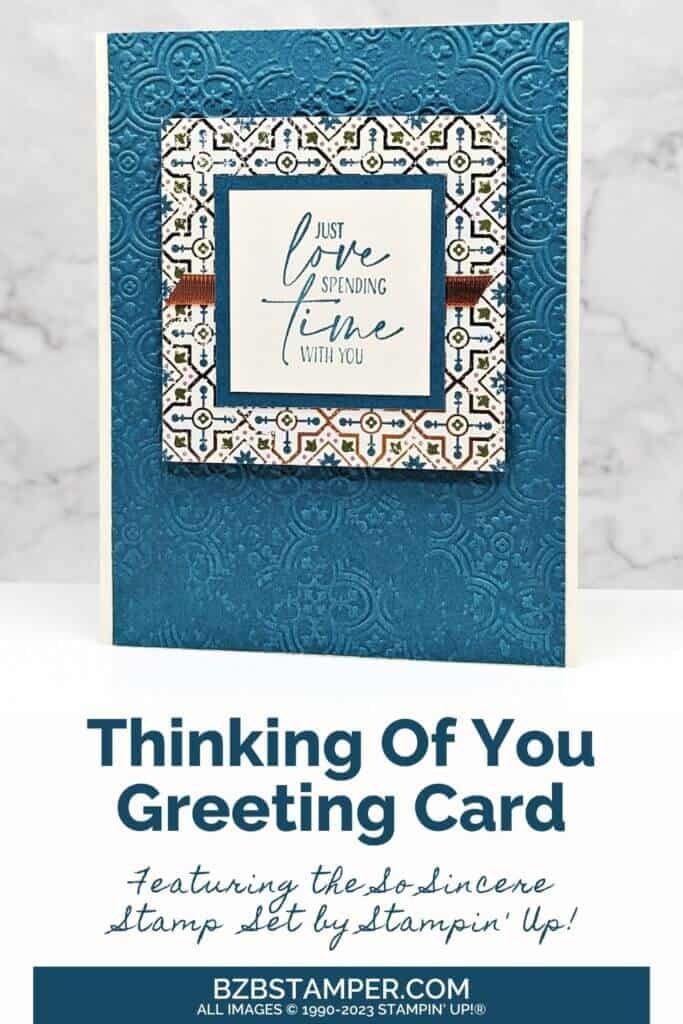
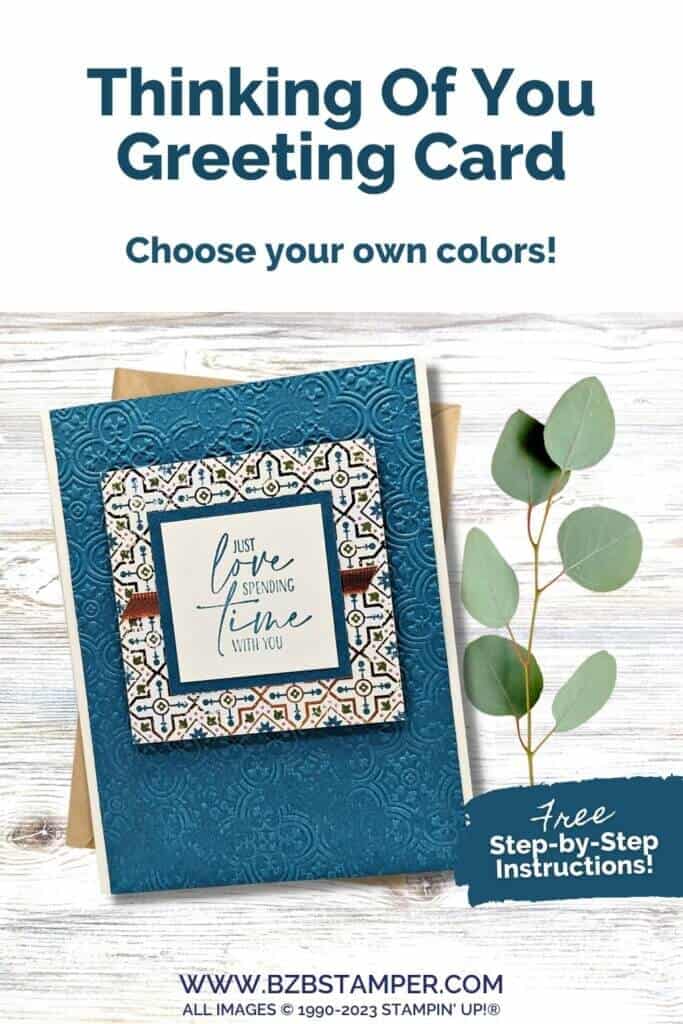
This So Sincere Thinking of You Card was so easy to make using some beautiful paper, elegant ribbon, and the versatile So Sincere Stamp Set by Stampin’ Up! This beautiful stamp set not only adds a professional flair to your cards but also that much-needed personal touch.
In the digital age where instant messages and emails dominate our communication, receiving a handmade card in the mail can feel like a breath of fresh air. It’s that tangible, touchable connection to someone who took time to craft something special just for you.
Today, we’re zeroing in on one of the most treasured occasions: the “thinking of you” card. Using the So Sincere Set, creating these cards becomes a delightful experience that’s as enjoyable for the crafter as it is for the receiver.
Imagine, for a moment, a dear friend going through a rough patch. Perhaps they’re in need of encouragement, a bit of brightness, or just a reminder that someone out there cares for them. A simple “thinking of you” card can be that beacon of hope or that gentle reminder of love and support.
If you’ve not explored the world of card crafting yet, or if you’re a seasoned crafter looking for fresh inspiration, the So Sincere Set by Stampin’ Up! is your gateway to crafting memories, one card at a time. Let’s take a look at how you can transform your thank you notes into cherished keepsakes!
How To Make This Card
Project Skill Level: Worker Bee
Worker Bee projects are designed for the crafter who has a bit more time and enjoys creating a handmade card that features a technique or tool. In many cases, a Stampin’ Cut & Emboss Machine is required for die-cutting and/or embossing.
Cardstock Measurements:
- Very Vanilla Cardstock: 5-1/2” x 8-1/2”, scored at 4-1/4”
- Pretty Peacock Cardstock: 4” x 5-1/2”
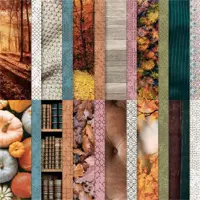
- All About Autumn Paper: 3” x 3”
- Pretty Peacock Cardstock: 2” x 2”
- Very Vanilla Cardstock: 1-3/4” x 1-3/4”
Grab your Free copy
Get 5 Bee-utiful Exclusive
Card Sketches in Your Inbox
Join our newsletter and receive a honey of a package of five quick & simple cards guaranteed to make your creativity buzz! Sign up now and let the goodness flow straight to your inbox!
Step-by-Step Instructions:
- Fold the Very Vanilla Cardstock in half to create your base card.
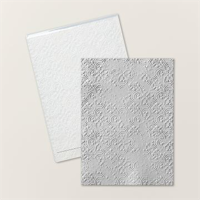
- Run the 4” x 5-1/2” piece of Pretty Peacock Cardstock through the Cut & Emboss Machine using the Distressed Tile 3D Embossing Folder. Adhere to the front of the card.
- Adhere the All About Autumn paper to the front of the card, about 3/4” down from top of card.
- Stamp the sentiment onto the 1-3/4” square of Very Vanilla Cardstock using Pretty Peacock ink. Adhere to the Pretty Peacock mat.
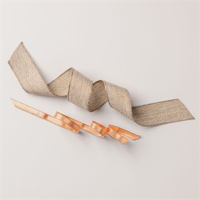
- Cut 3” of the Copper Ribbon and cut each end at a slant with your scissors. Adhere to the Designer Paper, using adhesive just in the center.
- Adhere the sentiment mat to the front of the card, centering onto the Ribbon to finish.
A Tip from Barb
This is actually a very simple card but the use of the Cut & Emboss Machine for the embossed background moved it up to a Worker Bee card. If you like the look of the card but don’t have a Cut & Emboss Machine, simply use the Pretty Peacock mat as is and the card will still be beautiful! Easy peasy!
Thanks for stopping by for today’s card tutorial! My goal is to help you make quick & easy greeting cards for all occasions. If you’d like more detailed directions on how to make this card, feel free to email me. I hope you’ll join me again for more card-making ideas!

Don’t forget to pin this project for later!
Supplies Used On This Project:
Price: $15.00

