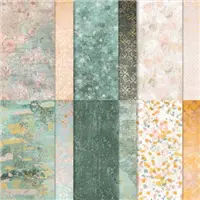
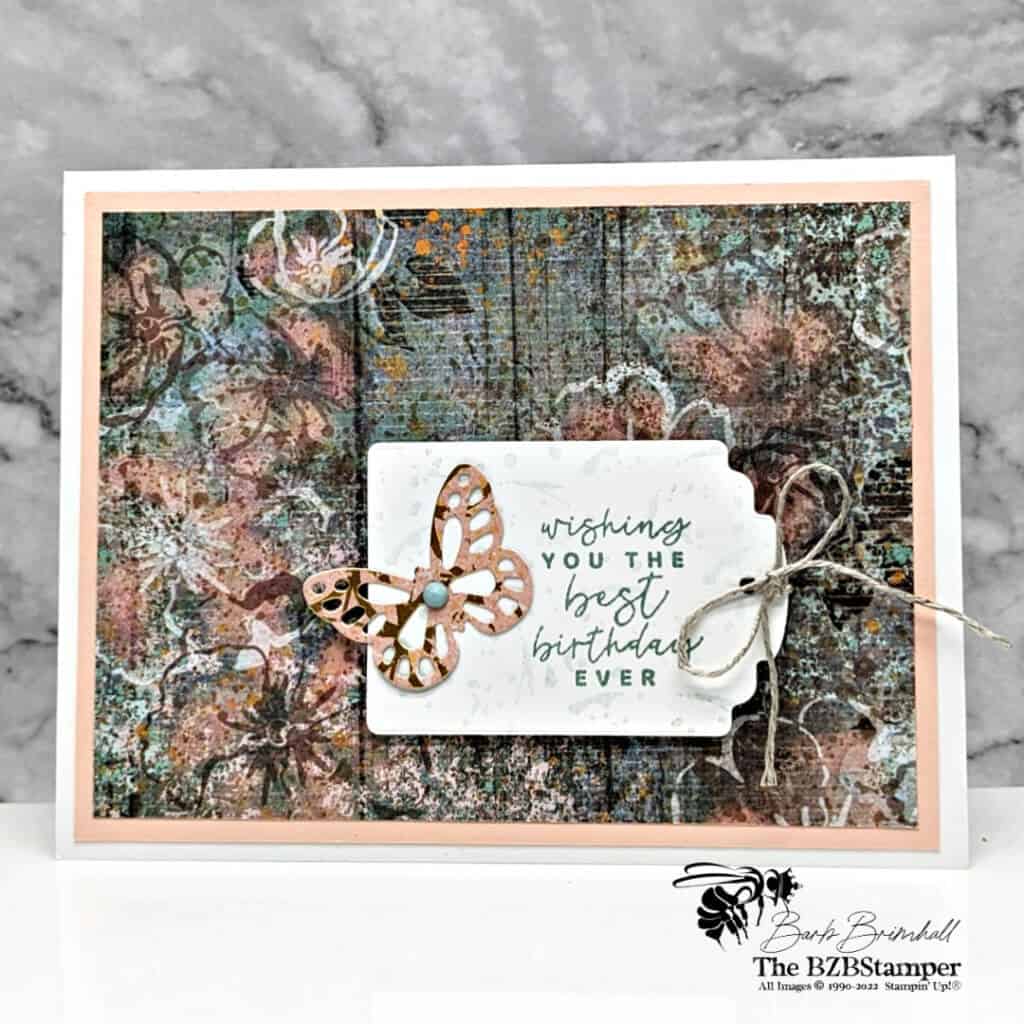
This elegant Butterfly Birthday card uses the Texture Chic paper, taking this handmade greeting card to the next level. The pretty, elegant pattern features gold foil and a distressed, aged look that adds so much interest to this card!
View more stamped samples & inspiration here
I love how elegant this card is, which is primarily due to the gorgeous Texture Chic Paper. For the main 3-3/4″ x 5″ mat on the front of the card, I used the “plain” side of the cardstock, and then for the butterfly focal point, I used the other side, which includes gold foiling details. It’s absolutely breathtaking in person!
You can find complete instructions below on how to make this card. Don’t forget to download the written Tutorial so that you can recreate this card any time you want!
Project Measurements
- Basic White: 5-1/2” x 8-1/2”, scored at 4-1/4” and 3” x 3” for die-cutting
- Petal Pink: 4” x 5-1/4”
- Texture Chic Paper: 3-3/4” x 5” plus scrap for die-cutting
Project Instructions
1. Fold the Basic White cardstock in half at the score line and burnish well with your Bone Folder to create the base card.
2. Adhere the Texture Chic paper to the Petal Pink cardstock and adhere to the base card.
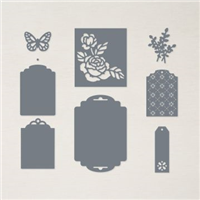
3. Using the Cut & Emboss Machine, cut the butterfly from the Designer Tag Dies using the scrap of Texture Chic paper. Set aside.
4. Using the tag die from the Designer Tag Dies and the scrap of Basic White cardstock, cut out the tag of choice.
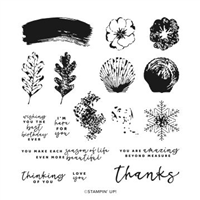
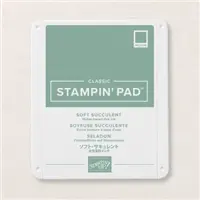
5. Stamp the sentiment onto the tag using the Soft Succulent ink pad.
6. Ink the abstract texture image stamp using the Soft Succulent ink pad – tap off most of the ink on your scratch paper and then stamp onto the tag. Repeat as desired, remembering to tap off most of the ink so that the stamped image is very light.
7. Tie about 8” of the Linen Thread through the tag and tie it into a bow.
8. Adhere the tag to the card using Stampin’ Dimensionals.
9. Using small dots of Liquid Adhesive, adhere the die-cut butterfly to the tag as shown in the sample.
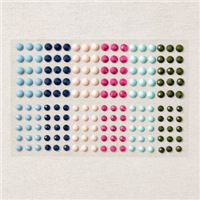
10. To finish, add one of the Solid Faceted Gems to the center of the die-cut Butterfly.

Supplies Used on this Project
Pin It
Go ahead and pin this image to your “favorites” board so you can find this when you need it!
- Get a Free Tutorial Every Week!
- Shop 24/7 in your PJ’s
- Queen Bee Rewards – Earn FREE Stamps!
- View the 2024-2025 Annual Catalog
- View NEW Online Products
- Monthly Crafting Kit
Thank you so much for stopping by and checking out this papercrafting tutorial. I hope you are inspired to create and send cards. I love sharing how to make cards here on the BZBStamper blog and I can’t thank you enough for all of your support!


