Easy Handmade Retirement Card
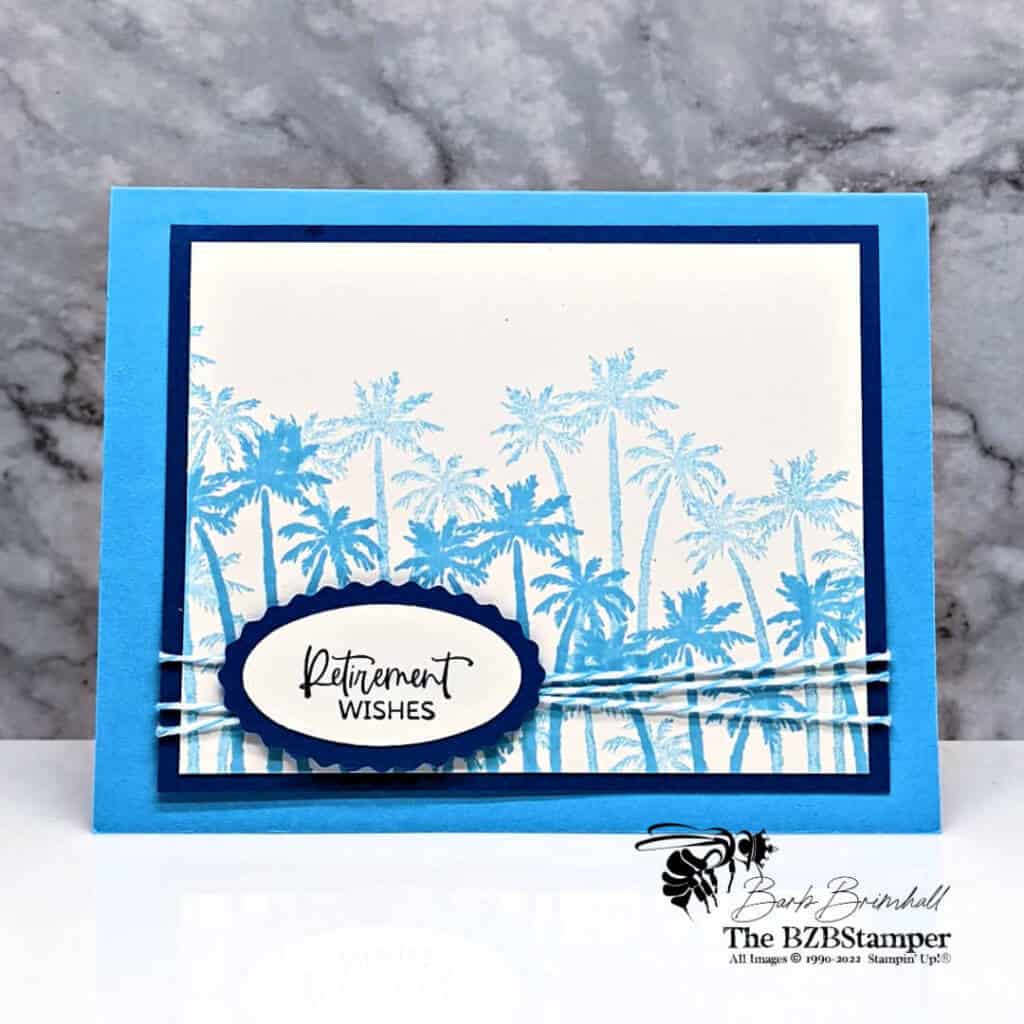
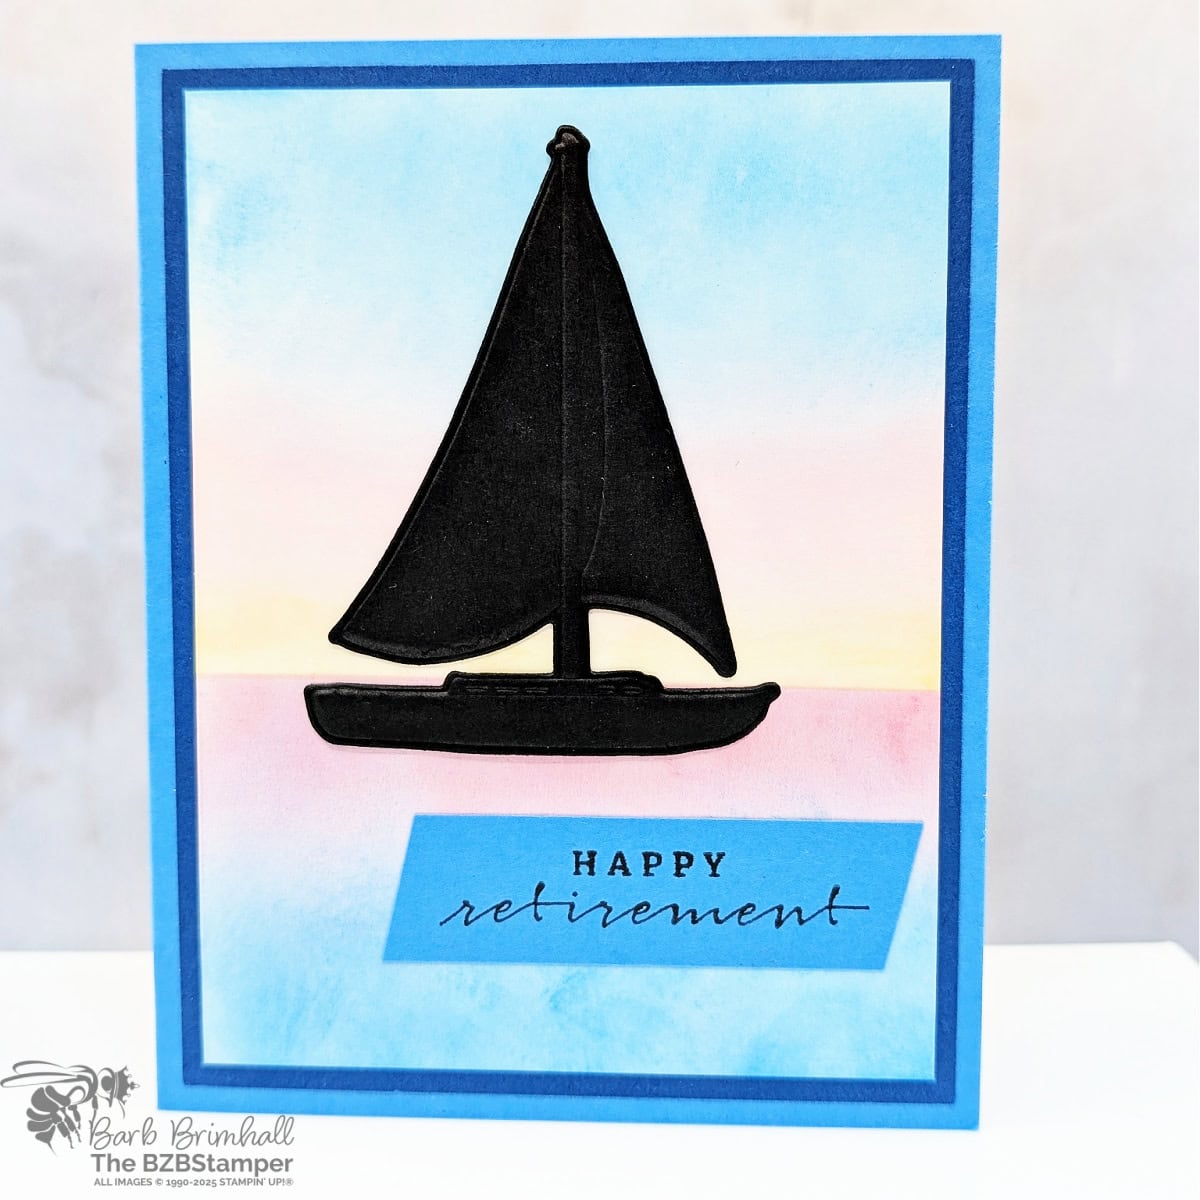
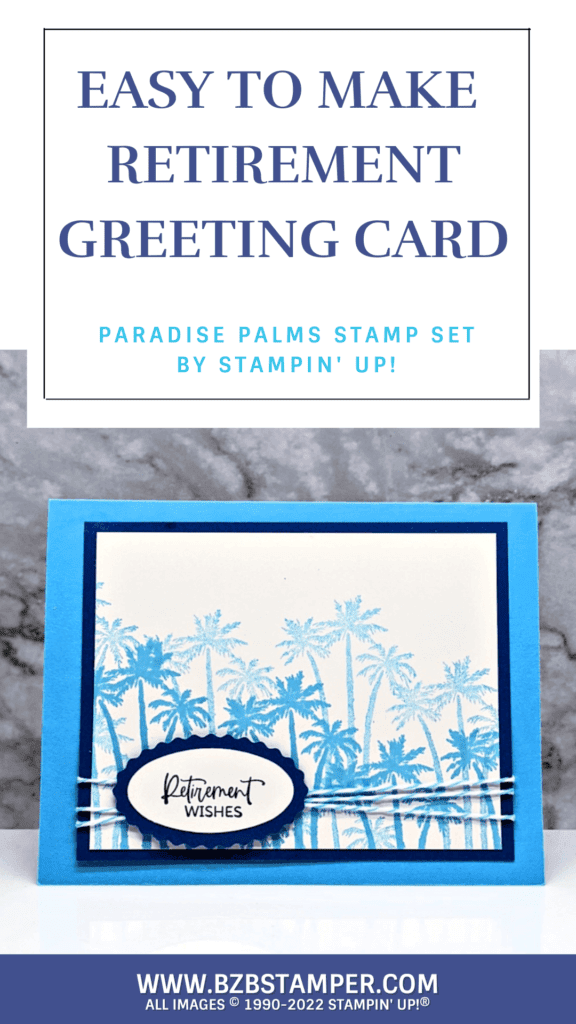
Need an easy handmade retirement card for your favorite retiree? The Paradise Palms stamp set has everything you need: great images, fabulous sentiments and a coordinating set of Dies. Let me show you how easy it is to make this card!
View more stamped samples & inspiration here
Do you know someone who is retiring soon? Why not make them a handmade greeting card, congratulating them on their retirement! A relaxing island getaway for your retiree is always within reach when you craft with this Paradise Palms Stamp Set. Put on your favorite tropical tunes (Jimmy Buffett, anyone?) and escape to the fun of some sun, sand, palm trees, and coconuts.
You can use these stamps to set the scene in so many ways: stamp a single palm tree ripe with coconuts just basking in the warm sunshine or several palm trees together for a coconut grove—you can’t go wrong! It’s the perfect set for cardmaking with all-occasion sentiments that convey only the warmest of wishes.
Here’s how I made this card:
Project Measurements
- Tahitian Tide: 5-1/2” x 8-1/2”, scored at 4-1/4”
- Pacific Point: 3-3/4” x 4-3/4” and 3” x 3” scrap for punching
- Basic White:
- 4” x 5-1/4”
- 3-1/2” x 4-1/2”
- 3” x 3” scrap for punching
Project Instructions
1. Fold the Tahitian Tide cardstock in half at the score line and burnish well with your Bone Folder.
2. Adhere the 4” x 5-1/4” Basic White cardstock inside the card.
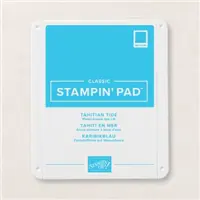
3. Using the 3-1/2” x 4-1/2” piece of Basic White cardstock, stamp the trio of palm trees using Tahitian Tide ink. Stamp again without reinking. Repeat the process as desired in various heights.
4. Adhere the Basic White cardstock to the 3-3/4” x 4-3/4” Pacific Point cardstock.
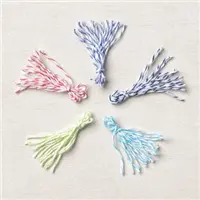
5. Wrap the Tahitian Tide Baker’s Twine 3 times around the White/Pacific Point cardstock and tape the ends to the back. Adhere to the card base.
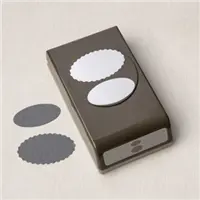
6. Using the scrap of Basic White cardstock, stamp the sentiment using Black Memento ink. Punch out using the Oval Punch and set aside.
7. Using the Oval Punch, punch the scalloped oval out of the scrap of Pacific Point cardstock. Adhere the sentiment oval the scallop oval using adhesive.
8. Adhere the sentiment oval to the card using Stampin’ Dimensionals.

Supplies Used on this Project
Pin It For Later
Now it’s your turn to make this project! Get your supplies and think of who you can make and send this card to. Showing that you noticed something someone else did or achieved is priceless! Pin this image below to easily find it again
- Get a Free Tutorial Every Week!
- Shop 24/7 in your PJ’s
- Queen Bee Rewards – Earn FREE Stamps!
- View the 2024-2025 Annual Catalog
- View NEW Online Products
- Monthly Crafting Kit
Thank you so much for stopping by today. I hope you are inspired to create today, whether it is this simple and cute handmade card or another cardmaking project. My goal is to help you enjoy some creative joy! Keep checking back for more projects.


