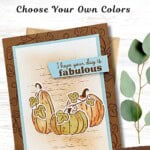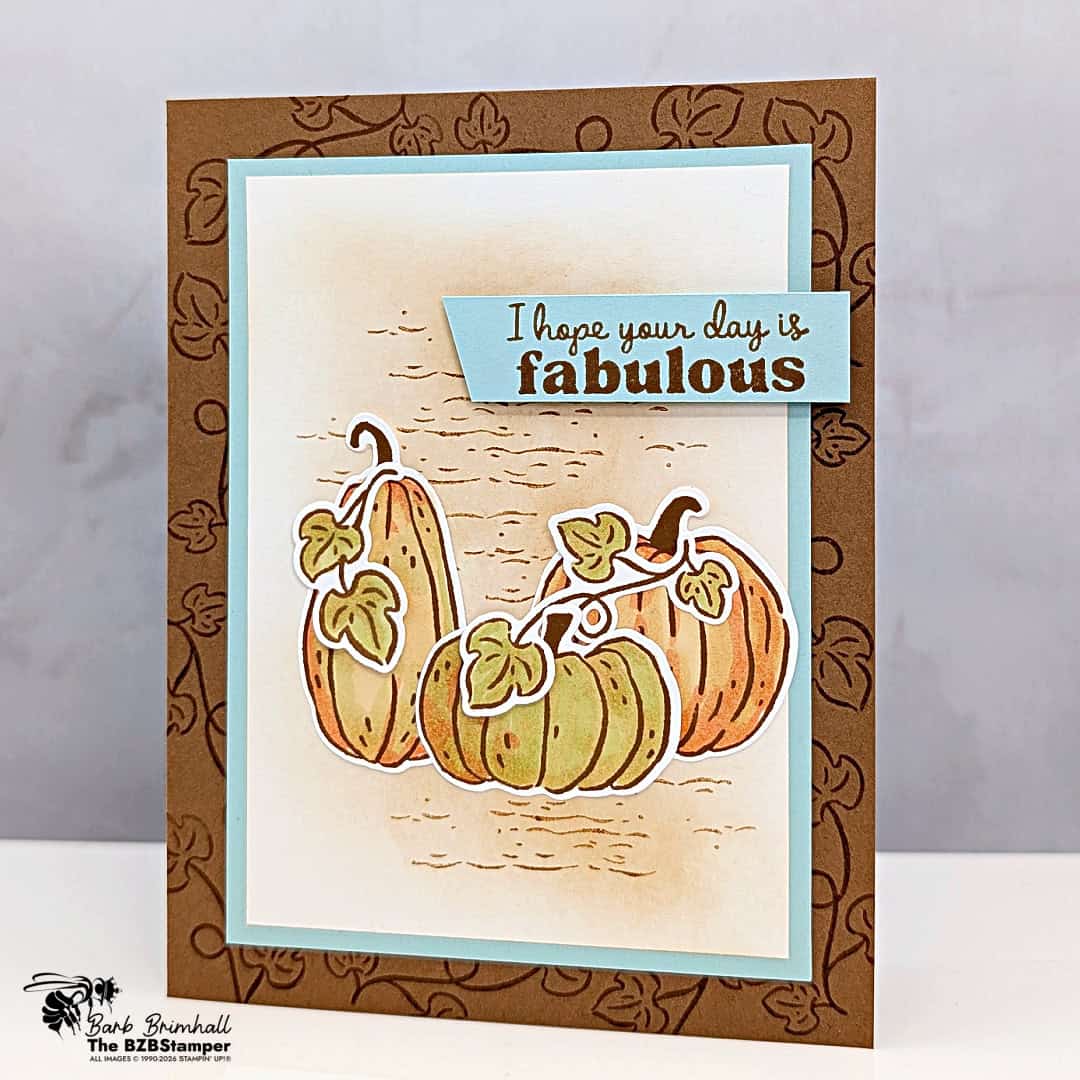
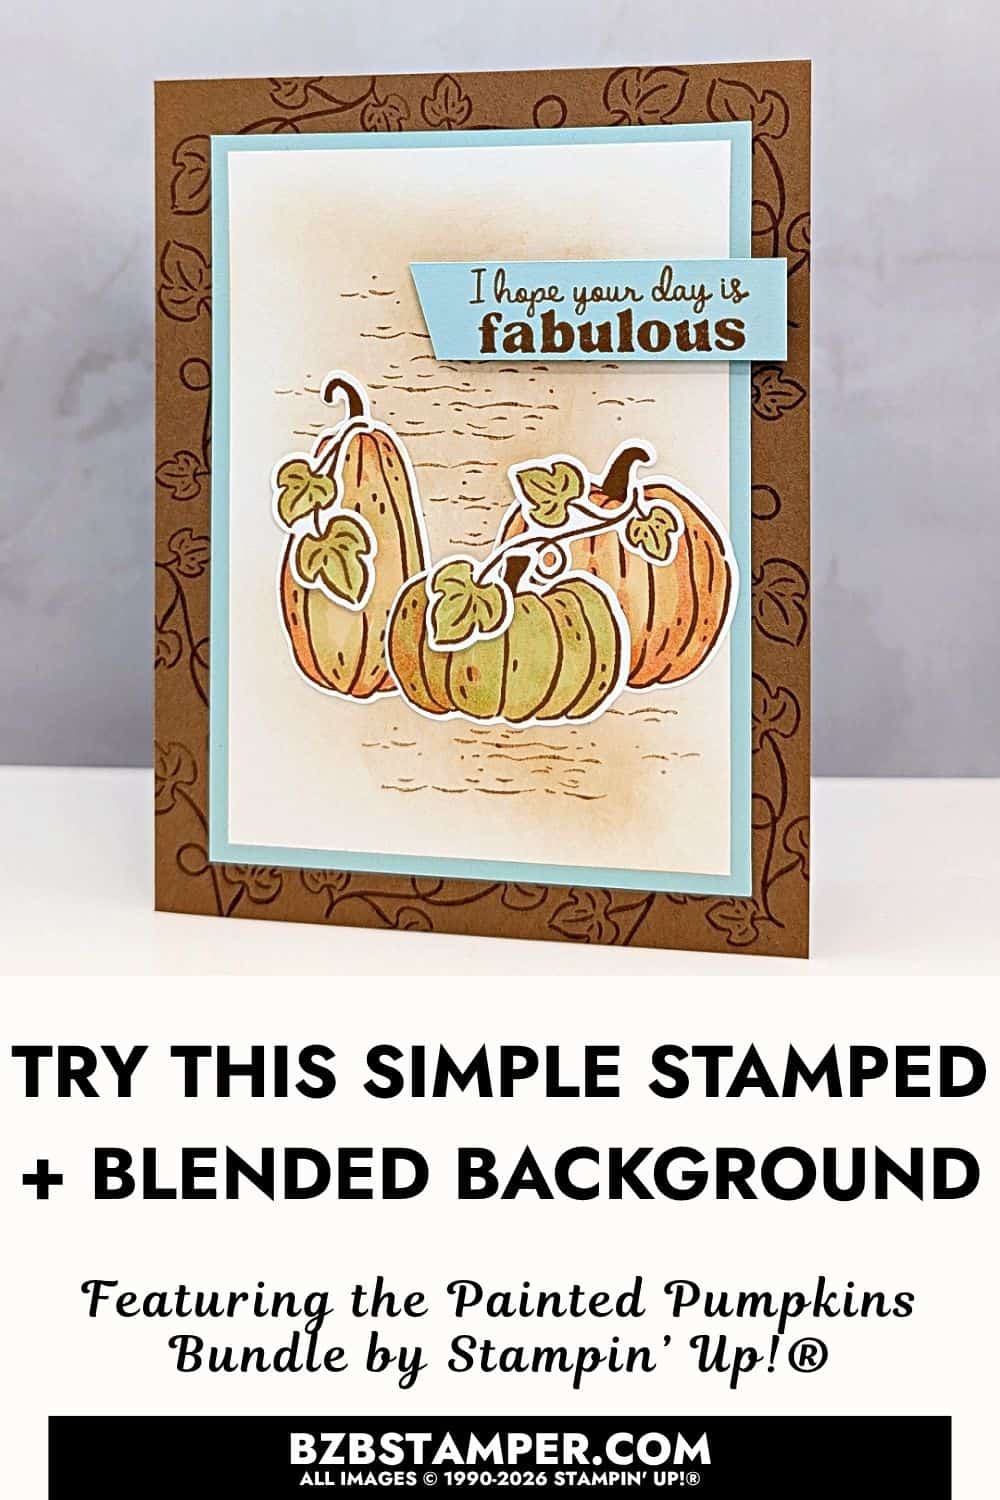
This Easy Fall Card Background with simple stamping and ink blending is a great trick to remember when your card looks a little too plain, but you don’t want to add more paper or layers. A little stamping and ink can be all you need to turn that empty cardstock into a background that helps your focal image shine. For this card, I used the Painted Pumpkins Bundle, but the background idea is one you can use again and again with stamps you already own.
october ordering Bonus
A Bonus for You!
Any order you place in October includes a free 10-project tutorial featuring the Neutral Noel Suite that you can use with any Bundle in your stamp stash.
It’s filled with cozy, step-by-step card ideas to spark your creativity when your order arrives — so you’re not staring at supplies wondering where to start.
Have you ever put your focal image on a card and thought, “Well…it needs something”?
That’s exactly where this kind of background comes in handy.
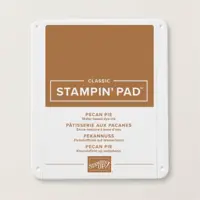
Instead of reaching for Designer Series Paper, I stamped the background and then added Pecan Pie ink to soften it and give it more depth. The stamping keeps the open space from feeling empty, while the blended ink takes away that stark white-cardstock look. It gives the pumpkins a warm little place to sit without adding another busy pattern behind them.
And that’s really the trick: the background shouldn’t compete with your focal point. It should support it. Once the background was in place, the pumpkins could do the rest of the work.
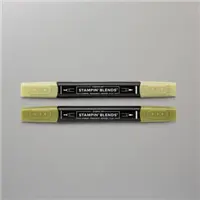
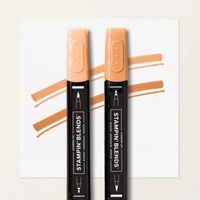
I colored them with Old Olive, Timid Tiger, and Golden Glow Stampin’ Blends. Using several colors instead of making every pumpkin orange adds variety while still keeping the whole group feeling like fall.
This is also one of those cards where coloring doesn’t have to be complicated. You’re working with familiar shapes and small areas, so you can simply enjoy adding color without worrying about making everything perfect.
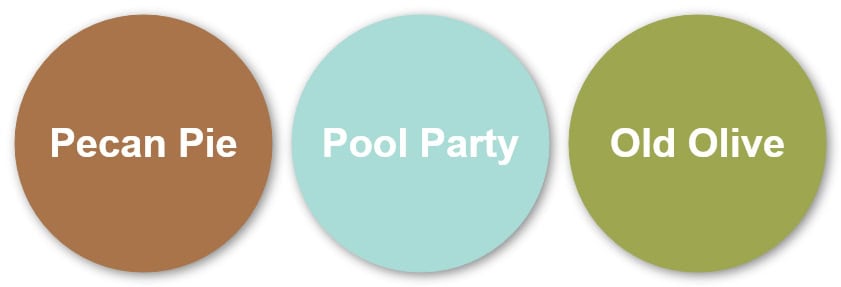
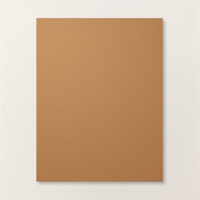
Pecan Pie, Pool Party, and Old Olive aren’t necessarily the first three colors you’d think of for a fall card, and that’s exactly why I like them together. Pecan Pie gives us the warm, earthy color we expect in autumn, while Old Olive brings in a natural green.
Then there’s Pool Party. That little bit of soft blue gives your eye a break from all those warm fall colors. It keeps the card from feeling too heavy or too brown and makes the pumpkins stand out even more.
It’s a nice reminder that your fall cards don’t always have to be orange, brown, and dark green. I colored them with Old Olive, Timid Tiger, and Golden Glow Stampin’ Blends. Using several colors instead of making every pumpkin orange adds variety while still keeping the whole group feeling like fall.
This is also one of those cards where coloring doesn’t have to be complicated. You’re working with familiar shapes and small areas, so you can simply enjoy adding color without worrying about making everything perfect.
How To Make This Card
You’ll find the full supply list and step-by-step instructions below.
Easy Fall Card Background with Simple Stamping and Ink Blending
Supplies Needed
- Pecan Pie Cardstock: 5-1/2" x 8-1/2" (scored at 4-1/4")
- Basic White Cardstock: 4" x 5-1/4" (inside card)
- Pool Party Cardstock: 3-1/2" x 4-3/4"
- Basic White Cardstock: 3-1/4" x 4-1/2"
- Basic White Cardstock: 3" x 4" (for pumpkins/leaves)
- Pool Party Cardstock: 3/4" x 2-1/4" (sentiment)
Instructions
- Fold the Pecan Pie cardstock in half at the 4-1/4" score line to create your card base.
- Adhere the 4" x 5-1/4" piece of Basic White cardstock inside the card and decorate as desired.
- Stamp the small vine around the outside of the card base using Pecan Pie ink.
- Stamp the "dirt" background stamp onto the center of the 3-1/4" x 4-1/2" Basic White cardstock using Pecan Pie ink. Continue until the center of the cardstock is stamped; see sample for placement.
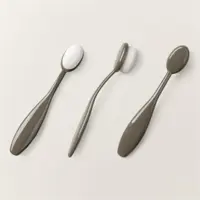
- Ink up a Blending Brush using the Pecan Pie ink pad. Tap off on scratch paper and then softly swirl over the background stamp from the previous step, using a very light hand. Tip: start with a light amount of ink, you can always add more.
- Adhere the White Cardstock to the Pool Party cardstock and then to the front of the card.
- Using the 3" x 4" piece of Basic White cardstock, stamp the trio of pumpkins using Pecan Pie ink. Stamp the leaf vine two times using the same ink pad. Color in all of the images as desired using the Light Old Olive Blend, the Light Timid Tiger Blend, and the Light Golden Glow Blend.
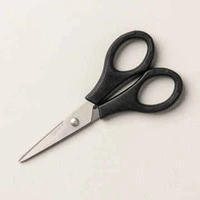
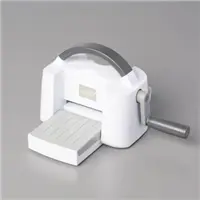
- If you have the Painted Pumpkin Dies, die-cut the pumpkin/leaf images using the Dies with the Stampin' Cut & Emboss Machine. If you do not, fussy cut them out using the Detail Scissors. Adhere all of the images to the card front as shown using adhesive.
- Stamp the sentiment onto the 3/4" strip of Pool Party cardstock using Pecan Pie ink. Cut one end at and angle and adhere the sentiment to the card front using Stampin' Dimensionals to finish.
Notes
The Painted Pumpkins Bundle may be the star of this particular card, but the background technique is the idea I really want you to tuck away for later.
When a card feels too plain, you don’t automatically need another layer, another piece of pretty paper, or another embellishment. Try adding a little stamping. Then blend or sponge some ink around it. You may discover that’s all the card needed.
And because you can change the stamps and ink colors, you can use the same basic idea for birthdays, Christmas cards, florals, masculine cards, and just about anything else you’re making. That’s my favorite kind of cardmaking trick: simple enough to remember and useful enough to use again.
So give this card a try with what you already own – and then put it in the mail! Let’s fill those mailboxes with happy mail! 🐝
Love this color combo? Pin it for later!
Supplies Used:








One more little perk while you’re shopping. Each month there’s a Product of the Month you can add for just $5 when your order reaches $75. It’s a fun surprise that’s not in the catalog and only available while supplies last. Click To Learn More
If you enjoy simple, cozy cardmaking like this, you’d love the creative support we share inside the Creative Living Room. If you have questions about today’s tutorial, please email me for detailed steps. Inspire your craft with more ideas—join me over on Pinterest!
Grab your Free copy
Get 5 Bee-utiful Exclusive
Card Sketches in Your Inbox
Join our newsletter and receive a honey of a package of five quick & simple cards guaranteed to make your creativity buzz! Sign up now and let the goodness flow straight to your inbox!