Easy Card Layout using the Sweet As a Peach Suite
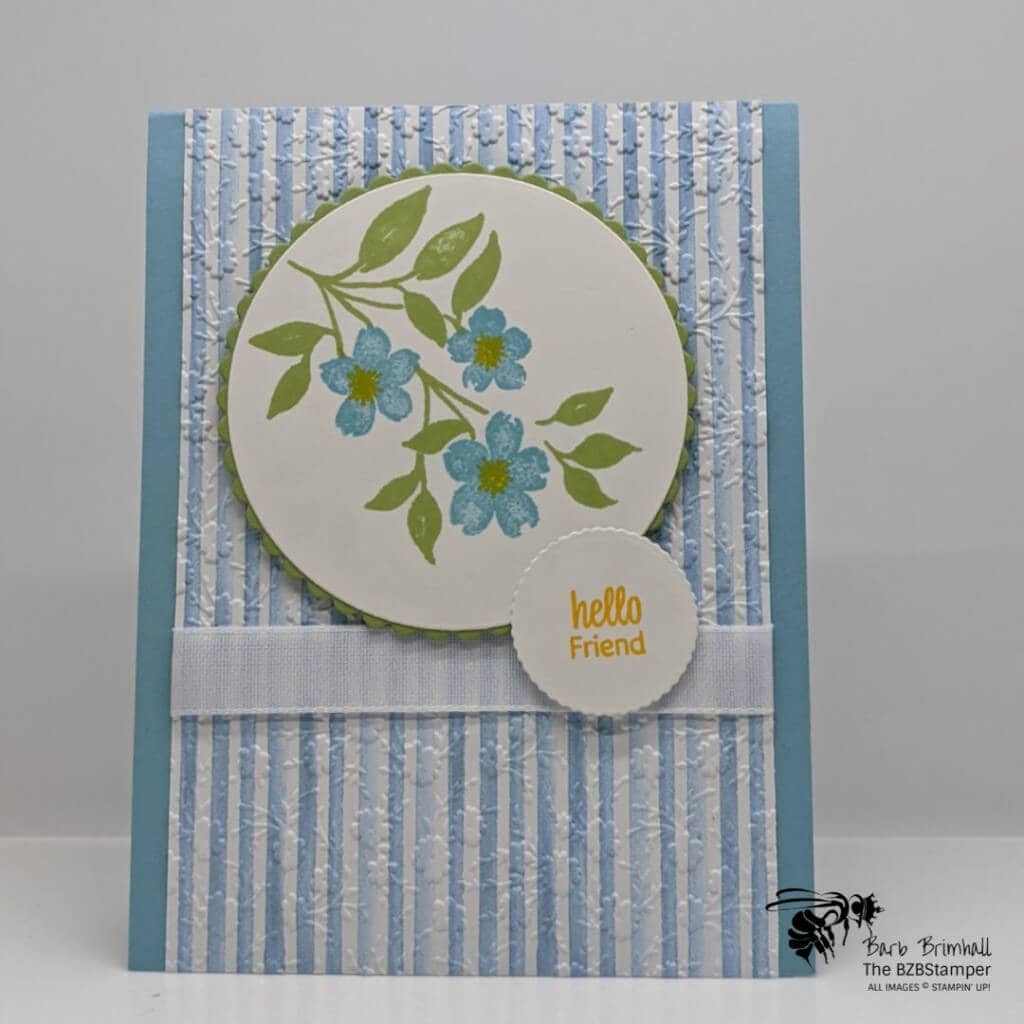
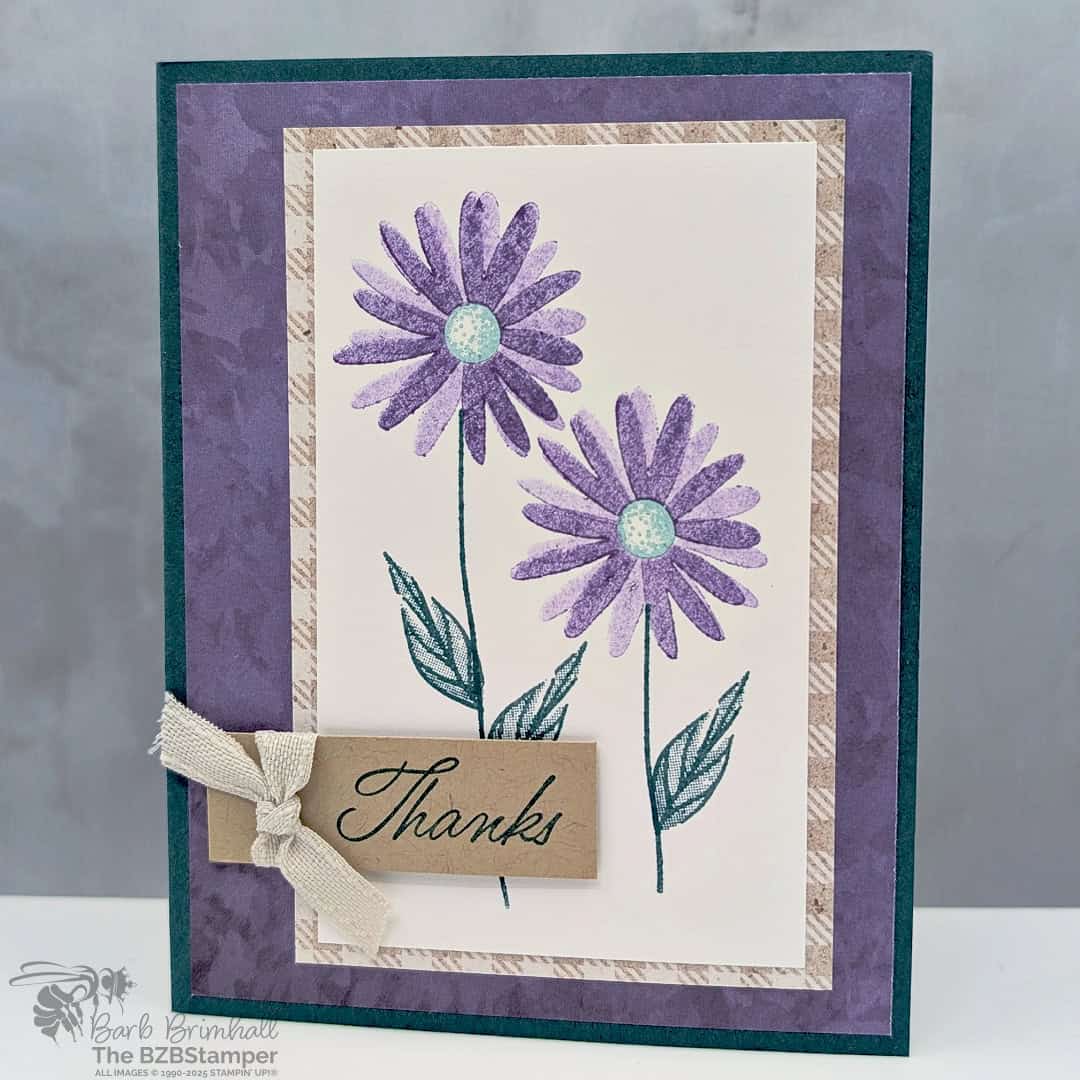
This Easy Card Layout using the Sweet As a Peach Suite comes together in minutes if you have a Die-Cut machine. If you don’t, you can skip some of the steps and still have a gorgeous card!
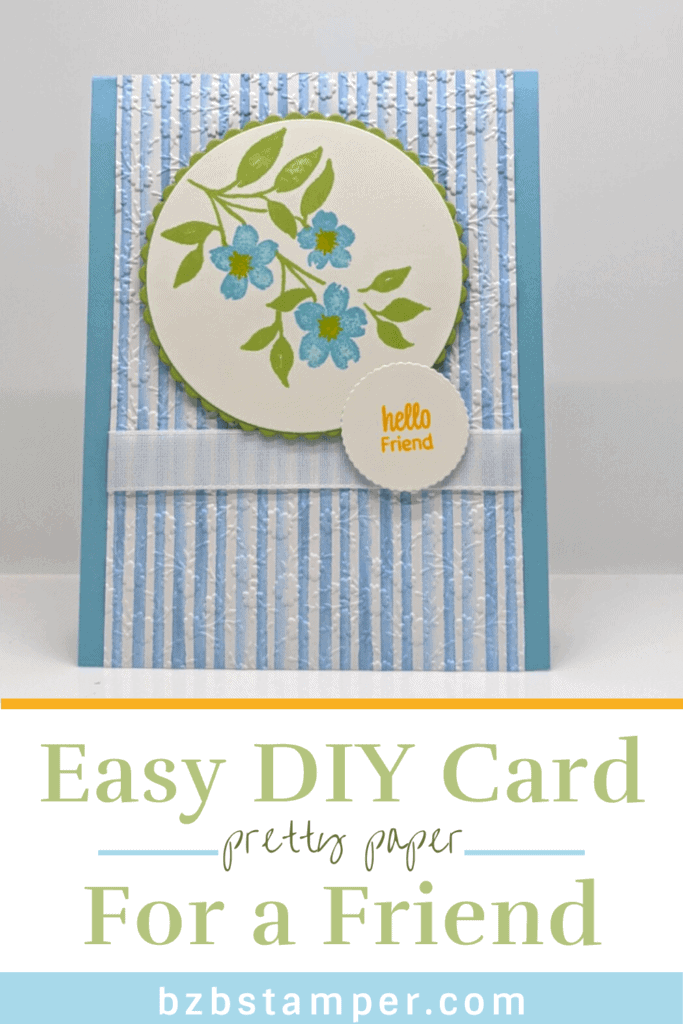
There’s so much to love about this card, but my favorite part is the card layout – it’s so simple! It’s works for almost any image or sentiment and it’s super simple to put together.
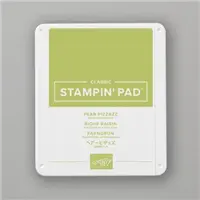
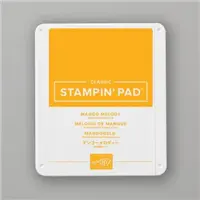
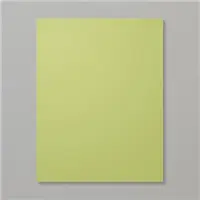
For this card, I used Card Layout #10, which you can find in my Card Sketch Library. For the colors, I went with 3 of my favorites: Balmy Blue and Pear Pizzazz and then for a pop of color, I used Mango Melody for the sentiment.
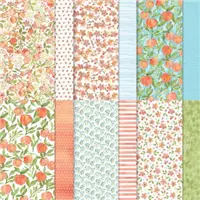
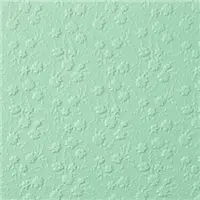
I love the Balmy Blue striped paper from the You’re A Peach Designer Series Paper but I wanted to punch it up a bit, so before I layered it onto the card, I dry embossed it using the Cut & Emboss Machine and the Ornate Floral 3D Embossing Folder. I think it adds a nice depth to the background.
Here’s how I made this card – remember you can download the instructions via the link below:
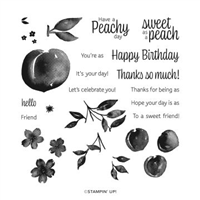
Supplies Used on this Project:
Project Measurements:
- Balmy Blue Cardstock: 4-¼” x 11”
- Basic White Cardstock: 4” x 5-¼” and 4” square (for die-cutting)
- You’re a Peach Designer Paper: 3-¾” x 5-½”
- Pear Pizzazz: 3-½” square (for die-cutting)
Project Instructions:
1. Cut a 4-1/4” x 11” piece of Balmy Blue cardstock. Score at 5-1/2”; fold in half to create base card.
2. Cut & layer a 4” x 5-1/4” piece of Basic White Cardstock inside the base card.
3. Cut a 3-3/4” x 5-1/2” piece of the You’re A Peach Designer Paper. Run through the Cut & Emboss Machine using the Ornate Floral 3D Embossing Folder. Set aside.
4. Using a 3-1/2” x 3-1/2” square of Pear Pizzazz cardstock cut out using the Cut & Emboss Machine and the 3-1/8” Scallop Circle die from the Layering Circle Dies. Using a 4” x 4” square of Basic White cardstock, cut out the 3” circle die and the 1-1/4” scallop die.
5. On the 3” White Circle, stamp the long stems using Pear Pizzazz ink. Stamp the trio of flowers using Balmy Blue ink. Stamp the inside of the flowers using Pear Pizzazz ink. Layer the White circle onto the Pear Pizzazz scallop circle and then layer onto the embossed Designer Paper piece from Step #3 using Stampin’ Dimensionals.
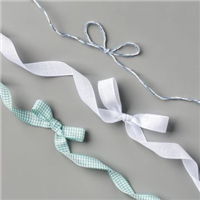
6. Wrap a 5” piece of the White Flowers for Every Season Ribbon just under the scallop circle and tape the ends to the back of the Designer Paper. Adhere to base card.
7. Using the small Basic White circle, stamp the sentiments using Mango Melody ink. Adhere to the base card, slightly overlapping the big circle, but doubling up Stampin’ Dimensionals.

Pin It For Later
Don’t forget to pin this image below to your Pinterest boards.
- Get a Free Tutorial Every Week!
- Shop 24/7 in your PJ’s
- Queen Bee Rewards – Earn FREE Stamps!
- View the 2024-2025 Annual Catalog
- View NEW Online Products
- Monthly Crafting Kit
Try this card sketch idea with different sentiments and colors and you’ll have a card in minutes! Leave me a comment and let me know how you’d tweak this card.


