A Handmade Greeting Card for the Cook in your Life
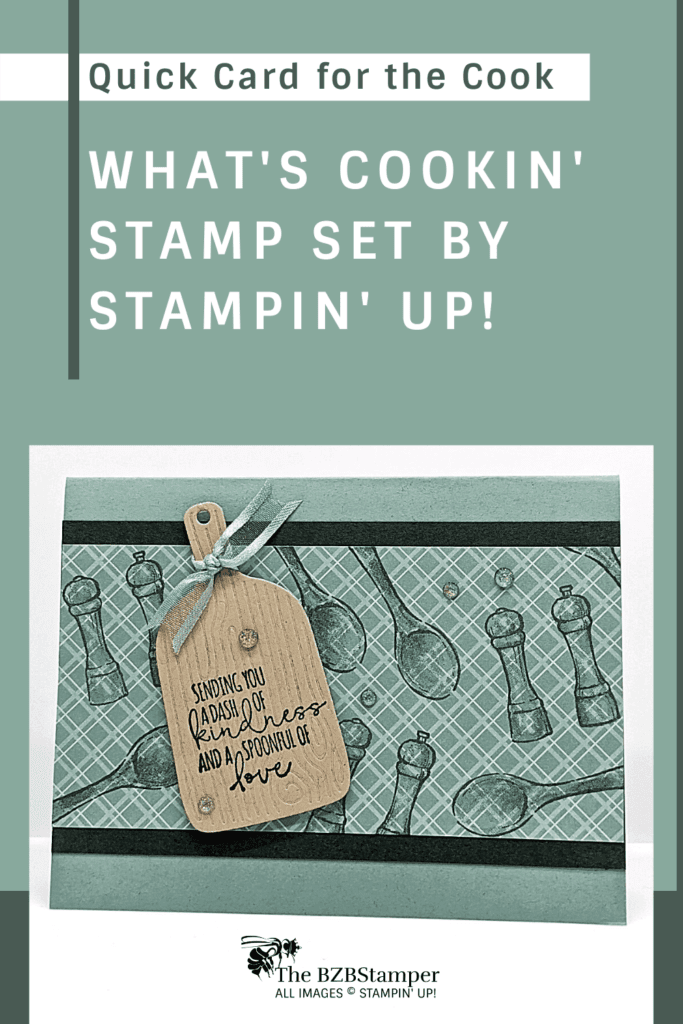
If you ever need a handmade Greeting Card for the cook in your life, the What’s Cookin’ Bundle by Stampin’ Up! will give you all the images you’ll need!
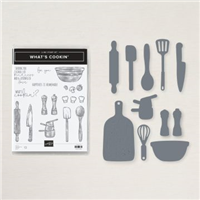
Create fun handmade cards or treat packaging tags using the What’s Cookin’ Stamp Set. The set includes cooking tool imagery such as chef’s hats, pans, a bowl, a spatula, a knife, a whisk, a rolling pin, and more! It also includes cute sentiments that will make your projects unique! Perfect for any occasion, you will love using this set to show your love and appreciation.
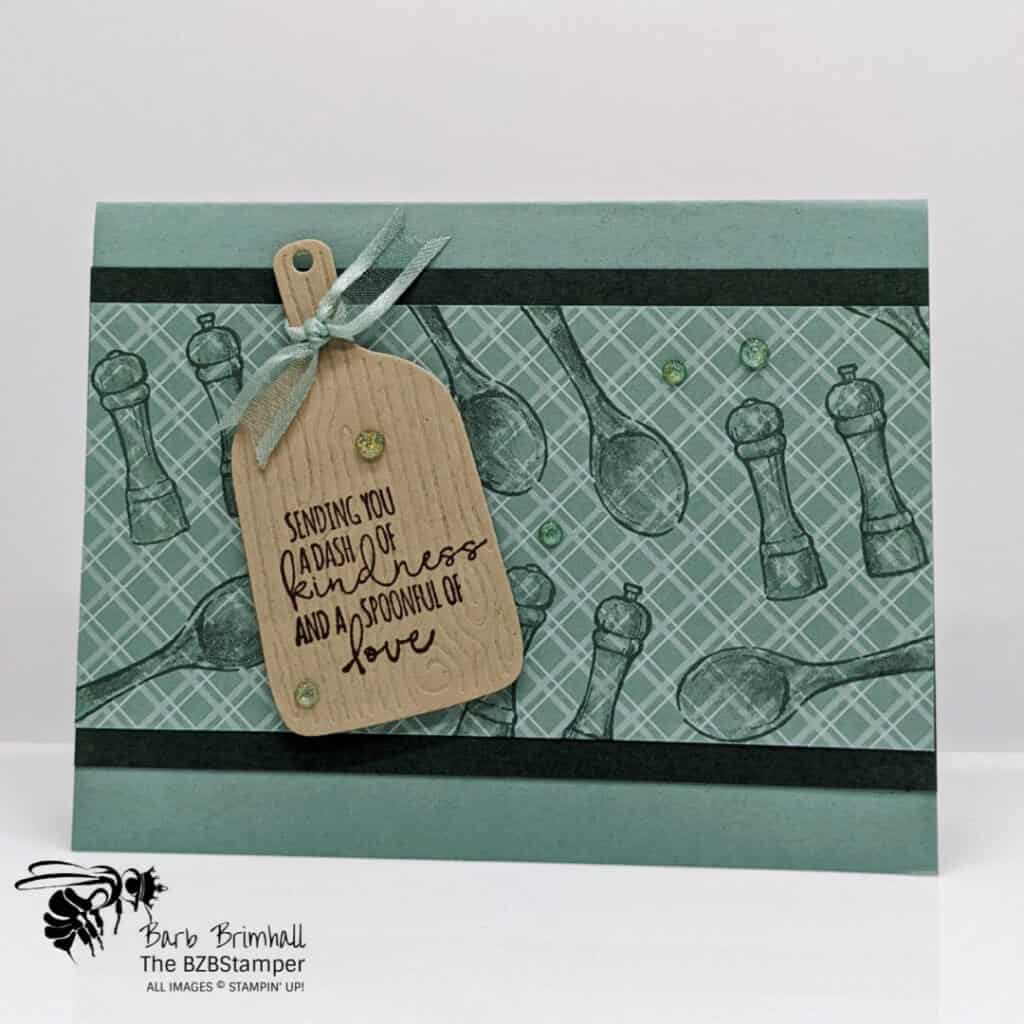
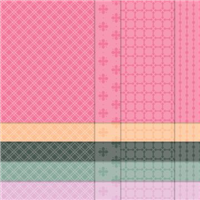
For this card, I wanted it to be gender neutral, so I went with 2 of our new In Colors: Soft Succulent and Evening Evergreen. (Don’t like this color combination? Try one of these.) Thanks so the Soft Succulent Designer Paper and the Cookin’ Dies, this card came together very quickly. Here’s how this card was made:
Supplies Used on this Project:
Project Measurements:
- Soft Succulent: 5-½” x 8-½”
- Basic White: 4” x 5-¼:
- Evening Evergreen: 3-¼” x 5-½”
- Soft Succulent In Color Paper: 3” x 5-½”
- Crumb Cake: 2” x 4”
Project Instructions:
- Cut a piece of Soft Succulent to 5-1/2” x 8-1/2”, score at 4-1/4” and fold at score line to create
your base card. - Cut a piece of 4” x 5-1/4” Basic White Cardstock and adhere to inside of card.
- Cut a 3-1/4” x 5-1/2” piece of Evening Evergreen Cardstock and layer onto the center of the base
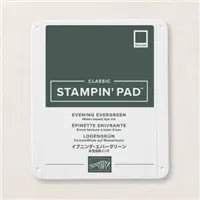
card. - Cut a 3” x 5-1/2” piece of the Soft Succulent In Color Paper. Stamp the spoon and shaker images
randomly over the front using Evening Evergreen ink. Adhere to the Evening Evergreen cardstock. - Using a 2” x 4” piece of Crumb Cake Cardstock, stamp the sentiment using Early Espresso ink. Cut
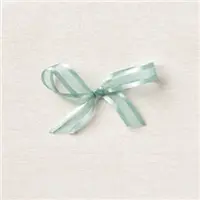
out using the wooden board die. It will also emboss the image. - Tie a 4” piece of Soft Succulent Ribbon around the top of the food board and tie into a knot.
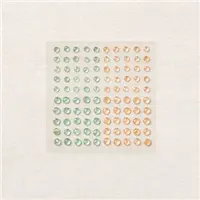
Adhere the Board to the card at an angle using Stampin’ Dimensionals. - Add 2-3 of the Genial Gems as desired to finish the card.

Pin It For Later
Now it’s your turn to make this project! Get your supplies and think of who you can make and send these cards to. Showing that you noticed something someone else did or achieved is priceless! Pin this image below to easily find it again.
- Get a Free Tutorial Every Week!
- Shop 24/7 in your PJ’s
- Queen Bee Rewards – Earn FREE Stamps!
- View the 2024-2025 Annual Catalog
- View NEW Online Products
- Monthly Crafting Kit
Thank you so much for stopping by today. I hope you are inspired to create today, whether it is this simple and cute handmade card or another cardmaking project. My goal is to help you enjoy some creative joy! Keep checking back for more projects.


