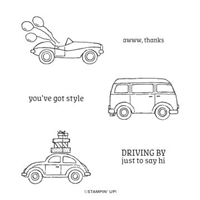
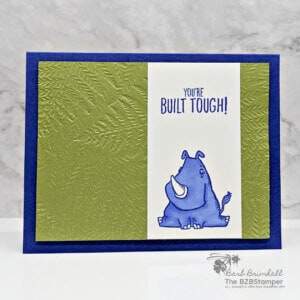
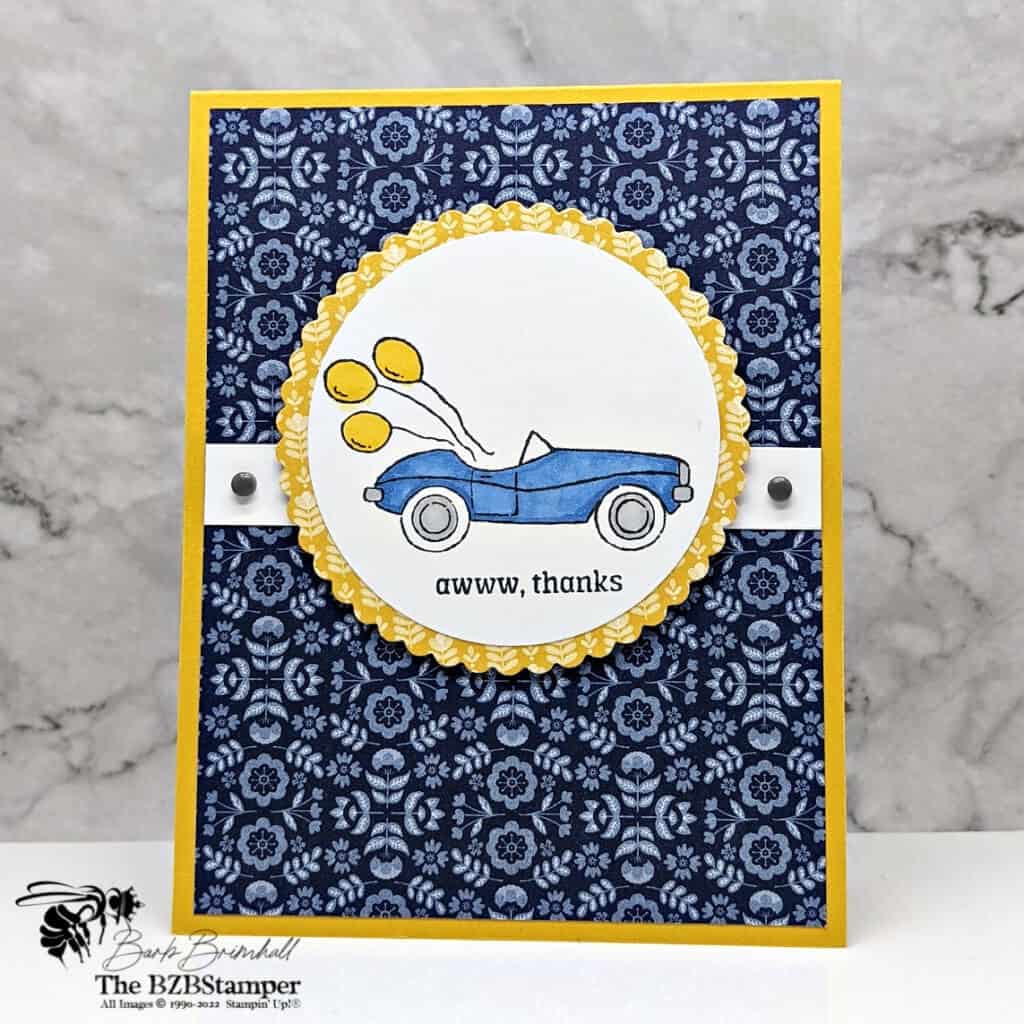
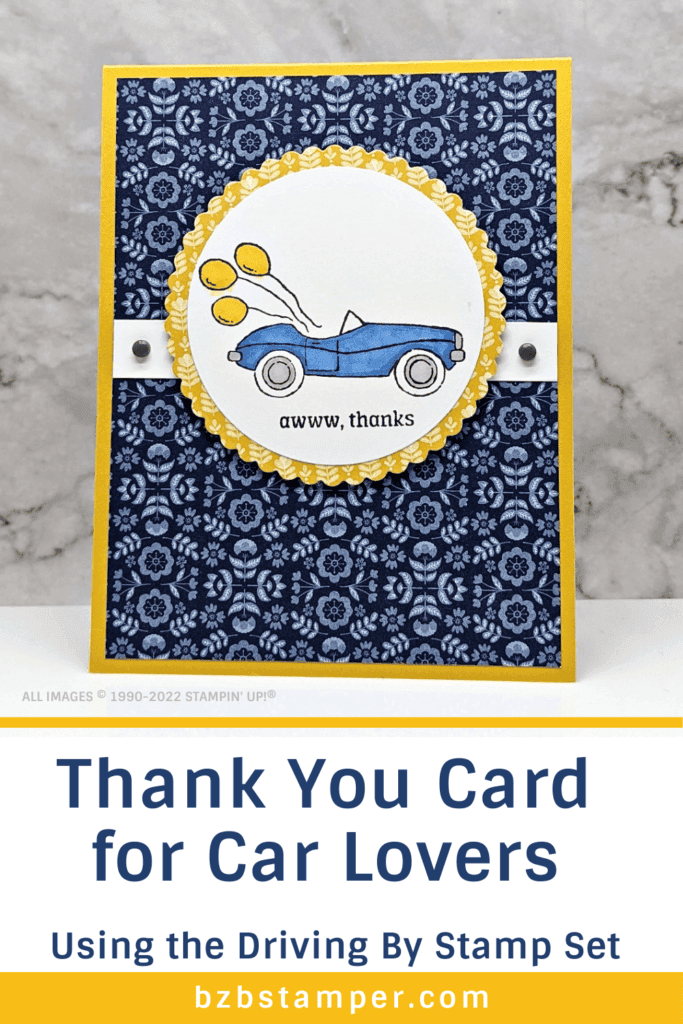
How fun is this Driving By Thank You Card for Car Lovers? The bright colors and fun design are sure to make any who receives this card smile!
View more stamped samples & inspiration here
I love this quick and easy handmade Thank You card featuring the Driving By Stamp Set by Stampin’ Up! This set is only available during Sale-A-Bration, which ends on February 28, 2022.
While the primary stamp set images are cars of all types, the festive balloons and gifts also make this a great set for celebrations such as Christmas and birthdays. And the phrases can turn your project into a celebration of friendship, a message that’s timeless.
There are lots of little details on this card that added up to a big impact. Let’s dig in to how I made this card…
Project Measurements
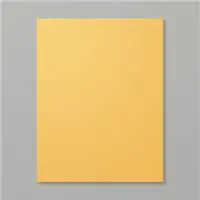
- Bumblebee: 4-1/4” x 11”, scored at 5-1/2”
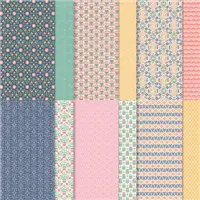
- Sweet Symmetry Paper: 4” x 5-1/4” (navy) and 3-1/2” x 3-1/2” (Bumblebee)
- Basic White: 4” x 5-1/4” and 1/2” x 4” and 3” x 3” for die-cutting
Project Instructions
1. Fold the 5-1/2” x 8-1/2” piece of Bumblebee cardstock in half at the score line. Burnish well with your Bone Folder to create a crisp fold.
2. Adhere the 4” x 5-1/4” piece of Basic White cardstock inside your card.
3. Adhere the 4” x 5-1/4” piece of navy Sweet Symmetry paper onto the front of the card base.
4. Adhere the 1/2” strip of the Basic White cardstock onto the card base.
5. Using the Cut & Emboss Machine, cut out the 3” circle from the Bumblee Sweet Symmetry paper using the Layering Circle Dies. Set aside.
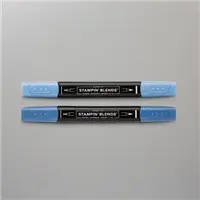
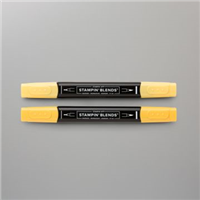
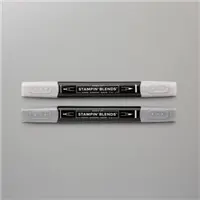
6. Using the 3” scrap of Basic White cardstock, cut out the 2-3/4” circle using the Layering Circle Dies. Stamp the car image onto the circle using the Black Memento ink. Color in the Balloons using the Dark Daffodil Delight Blend. Color in the car using the Light Night of Navy Blend. Color in the wheels/bumper using the Smoky Slate Blends.
7. Adhere the White stamped circle to the Bumblebee scalloped circle and adhere to the card base using Stampin’ Dimensionals.
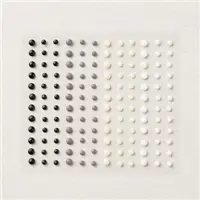
8. Add 2 of the small Basic Gray Classic Dots to either side of the focal image to finish.

Supplies Used on this Project
Save This
Save this to your Pinterest board where you save those quick and easy cards.
- Get a Free Tutorial Every Week!
- Shop 24/7 in your PJ’s
- Queen Bee Rewards – Earn FREE Stamps!
- View the 2024-2025 Annual Catalog
- View NEW Online Products
- Monthly Crafting Kit
Thanks for stopping by for today’s card tutorial! My goal is to help you make quick & easy greeting cards for all occasions. I hope you’ll join me again for more card-making ideas!


