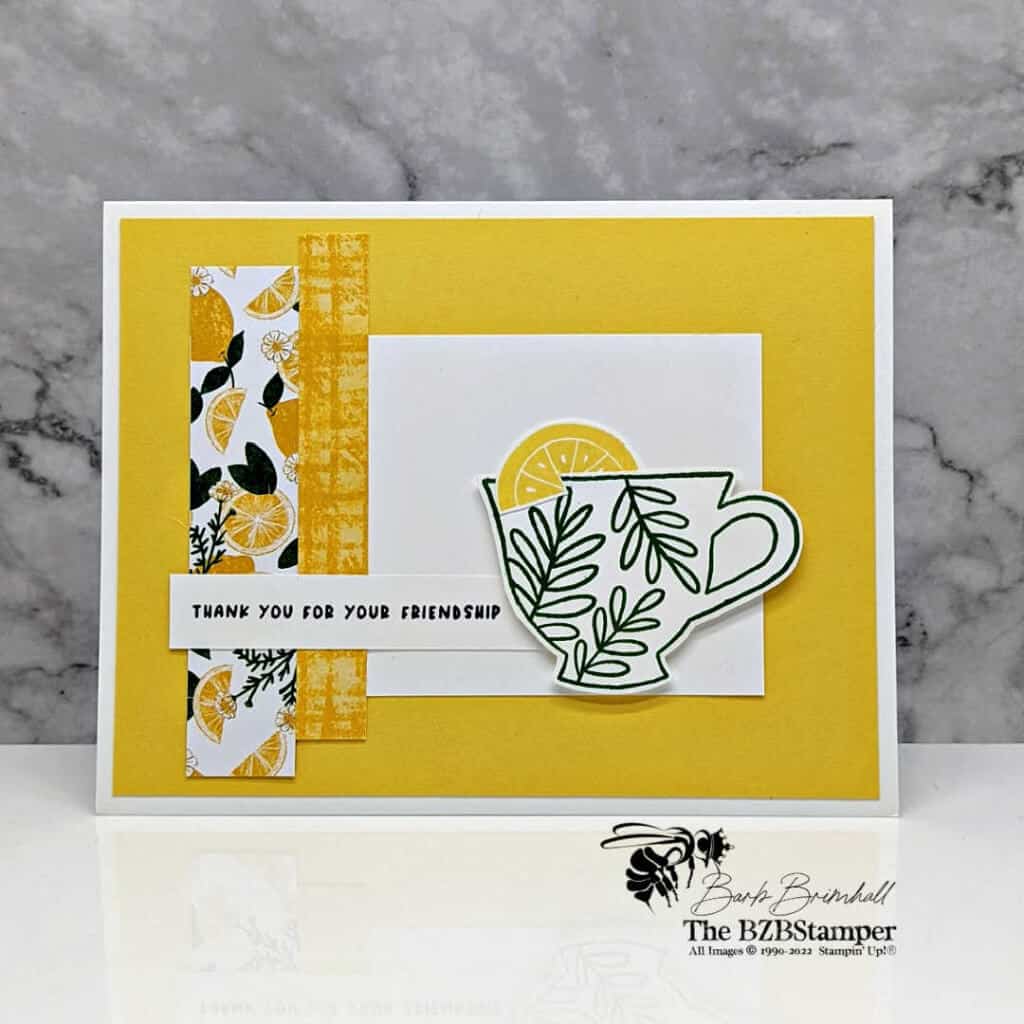
Make this quick Thank You card using the Cup of Tea Stamp Set. With bright colors and the touch of lemon, this card is sure to make someone smile!
View more stamped samples & inspiration here
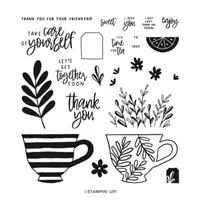
How fun is this card? Create the perfect paper cup of tea with the Cup of Tea Stamp Set stamp set. These stamps are designed for all you tea lovers in mind – and it’s so easy to use!
Start by stamping a teacup, then stamp a slice of lemon and a teabag, and finish off with a sentiment that says what you want to say. You can say thank you. Remind someone that it’s time to get together. Or that you miss them.
Not in the mood for tea? You can use the botanical images and sentiments for other projects, too. Here’s how I made this card:
Project Measurements
- Basic White: 5-1/2” x 8-1/2”, scored at 4-1/4”
- Basic White: 2-1/2” x 2-3/4” (2) and 1/2” x 3”
- Daffodil Delight: 4” x 5-1/4”
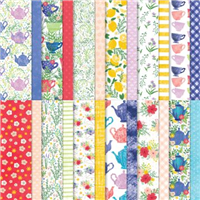
- Tea Boutique Paper:
- Pattern 1: 1/2” x 3-1/2”
- Pattern 2: 3/4” x 3-1/2”
Project Instructions
1. Fold Basic White cardstock in half & burnish well with Bone Folder to create base card.
2. Adhere the Daffodil Delight cardstock onto the front of the card.
3. Adhere the Pattern #2 strip of Designer Paper approximately 1/2” over from the left side of the Daffodil card mat and 1/4” from the top.
4. Adhere the Pattern #1 Designer Paper right up against the other Designer except adhere about 1/4” from the bottom so that the 2 strips of Designer Paper are staggered.
5. Adhere one of the 2-1/2” x 2-3/4” pieces of Basic White cardstock up against Designer Paper #1 but centered in the middle of the Daffodil Delight cardstock. (See sample for placement.)
6. Using the 1/2” strip of Basic White cardstock, stamp the sentiment on the left side of the strip using Memento Black ink. Adhere to the base card so that it slightly overlaps Designer Paper #2 as well as the 2-1/2” White cardstock. (See sample for placement.)
7. Using the other 2-1/2” x 2-3/4” piece of Basic White cardstock, stamp the leaf tea cup onto the cardstock using Garden Green ink.
8. Stamp the lemon in Daffodil Delight ink onto the White cardstock.
9. Cut both images out using your Paper Snips Scissors. Cut a small slip in the lemon so that it “hooks” onto the cup, then adhere both images to the base card using Stampin’ Dimensionals to finish.

Supplies Used on this Project
Pin It
Like this project? Be sure to pin it so you can easily find it again. It will take you right back here to all the details of the card.
- Get a Free Tutorial Every Week!
- Shop 24/7 in your PJ’s
- Queen Bee Rewards – Earn FREE Stamps!
- View the 2024-2025 Annual Catalog
- View NEW Online Products
- Monthly Crafting Kit
Thanks so much for stopping by today! Be sure to give this card sketch idea a try and mail it to a friend who is celebrating something! It’s so fun to make a card but it’s even more fun to send! #makeacardsendacard


