Craft a Simple Handmade Card for Spring
Spring is in the air, and what better way to celebrate the season of renewal than by creating a beautifully simple handmade card for spring to brighten someone’s day? With just a few basic supplies and a dash of creativity, you can craft a simple yet stunning card that’s perfect for sending warm wishes during the springtime.
View more stamped samples & inspiration here
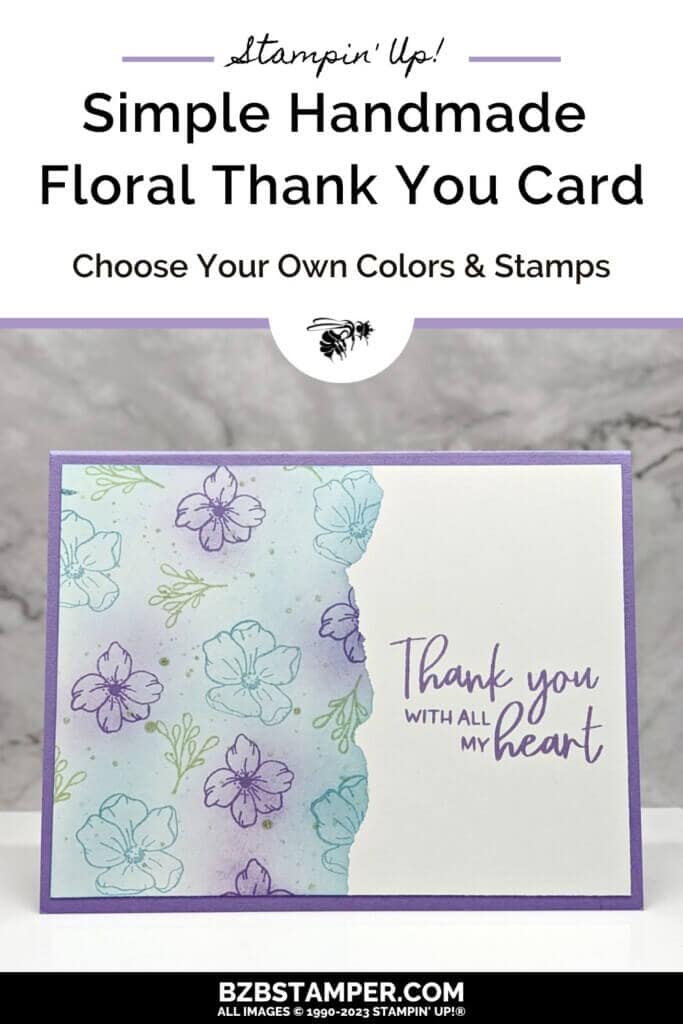
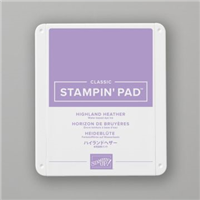
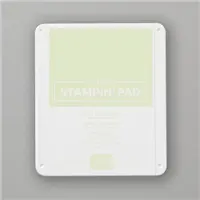
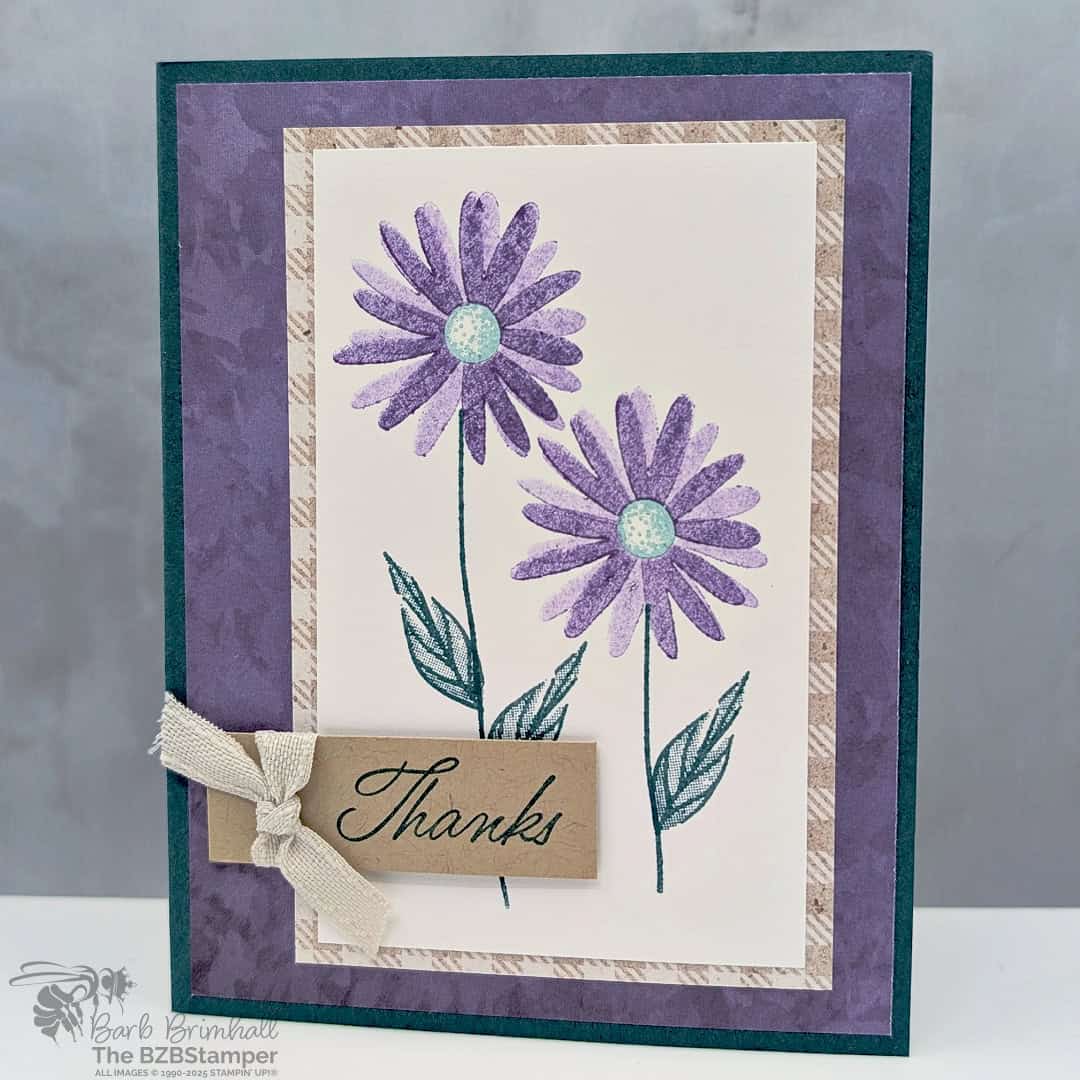
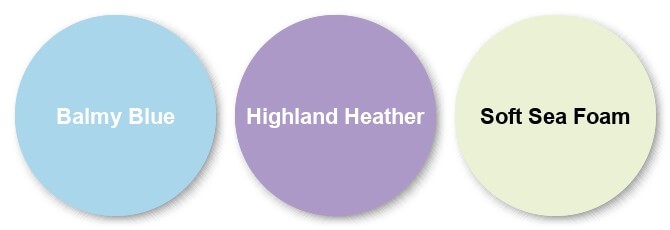
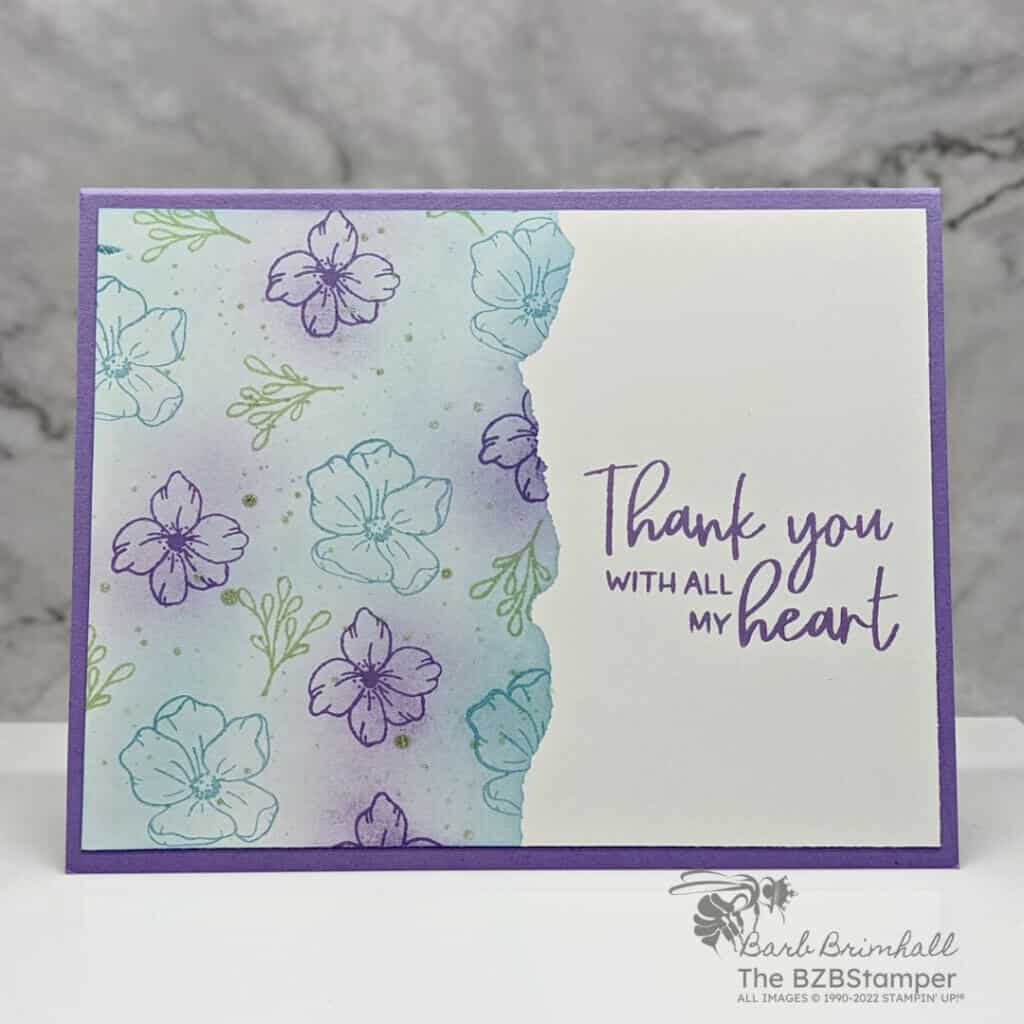
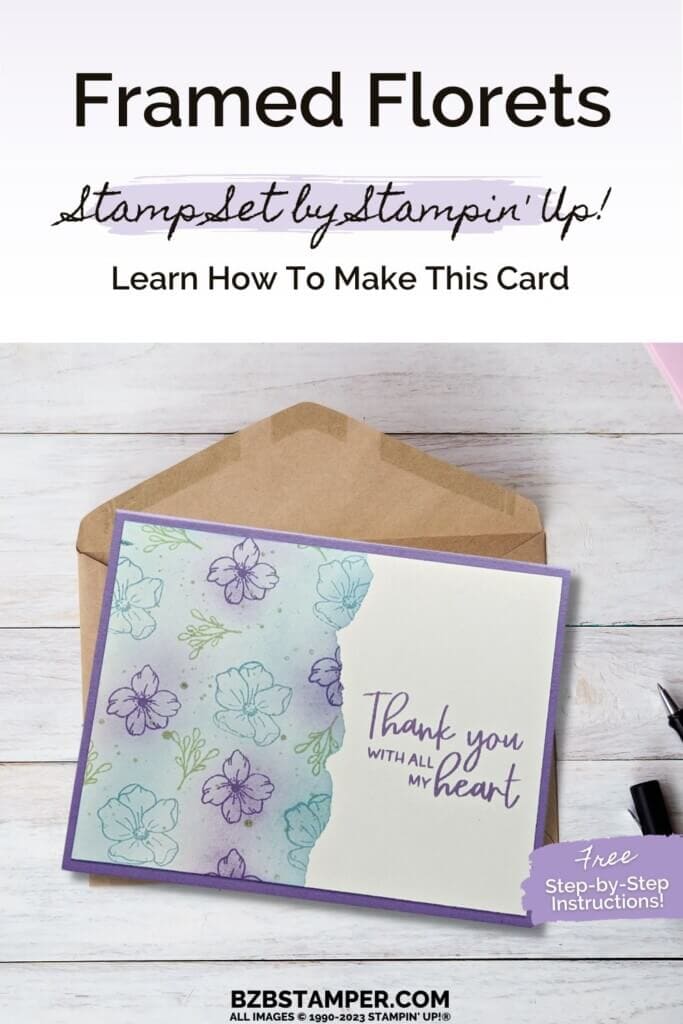
This is an easy card to make but it looks difficult – my favorite type of card design! I was making this Thank You card for a friend of mine who loves purples and blues, so I went with the soft colors of Balmy Blue, Highland Heather, and Soft Sea Foam. If you’d like a bolder combination, make sure you check out my Color Combination Library, where you’re sure to find something to inspire you!
Project Measurements
- Highland Heather: 5-1/2″ x 8-1/2″, scored at 4-1/4″
- Basic White: 4″ x 5-1/4″ (2 pieces)
- Masking Paper: 3-1/2″ x 5″
Instructions
- Fold the Highland Heather cardstock in half at the score line and burnish well with your Bone Folder to create your card base.
- Adhere one of the Basic White cardstock mats inside your card.
- Using the other piece of Basic White cardstock, stamp the sentiment on the right side using Highland Heather ink.
- Tear the long side of the Masking Paper with your fingers. Remove the liner on the back of the mask. Tip: place the mask on your hand/arm so that the oils in your skin remove some of the stickiness – this will help protect your mask from tearing your paper when you remove it. Adhere the mask over the stamped sentiment to mask that side of the cardstock.
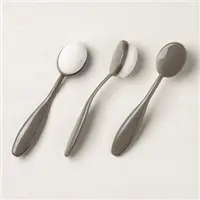
- Using one of the Blending Brushes and the Balmy Blue ink pad, add ink to the Brush by rubbing in circular motion on the ink pad. Lightly add Balmy Blue ink on the left (unmasked) portion of the Basic White cardstock, making sure to have the highest concentration of ink on the tear line.
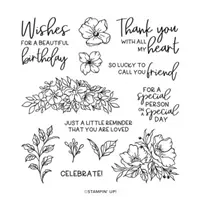
- Using the larger flower from the stamp set, stamp the flower using Balmy Blue ink randomly over the left side of the cardstock, including on the masked tear line.
- Using the Blending Brush, add more Balmy Blue ink over the stamped flowers as desired.
- Using the Highland Heather ink pad and the small flower stamp, stamp the flower randomly on the cardstock. Using a different Blending Brush and lightly sponge Highland Heather ink over the flowers.
- Fill in any large areas of white space with the leaf stamp and the Soft Sea Foam ink pad.
- Go back over the cardstock one more time, lightly sponging Balmy Blue ink to blend the 3 colors.
- Using your Wink Of Stella, “tap” the brush end against your finger to create “flecks” of Wink of Stella over the stamped images as desired.
- Remove the mask carefully and save – you can use this piece several times before it stops sticking.
- Adhere the White cardstock to the card front to finish.
Supplies Used in this Project
Pin It!
Like this project? Be sure to pin it so you can easily find it again. It will take you right back here to all the details of the card.
Thanks so much for stopping by today! If you’d like more detailed directions on how to make this card, feel free to email me. Be sure to give this card sketch idea a try and mail it to a friend who is celebrating something! It’s so fun to make a card, but it’s even more fun to send! #makeacardsendacard


