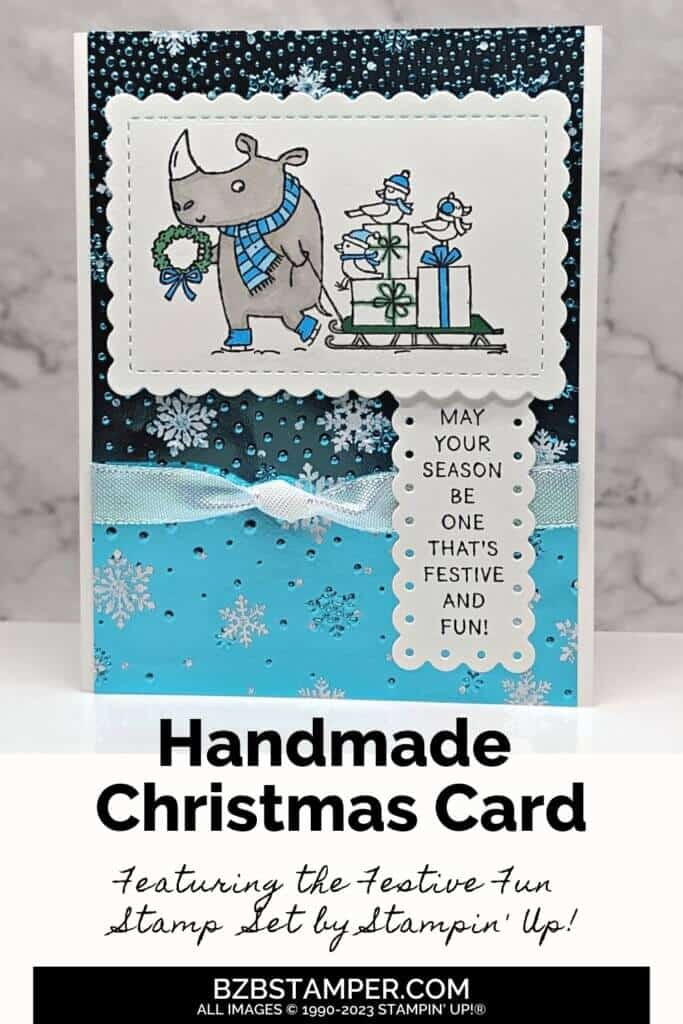
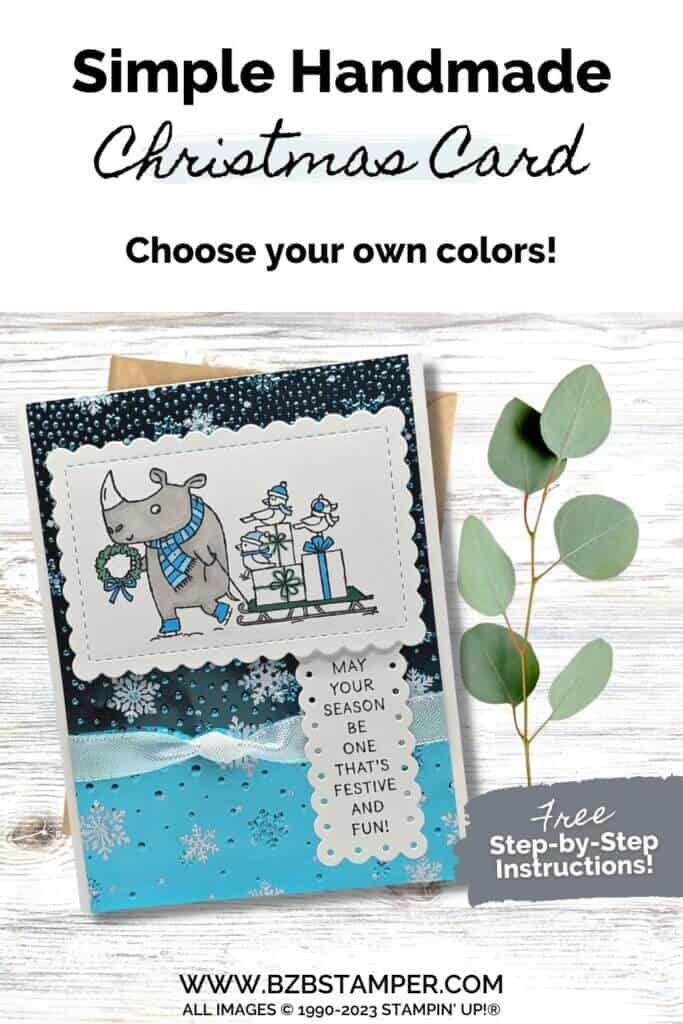
Adorable Christmas Card using the Festive and Fun Stamp Set by Stampin’ Up!
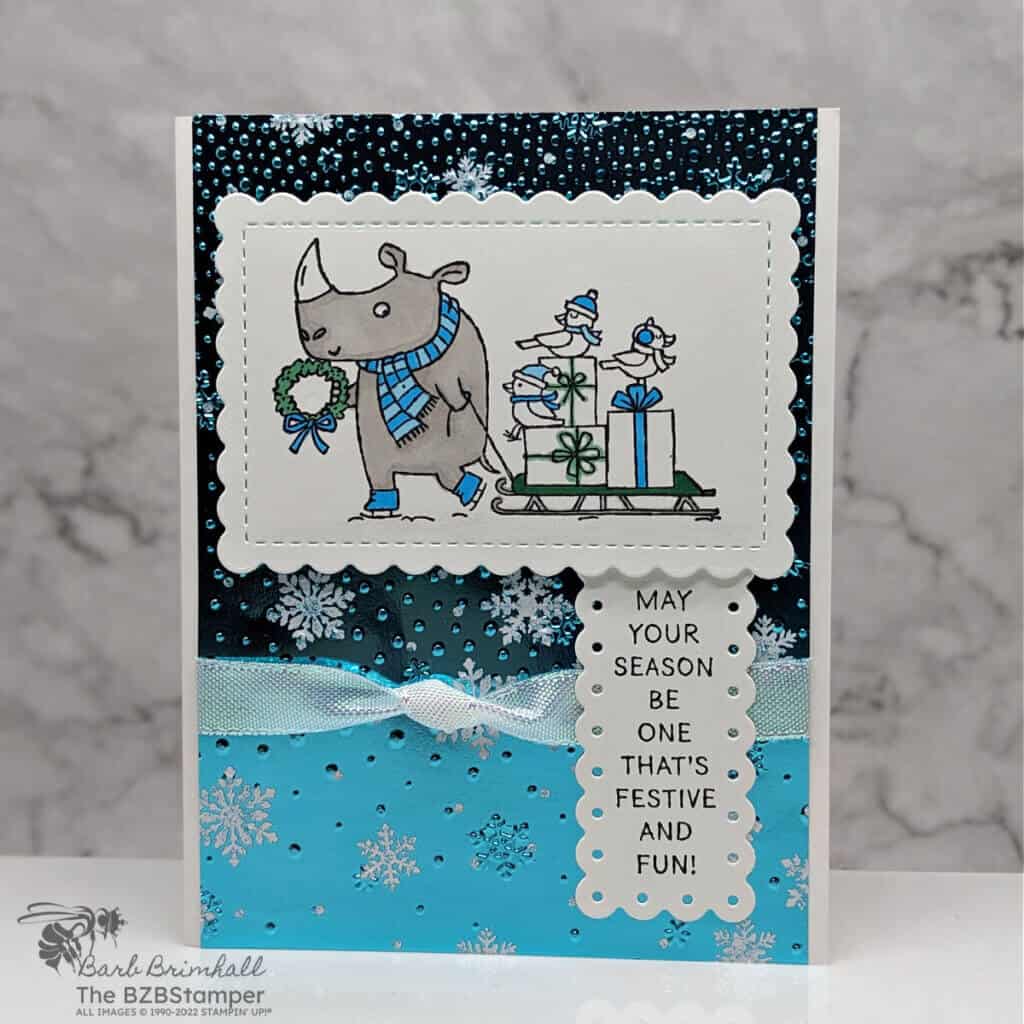
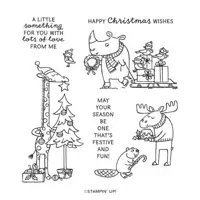
You’re going to love making this adorable Christmas Card using the Festive and Fun Stamp Set by Stampin’ Up! I couldn’t be more excited to introduce you to this fantastic set that promises to sprinkle magic into your Christmas projects.
From young craft enthusiasts to seasoned artists, this stamp set is designed to bring a smile to everyone’s face. Whether creating a dynamic Christmas scene or a simple heartfelt tag, the options are endless. So gather your favorite coloring tools and let’s sprinkle some festive cheer together!
How To Make This Card
Project Skill Level: Queen Bee
Queen Bee projects are designed for experienced papercrafters. In most cases, these cards involve multiple techniques and products, including a Stampin’ Cut & Emboss Machine for die-cutting and/or embossing. These projects are often more involved – but the results are worth it!
Cardstock Measurements:
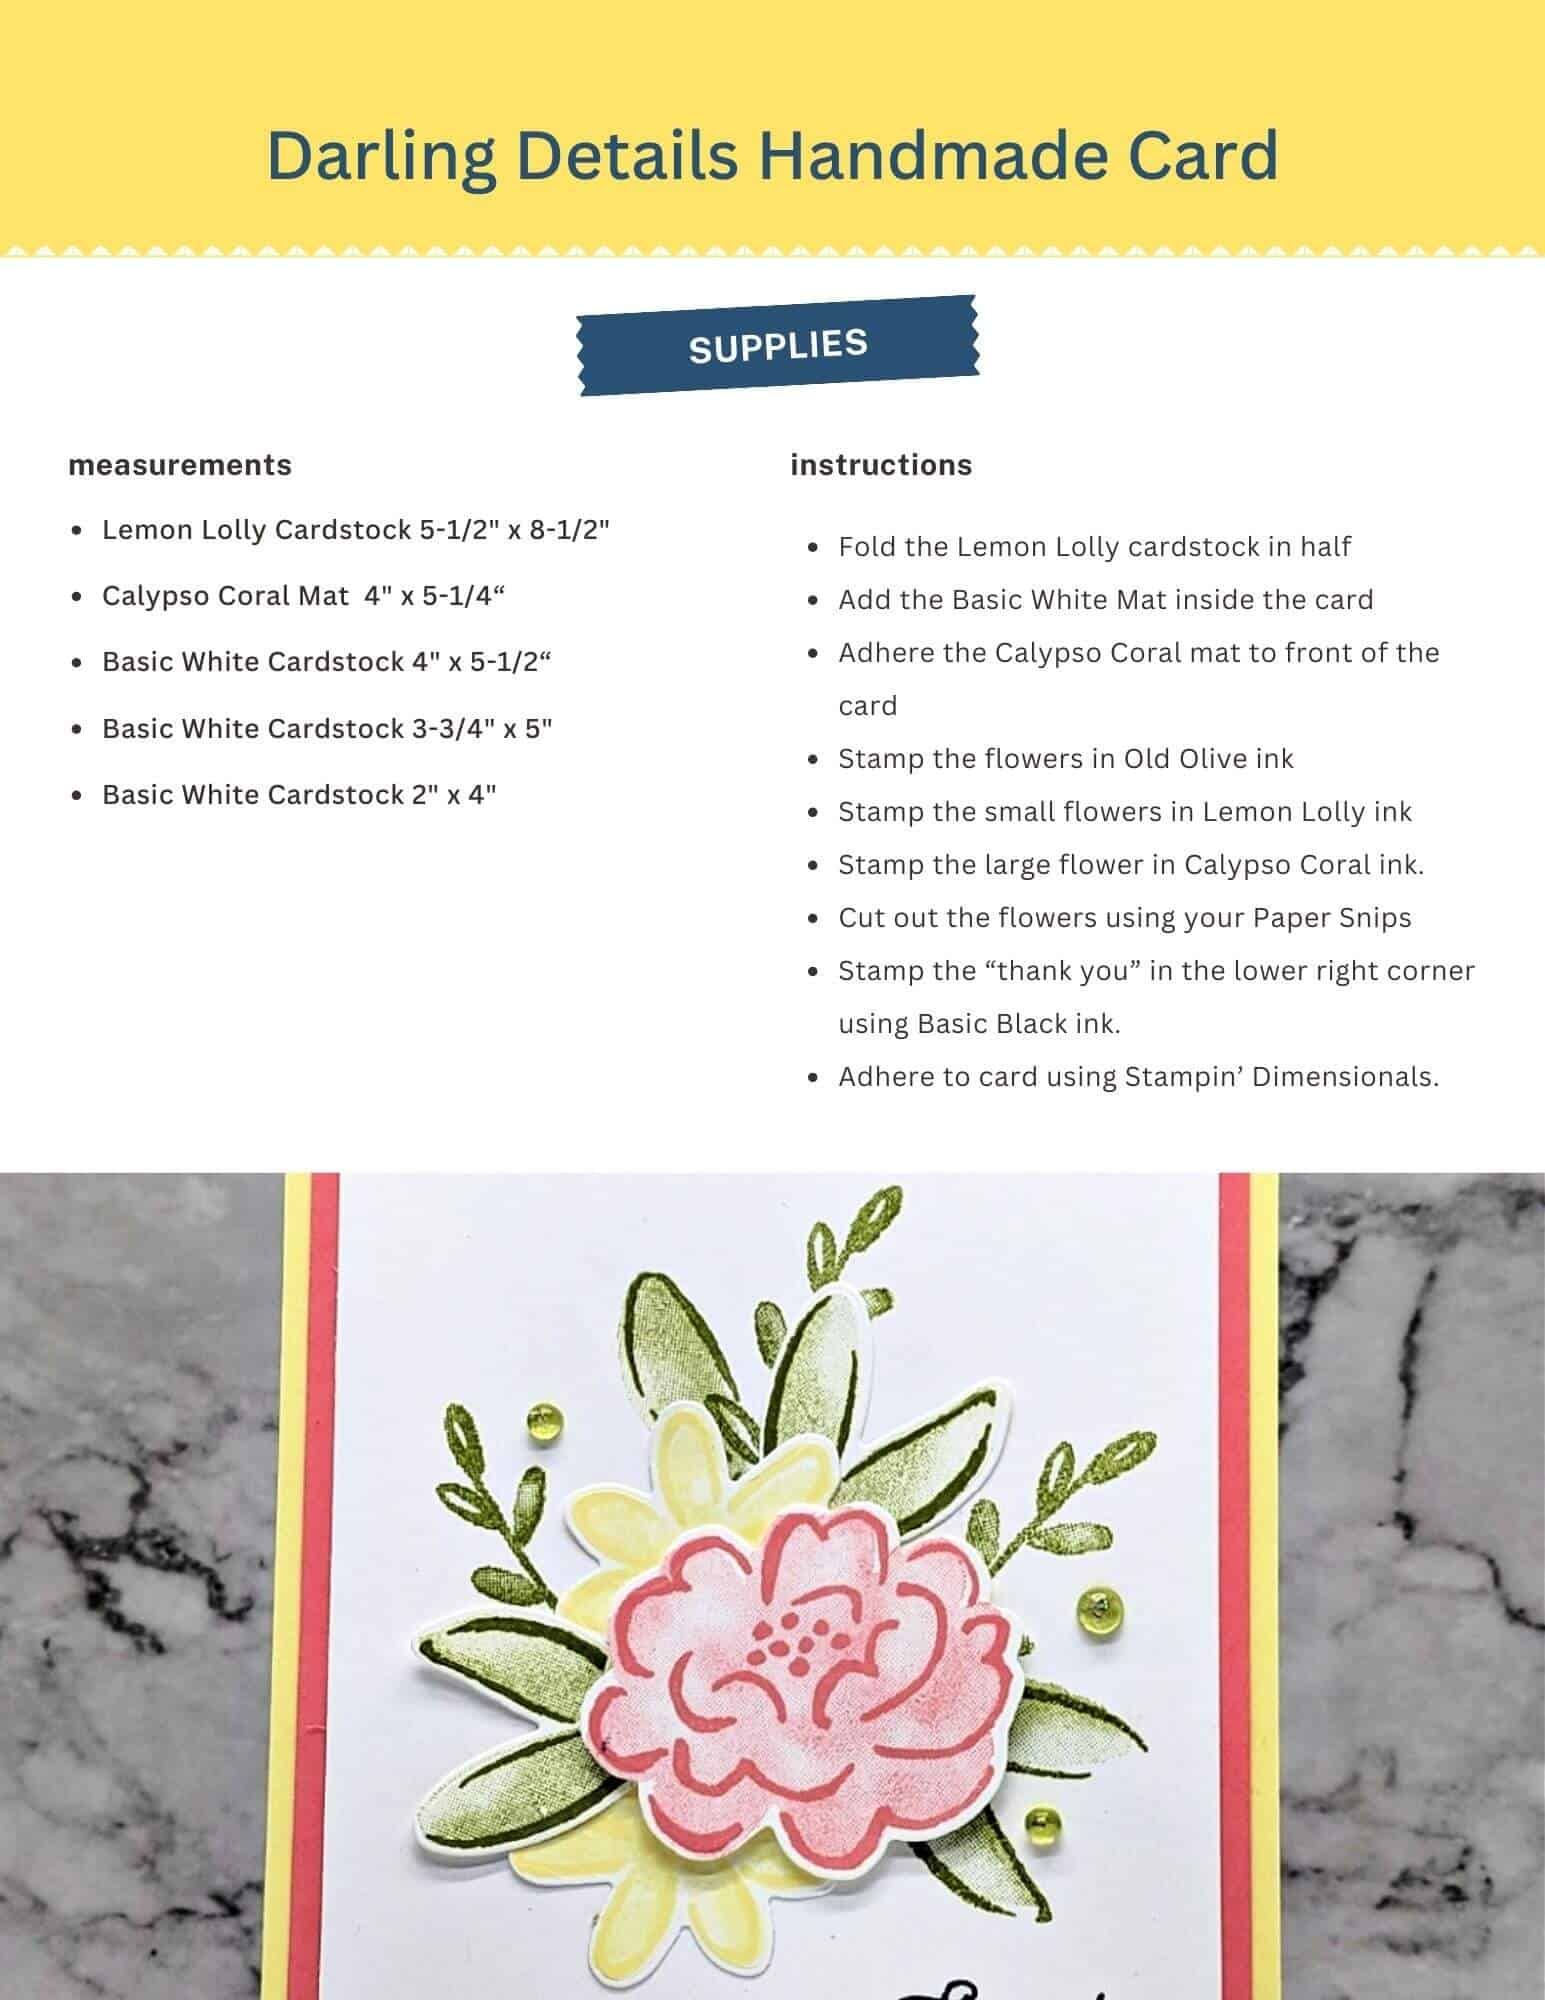
- Basic White Cardstock: 5-1/2″ x 8-1/2″, scored at 4-1/4″
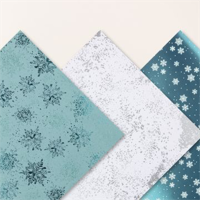
- Snowflake Magic Specialty Paper: 4″ x 5-1/2″
- Basic White Cardstock: 4-1/4″ x 5-1/2″ (for die-cutting)
Grab your Free copy
Get 5 Bee-utiful Exclusive
Card Sketches in Your Inbox
Join our newsletter and receive a honey of a package of five quick & simple cards guaranteed to make your creativity buzz! Sign up now and let the goodness flow straight to your inbox!
Step-by-Step Instructions:
- Fold the Basic White cardstock in half at the scoreline and burnish well with the Bone Folder.
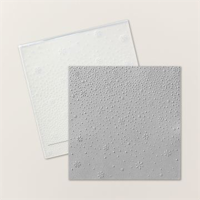
- Run the Snowflake Magic Specialty Paper through the Stampin’ Cut & Emboss Machine using the Snowflake Sky 3D Embossing Folder.
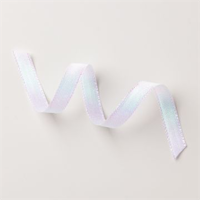
- After embossing the paper, cut a 6″ piece of the Ribbon and tie into a knot in the middle. Adhere both ends of the ribbon to the back of the paper using adhesive or scotch tape. Adhere to the front of the card base.
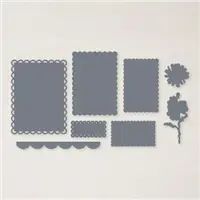
- Using the quarter mat of Basic White Cardstock, run through the Cut & Emboss Machine and using the Scalloped Contours Dies, cut out the 2-1/2″ x 3-3/4″ scalloped rectangle and the 1-1/4″ x 2-3/8″ scalloped rectangle.
- Using the small die-cut rectangle, stamp the sentiment onto the die-cut using Black Memento ink and adhere to the bottom right corner of the card front using adhesive.
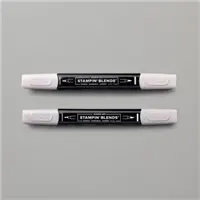
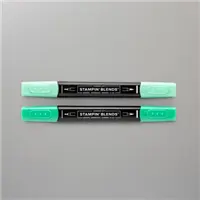
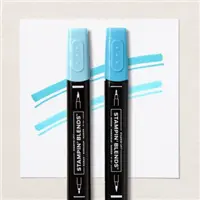
- Using the larger remaining rectangle die-cut, stamp the Rhino image using Black Memento ink. Color in the Rhino using the Gray Granite Blends. Color in the Wreath, bows and the small bird by the sleigh using the Shaded Spruce Blends. Finish coloring in the packages and bird accessories using the Tahitian Tide Blends. (See sample for how to color these images.)
- Adhere the stamped die-cut onto the top of the card, using Stampin’ Dimensionals and slightly overlapping the top of the sentiment die.
- Finish by adding a bit of Wink of Stella under the sleigh and Rhino to create a a snow bank.
A Tip from Barb
I classified this as a Queen Bee card due to all the die-cutting and coloring. But in truth, this is a fairly quick card thanks to those tools! If you don’t have the Scalloped Contours Dies, you can simply cut two Basic White Rectangles, one at 2″ x 3-3/8″ and the second at 1″ x 2-1/4″. Happy creating!
Thanks for stopping by for today’s card tutorial! My goal is to help you make quick & easy greeting cards for all occasions. If you’d like more detailed directions on how to make this card, feel free to email me. I hope you’ll join me again for more card-making ideas!

Don’t forget to pin this project for later!
Supplies Used On This Project:
Price: $10.00

