A Handmade Card for Tea Lovers
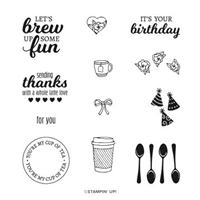
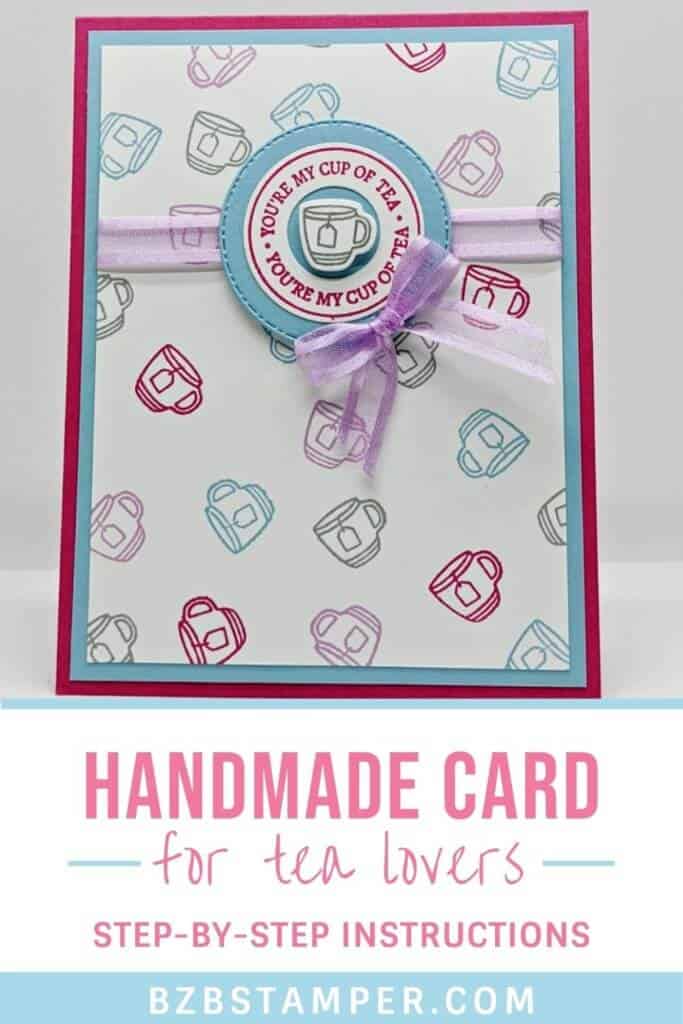
Do you love a hot beverage in the morning or have some friends who do? Then make this cute handmade card for Tea Lovers using the Brew Some Fun Stamp Set by Stampin’ Up!
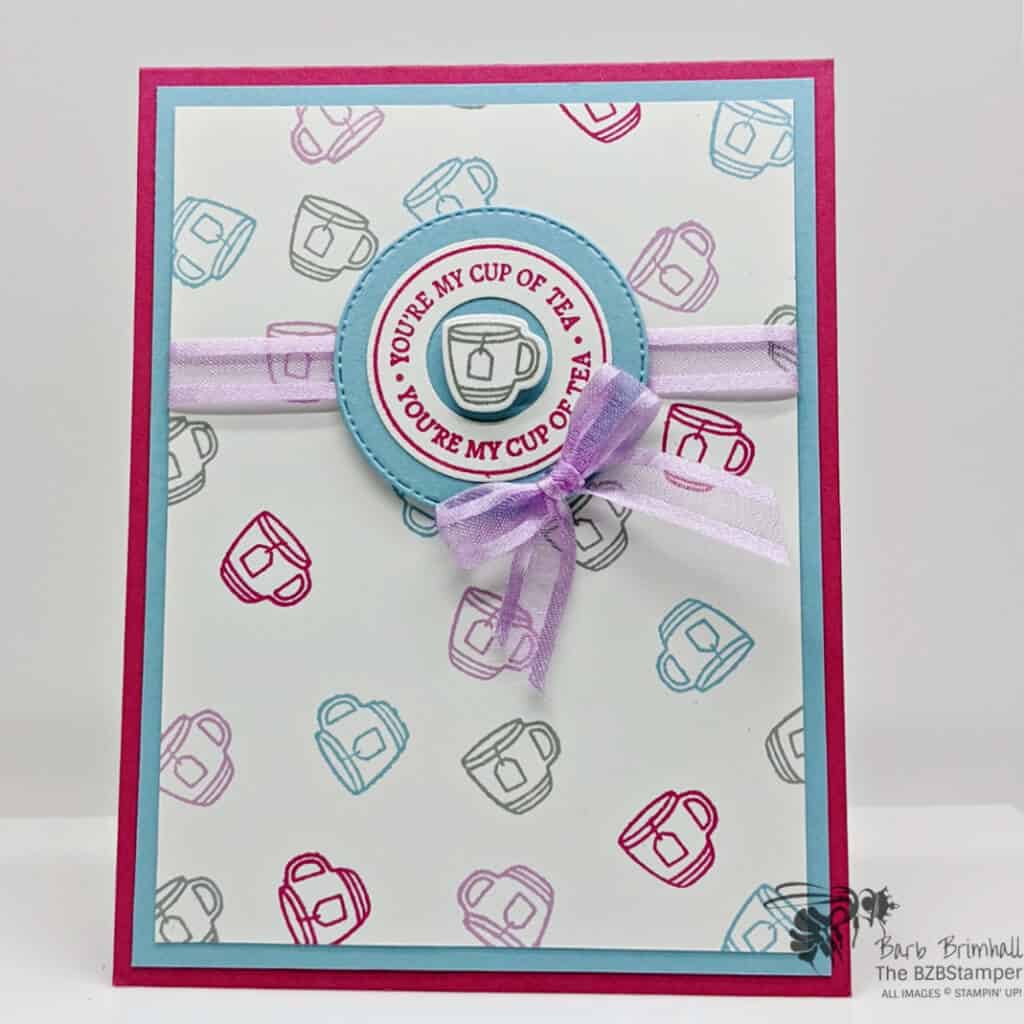
You can create a variety of handmade projects with the Brew Some Fun Stamp Set, from cards or tags to cup holders. The set includes cute imagery and sentiments perfect to show love and affection to anyone. Or, just dress up your coffee cup in style!
I needed a card in a hurry so I went with a simple card layout and used Card Sketch #2 from the Sketch Library.
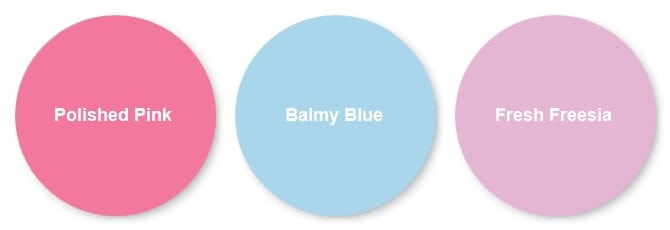
For the colors, I knew I wanted to use Balmy Blue so I decided to liven up the colors with Polished Pink and Fresh Freesia, 2 of our new In Colors. I really love this color combination but if you’d like a more masculine combination, check out these different color combinations. You can find the complete directions on how to make this card below – it’s super easy!
Supplies Used On This Project
Project Measurements
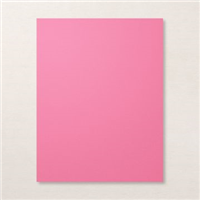
- · Polished Pink: 5-1/2” x 8-1/2” scored at 4-1/4”
- · Balmy Blue: 4” x 5-1/4”
- · Basic White: 3-3/4” x 5” x 2 plus 3” scrap
Project Instructions
1. Fold the Polished Pink cardstock in half at the score line and burnish well with your Bone Folder.
2. Adhere one of the 3-3/4” x 5” pieces of Basic White cardstock to the inside of your card.
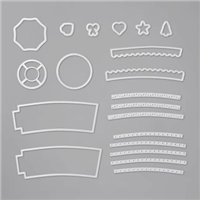
3. Using the Cut & Emboss Machine and the large stitched circle from the Warm Wrap Dies, cut a circle from the center of the Balmy Blue cardstock. Set the Stitched Circle aside and adhere the Balmy Blue cardstock to the base card.
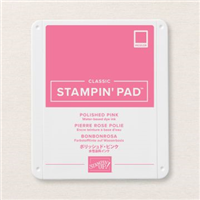
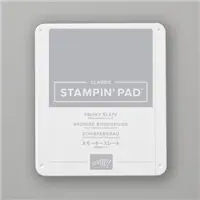
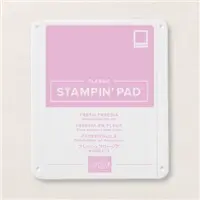
4. Stamp the small tea cup randomly over the other piece of 3-3/4” x 5” piece of Basic White cardstock using the Polished Pink ink pad. Clean stamp thoroughly and stamp more cups using the Fresh Freesia ink pad. Repeat process with the Smoky Slate and Balmy Blue ink pads.
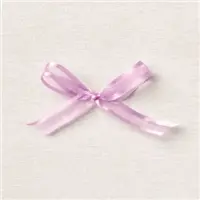
5. Wrap 5” of Fresh Freesia ribbon around the stamped Basic White cardstock and adhere the ends to the back of the cardstock.
6. Using the 3” scrap of Basic White Cardstock, stamp the round “tea” sentiment using Polished Pink ink and the small teacup using the Smoky Slate ink.
7. Using the Cut & Emboss Machine and the appropriate dies from the Warm Wrap Dies, die cut the 2 stamped images from previous step.
8. Adhere the Polished Pink circle to the Balmy Blue stitched circle from Step #3. Adhere the die-cut tea cup to the center of the Polished Pink sentiment circle using Stampin’ Dimensionals.
9. Adhere the sentiment circle to the base card using Stampin’ Dimensionals so that it is centered on the Fresh Freesia Ribbon.
10. Using the Fresh Freesia Ribbon, tie into a bow and adhere to the bottom right of the sentiment circle using a Glue Dot.

Pin It
Like this project? Be sure to pin it so you can easily find it again. It will take you right back here to all the details of the card.
- Get a Free Tutorial Every Week!
- Shop 24/7 in your PJ’s
- Queen Bee Rewards – Earn FREE Stamps!
- View the 2024-2025 Annual Catalog
- View NEW Online Products
- Monthly Crafting Kit
Thank You
Thank you so much for stopping by today. I hope you are inspired to create today, whether it is this simple and cute handmade card or another cardmaking project. My goal is to help you enjoy some creative joy! Keep checking back for more projects.


