Stampin’ Up! Blessings of Home Stamp Set
Adorn your crafting projects with floral images that speak right to the heart with the Blessings of Home Stamp Set.
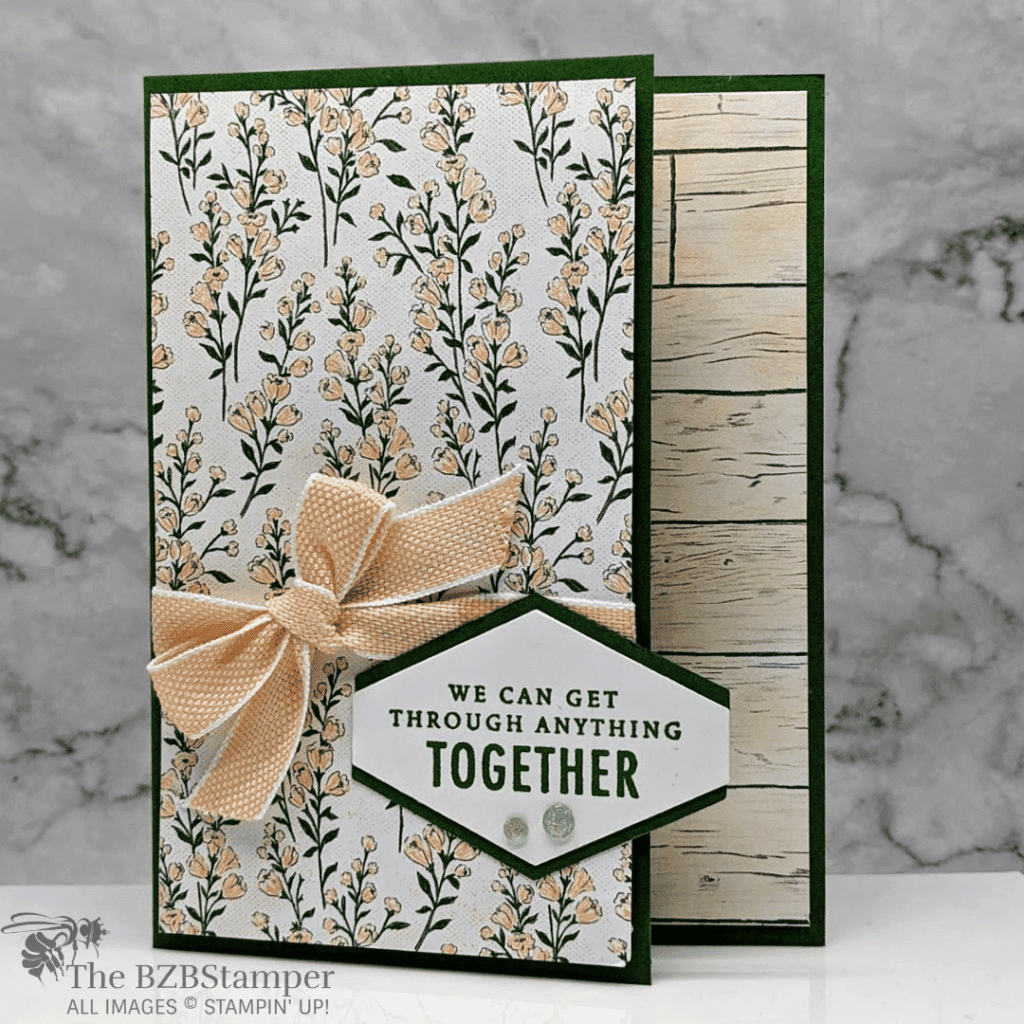
Let someone special know you’re thinking of them with the Blessings of Home Stamp Set. With floral bouquets that resemble a pencil sketch and uplifting, all-occasion sentiments, this set is a unique find. Personalize the delicate wildflower bouquets using the Stampin’ Up! coloring technique of your choice. The larger bouquet serves as a stunning focal point, while the smaller bouquet is perfect for layering.
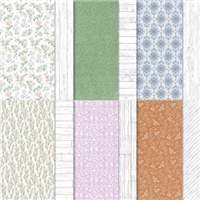
Whenever I need a card in a hurry, I use pretty paper to do all the heavy lifting. For this card, I used the gorgeous Heart & Home Designer Paper, which was perfect for the sentiment I wanted to use. To showcase this paper, I also used a variation of Card Sketch #11 from my Card Sketch Library. Here’s how I made this card:
Supplies Used on this Project
Project Measurements
- Garden Green: 5-1/2” x 7-1/2”, scored at 4-1/4” and 3” x 3” scrap for punching
- Basic White: 4” x 5-1/4” and 3” x 3” scrap for punching
- Heart & Home Paper: 3” x 5-1/4” (floral) and 1-1/4” x 5-1/4” (wood-grain)
Project Instructions
1. Fold the Garden Green Cardstock at the 4-1/4” score line to create your base card.
2. Adhere the 4” x 5-1/4” piece of Basic White cardstock inside your card.
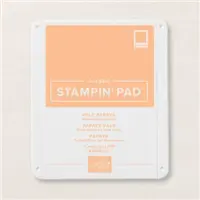
3. Using a Blending Brush and the Pale Papaya ink pad, lightly sponge ink onto the 1-1/4” strip of Heart & Home wood-grain patterned paper. Adhere to the right side of the Basic White cardstock inside the card base.
4. Wrap a piece of the Pale Papaya Ribbon around the floral Heart & Home paper and tie into a bow. Adhere to the front flap of the base card.
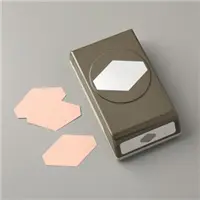
5. Using the scrap of Basic White cardstock, stamp the sentiment using Garden Green ink. Punch out using the Tailored Tag Punch. Set aside.
6. Using the Tailored Tag Punch, punch the tag from the scrap of Garden Green cardstock. Cut in half the long (hot dog) way and adhere each end to the stamped White tag so that it creates a frame.
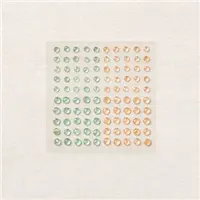
7. Adhere the sentiment tag to the front card flap – be careful to only apply adhesive on the left side – so that it overhangs the front flap.8. Add 2 of the Genial Gems in 2 different sizes underneath the stamped sentiment on the sentiment tag to finish.

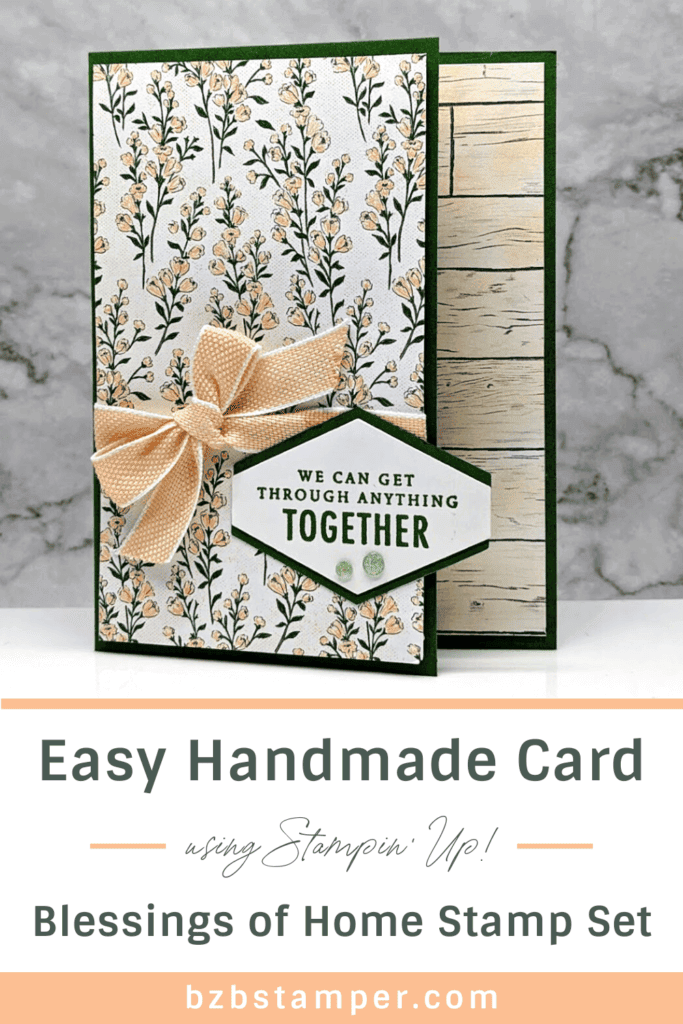
Pin It
Go ahead and pin this image in your “favorites” board so you can find this when you need it!
- Get a Free Tutorial Every Week!
- Shop 24/7 in your PJ’s
- Queen Bee Rewards – Earn FREE Stamps!
- View the 2024-2025 Annual Catalog
- View NEW Online Products
- Monthly Crafting Kit
Thank you so much for stopping by and checking out this papercrafting tutorial. I hope you are inspired to create and send cards. I love sharing how to make cards here on the BZBStamper blog and I can’t thank you enough for all of your support!


