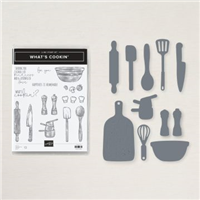
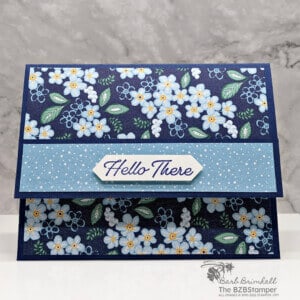
The Whats Cookin Bundle by Stampin’ Up! is perfect for making an adorable card for your favorite Cook in your life. Perfect for any occasion, you will love using this set to show your love and appreciation.
Not so sure about your fine cookery skills? That’s okay, this Bundle is perfect to create fun images & die-cut pieces to add on handmade cards that will make everybody smile.
Whether you’re good at cooking or not, there are always ways to show your love! Share spoons full of love and kindness. Pair the dies with coordinating products for more creative options. The dies include cooking utensils such as a spoon, a spatula, a whisk, a cutting board, or a rolling pin. Have fun crafting and make someone’s day on Father’s Day, Mother’s Day, or on just any day. These dies are great for any occasion!
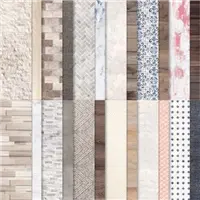
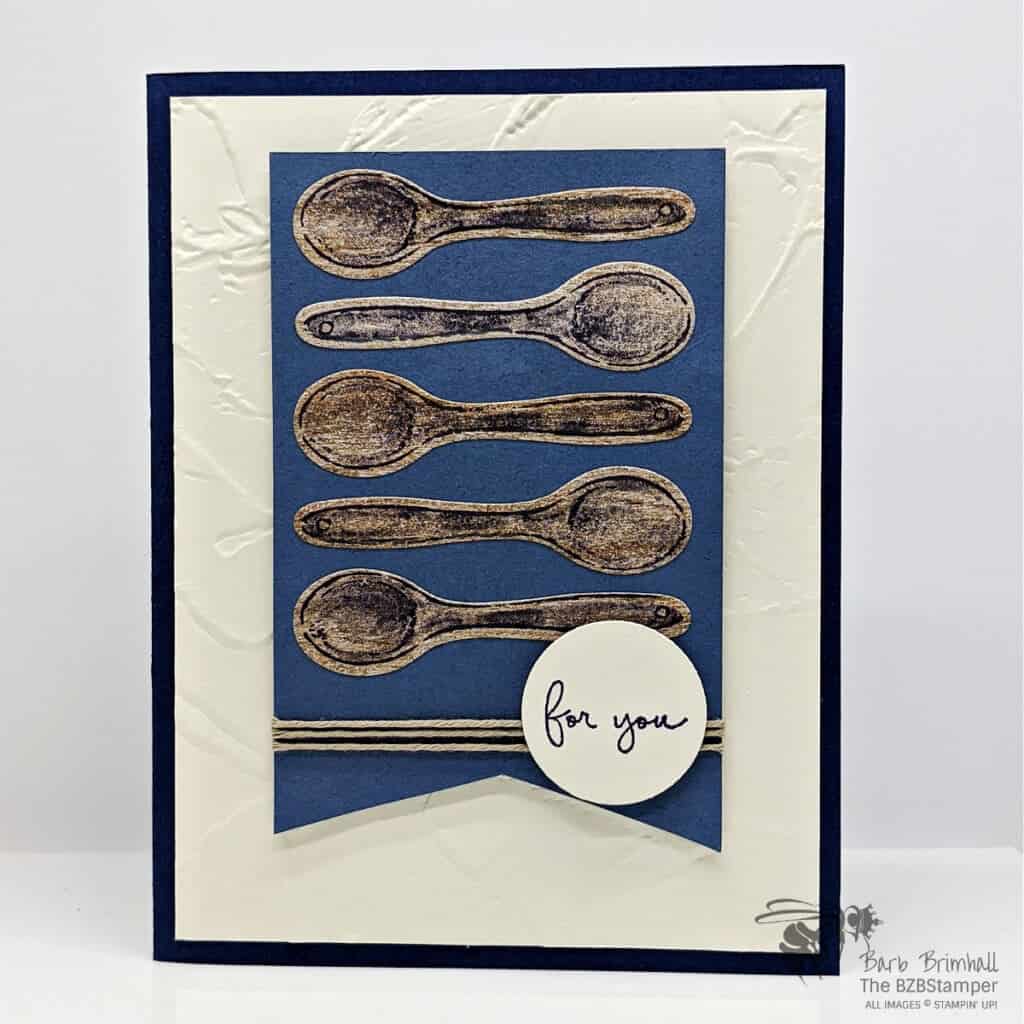
Since I really wanted the spoons on this card to look like Wooden Spoons, I chose to use woodgrain paper from the In Good Taste Designer Paper – and the good news is that it’s on sale through August 2, 2021. Check out all the details here. Here’s how I made this card – don’t forget you can download the complete Tutorial at the end of these instructions.
Supplies Used On This Project
Project Measurements
- Night of Navy: 5-½” x 8-½”
- Very Vanilla: 4” x 5-¼” (2)
- Misty Moonlight: 2-¾” x 4-¼”
- In Good Taste Designer Paper: 3” x 6” (scrap)
Project Instructions
- Cut a piece of Night of Navy to 5-1/2” x 8-1/2”, score at 4-1/4” and fold at score line to create your
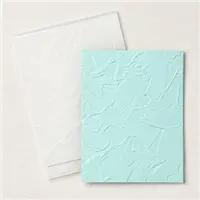
base card. - Cut a piece of 4” x 5-1/4” Very Vanilla Cardstock. Run through the Cut & Emboss Machine using
the Painted Texture 3D Embossing Folder. Adhere to the card base. - Using the In Good Taste Designer Paper, take one of the designs that has a wood grain. Stamp the
spoon 5 times onto the wood grain paper using Night of Navy ink. Cut out the spoons using the
Spoon Die (or fussy cut out using your scissors.) - Cut a 2-3/4” x 4-1/4” piece of Misty Moonlight Cardstock. “Flag Notch” the bottom. Adhere the 5
spoons, alternating directions, using adhesive. - Wrap a piece of the Crumb Cake twine around the bottom of the Misty Moonlight cardstock 3
times; snip and adhere end to back of cardstock. Adhere to the base card using Stampin’
Dimensionals. - Using a scrap of Very Vanilla cardstock, stamp the sentiment using Night of Navy ink. Cut out the
sentiment using the smallest circle (1-1/8”) die and adhere to card, overlapping the twine, using
Stampin’ Dimensionals to finish.

Pin It For Later
Don’t forget to pin this image below to your Pinterest boards.
- Get a Free Tutorial Every Week!
- Shop 24/7 in your PJ’s
- Queen Bee Rewards – Earn FREE Stamps!
- View the 2024-2025 Annual Catalog
- View NEW Online Products
- Monthly Crafting Kit
I’d Love to Hear From You
Thanks for stopping by today, I hope you enjoyed this papercrafting tutorial. If you have a question or if I can help you with anything, please leave me a comment. I’d love to hear from you!


