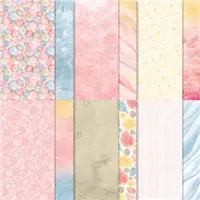
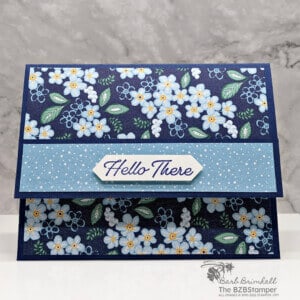
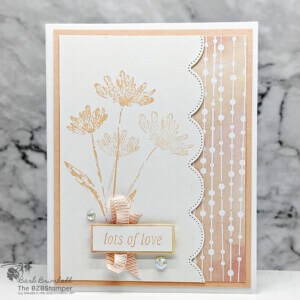
Using Patterned Paper in card making allows you to make quick and easy cards in minutes. I love using Patterned Paper because I let it do all the heavy lifting for me in terms of color!
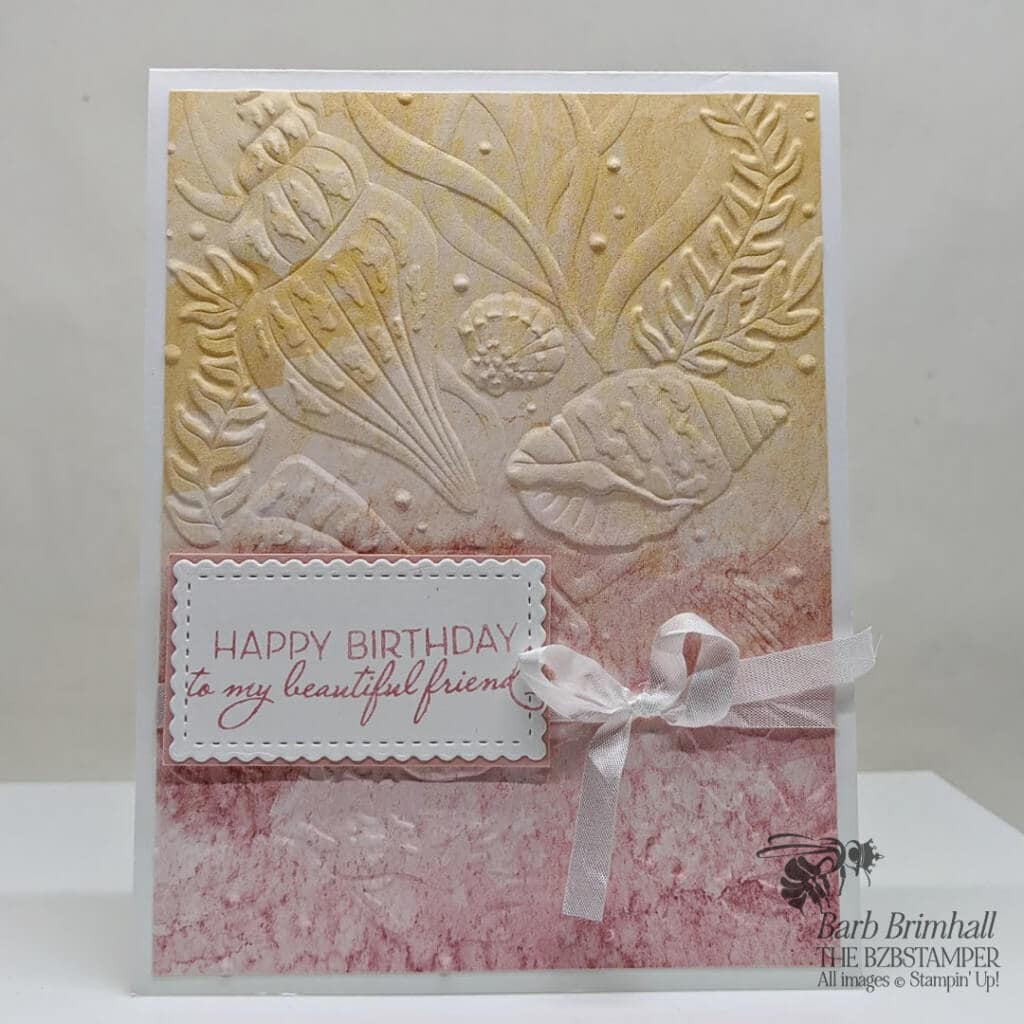
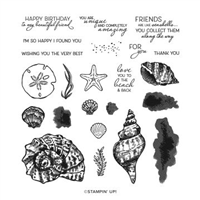
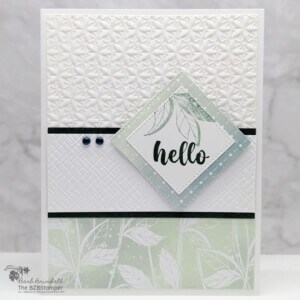
For this beautiful handmade Birthday Card, I combined the Stampin’ Up! Friends Are Like Seashells Suite of products. Stampin’ Up! makes it so easy for us when we use a Suite because everything is coordinated – the stamp set, the patterned paper, and the embellishments. Card making doesn’t get much easier than that!
I also used one my favorite products – the Cut & Emboss Machine – to add a bit of embossing and die-cutting. This step is optional – you can cut your own cardstock instead of die-cutting it, but I do think it adds a bit of pop!
Want to see all 5 of my current favorite card making tools? Check them out here.
IWhat makes this card so special is the gorgeous paper used. The colors are simply gorgeous and all you need to do is add a sentiment. The paper does all the heavy lifting for you! Here’s how to make this easy card:
Supplies Used On This Project
Project Measurements
- Basic White Cardstock: 5-1/2″ x 8-1/2″ and scrap for die-cutting
- Sand & Sea Designer Series Paper: 4″ x 5-1/4″
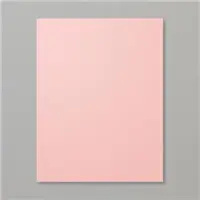
- Blushing Bride Cardstock: 1-1/4″ x 2-1/4″
Project Instructions
- Cut a piece of Basic White Cardstock to 5-1/2” x 8-1/2”, score at 4-1/4” and fold at score line to create your base card.
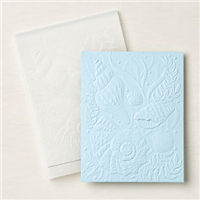
- Cut a 4” x 5-1/4” piece of the Ombre Sand & Sea Designer Paper and run through the Cut & Emboss Machine using the 3D Seashells Embossing Folder.
- Wrap the White Crinkled Ribbon around the Designer Paper & tie into a bow. Adhere to base card.
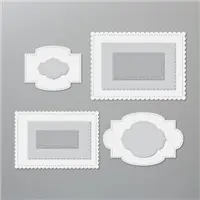
- Run a scrap of Basic White cardstock using the 1-1/8” x 2-1/8” rectangular Stitched So Sweetly Die.
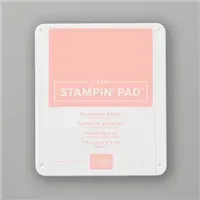
- Stamp the sentiment onto the White die-cut piece using Blushing Bride ink.
- Cut a 1-1/4” x 2-1/4” piece of Blushing Bride cardstock and layer the White sentiment piece onto the Blushing Bride piece; adhere to base card using Stampin’ Dimensionals so that it overlaps the Ribbon.

Pin It
Like this project? Be sure to pin it so you can easily find it again. It will take you right back here to all the details of the card.

- Get a Free Tutorial Every Week!
- Shop 24/7 in your PJ’s
- Queen Bee Rewards – Earn FREE Stamps!
- View the 2024-2025 Annual Catalog
- View NEW Online Products
- Monthly Crafting Kit
Thank you so much for stopping by and checking out this papercrafting tutorial. I hope you are inspired to create and send cards. I love sharing how to make cards here on the BZBStamper blog and I can’t thank you enough for all of your support!


