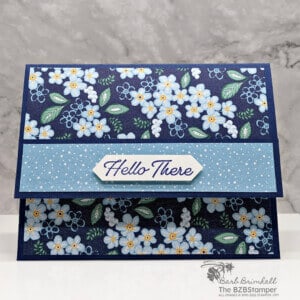
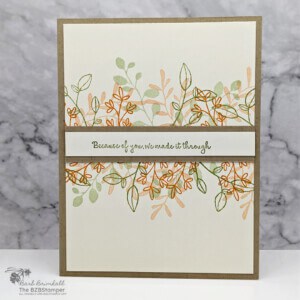
Need a handmade card in a hurry? Using patterned paper in card making is my secret weapon! Easily add color and design simply by adding your favorite paper!
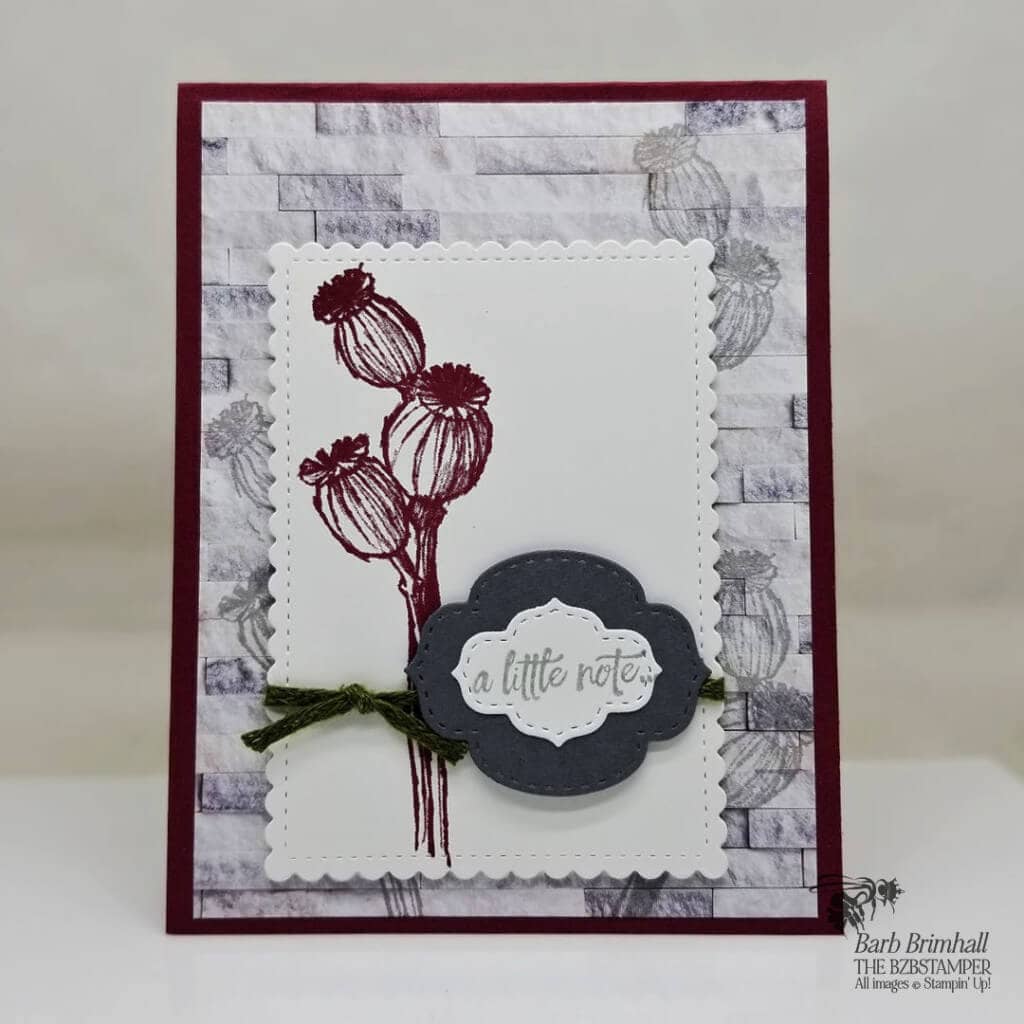
When I need a handmade card in a hurry, my favorite thing to do is add some patterned paper (known as Designer Series Paper in Stampin’ Up! lingo) to my project. Because Stampin’ Up! products coordinate, if I chose a patterned paper that has 3 colors in it, I’ll have those same 3 colors in ink, cardstock and embellishments. That color coordination makes card making a snap!
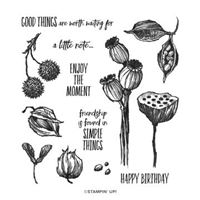
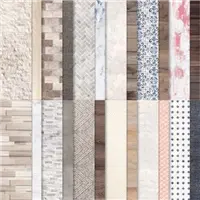
In this particular project, I used the gorgeous In Good Taste Designer Series Paper which has some wonderful photographic images of wood, tile, stone, and other elements. I paired it with the Enjoy the Moment Stamp Set that has simple but detailed images that I thought would contrast nicely with the paper.
I took the design element one step further by actually stamping on the Designer Paper. This gave the background even more depth and added a nice detail to the card, don’t you think? You can see more cards using patterned paper here.
Supplies Used On This Project
Cardstock Measurements
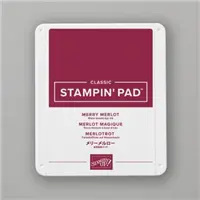
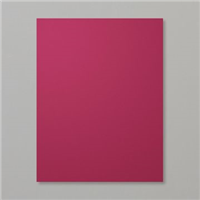
- Merry Merlot Cardstock: 5-1/2″ x 8-1/2″
- Basic White Cardstock: 4″ x 5-1/4″ (2)
- In Good Taste Designer Paper: 4″ x 5-1/4″
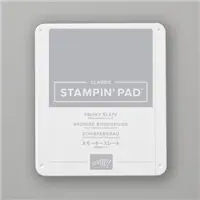
- Smoky Slate Cardstock: scrap for die-cutting
Project Instructions
- Cut a piece of Merry Merlot Cardstock to 5-1/2” x 8-1/2”, score at 4-1/4” and fold at score line
to create your base card. - Cut a piece of 4” x 5-1/4” Basic White Cardstock and adhere to inside of card.
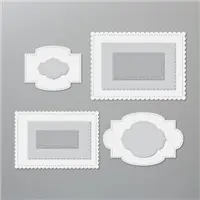
- Using a half-sheet or scrap of Basic White cardstock, cut out the Stitched So Sweetly rectangle
(approximately 3” x 4”) using the Cut & Emboss Machine. On the remaining scrap, stamp the
sentiment and cut out using the smallest die from same Die Set. Using a scrap of Smoky Slate
cardstock, cut out the next largest die. Layer the White die-cut onto the Smokey Slate die cut. - Cut a 4” x 5-1/4” piece of the In Good Taste Designer Paper and layer onto the base card.
- Using the White die-cut piece from Step #3, stamp the flower using the Merry Merlot ink pad.
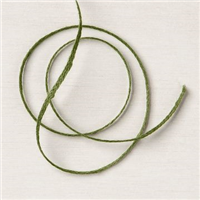
Wrap a piece of the Mossy Meadow Braided Linen Trim over the stems and tie into a knot on the
left side. Adhere to base card using Stampin’ Dimensionals. - Adhere the sentiment tag to right side of stamped image using Stampin’ Dimensionals to finish.

Pin It
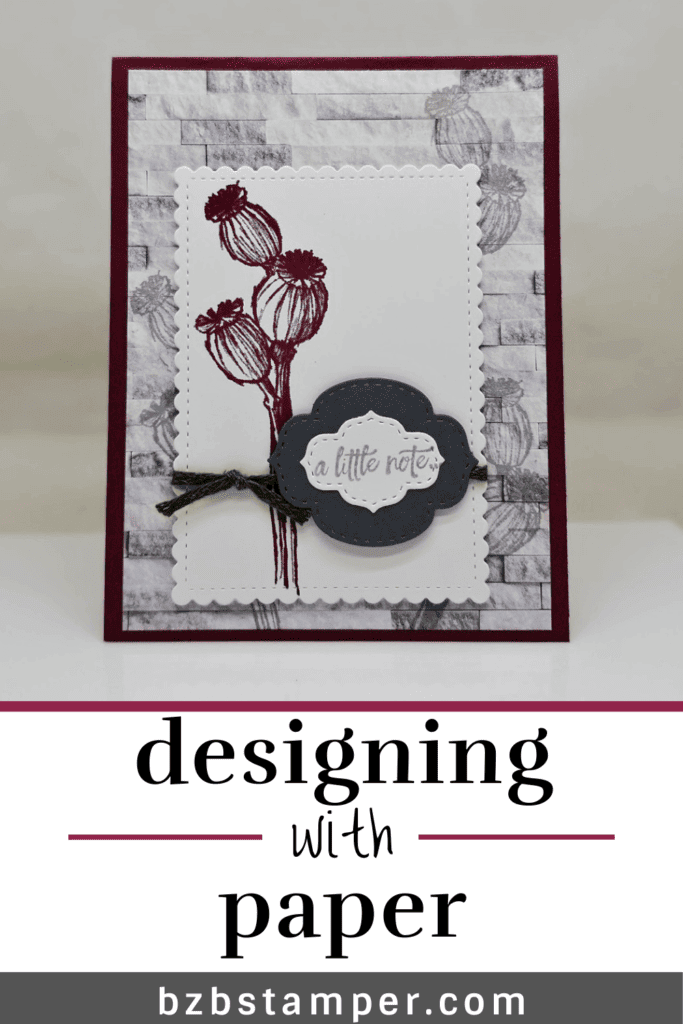
Now it’s your turn to make this project! Get your supplies and think of who you can make and send these cards to. Showing that you noticed something someone else did or achieved is priceless! Pin this image below to easily find it again.
- Get a Free Tutorial Every Week!
- Shop 24/7 in your PJ’s
- Queen Bee Rewards – Earn FREE Stamps!
- View the 2024-2025 Annual Catalog
- View NEW Online Products
- Monthly Crafting Kit
Try this card sketch idea with different papers and colors and you’ll have a card in minutes! Leave me a comment below and let me know if you try it and how it worked out for you!


